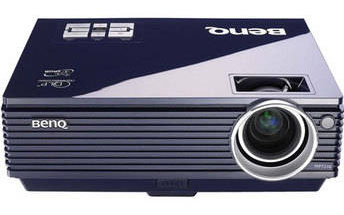
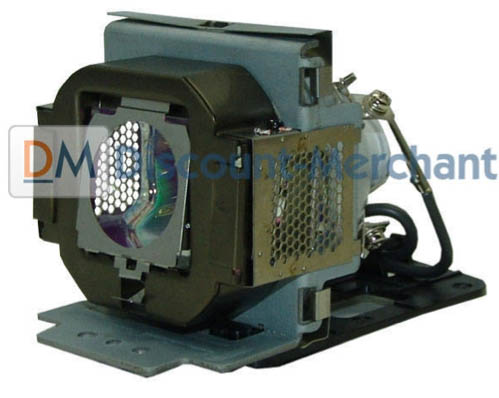
Replacing the BenQ 5J.J2D05.001 projector lamp
Which projectors are compatible with the BenQ 5J.J2D05.001 projector lamp
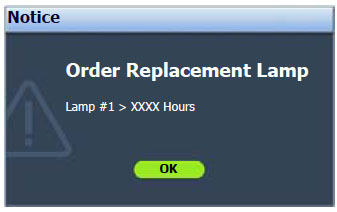
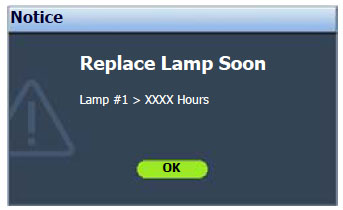
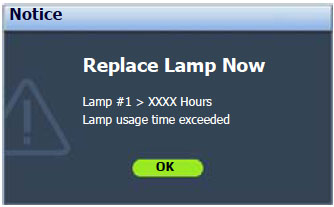
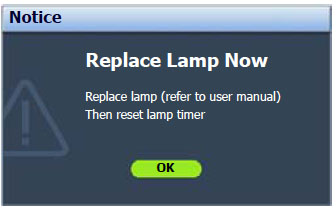
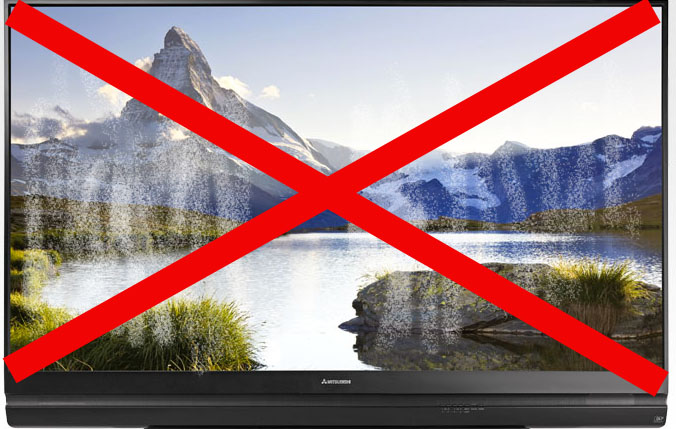
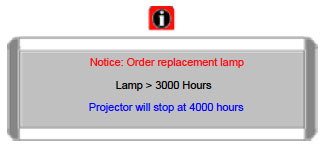
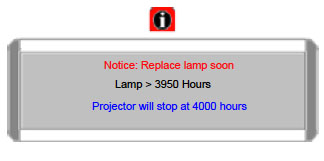
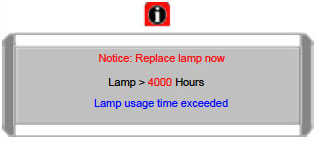
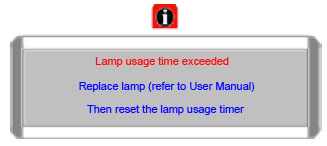
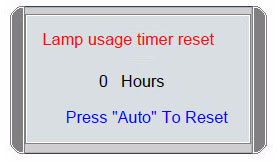
Watch for the warning messages that the BenQ 5J.J2D05.001 projector lamp is approaching end of life:
- The picture looks faded on screen.
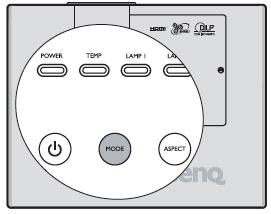
- The Lamp Indicator blinks red.
- Warning Messages about the lamp appear on screen.
Finding the correct lamp
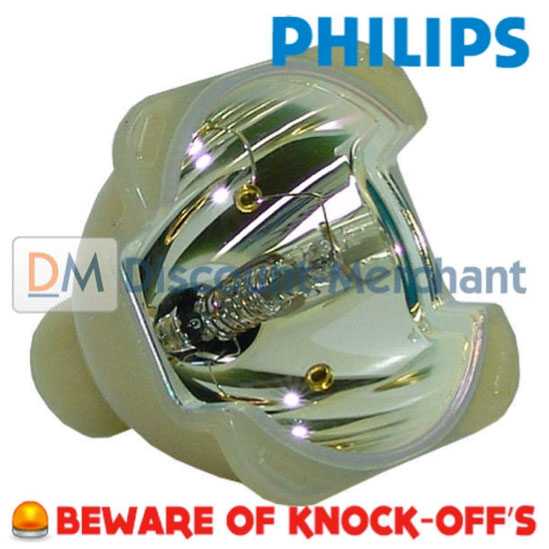
It can be confusing finding the correct BenQ 5J.J2D05.001 lamp for your BenQ projector. There are hundreds of website selling projector lamps but most of there lamps are knock-off generic lamps that you should avoid at all costs.
Find this lamp on Amazon sold by these authorized dealers:
- eWorldlamp BENQ 5J.J2D05.001 Projector Lamp Bulb with housing Replacement for BENQ SP920P
- Aurabeam Replacement Lamp for BenQ 5J.J2D05.001 with Housing
- BenQ Replacement Lamp for SP920P 5J.J2D05.001
Generic “compatible” lamps may appear to be a bargain–however generic knock-off lamps are actually not that great a bargain.These are NOT authentic lamps and should be avoided for the following reasons:
- shorter lamp life than original lamps
- toxic materials and carcinogenic parts including Krypton-85
- prone to explosions
- incompatibility causing damage to the sensitive electronics in your projectors
- no guarantee or refunds – you’re on your own to get a refund from the company when you buy from a reseller
The few dollars you save with generic “compatible” lamps is not worth it in the long run. Save yourself unnecessary headaches — buy a BenQ 5J.05Q01.001 lamp from a recognized dealer. You’ll be getting a far superior product with a replacement guarantee and tech support.
It’s critical to install a genuine BenQ 5J.J2D05.001 rather than a compatible generic lamps. Although lower in price initially, generic, knock-off lamps end up costing much more in the long run.
Counterfeit generic lamp have a shorter lamp life, damage the components in your projector, have poor picture quality and are prone to explosion. You also run the risk of being exposed to the carcinogenic substances such Krypton-85 used in the making of these lamps.
Installing a generic lamp voids any warranty for your BenQ projectors. Buy an authentic BenQ BenQ 5J.J0A05.001 original manufacturer’s lamp.
Learn the 7 Ways to spot a counterfeit lamp.
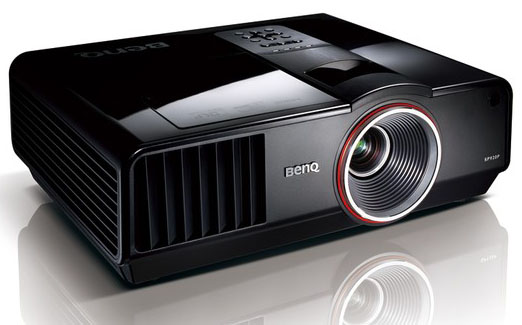
Compatible Projectors
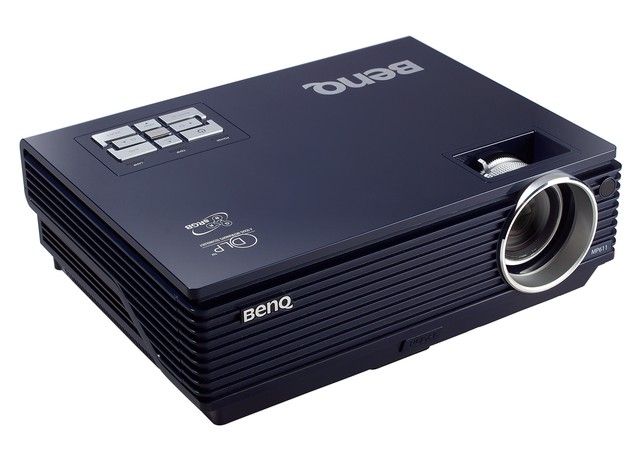
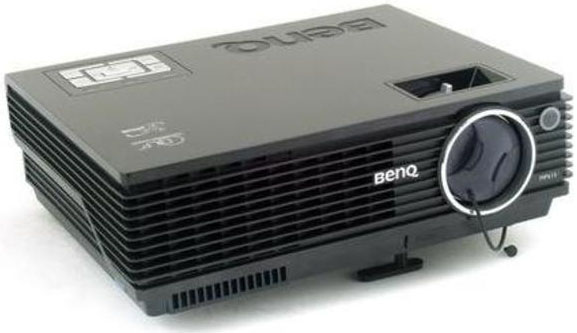
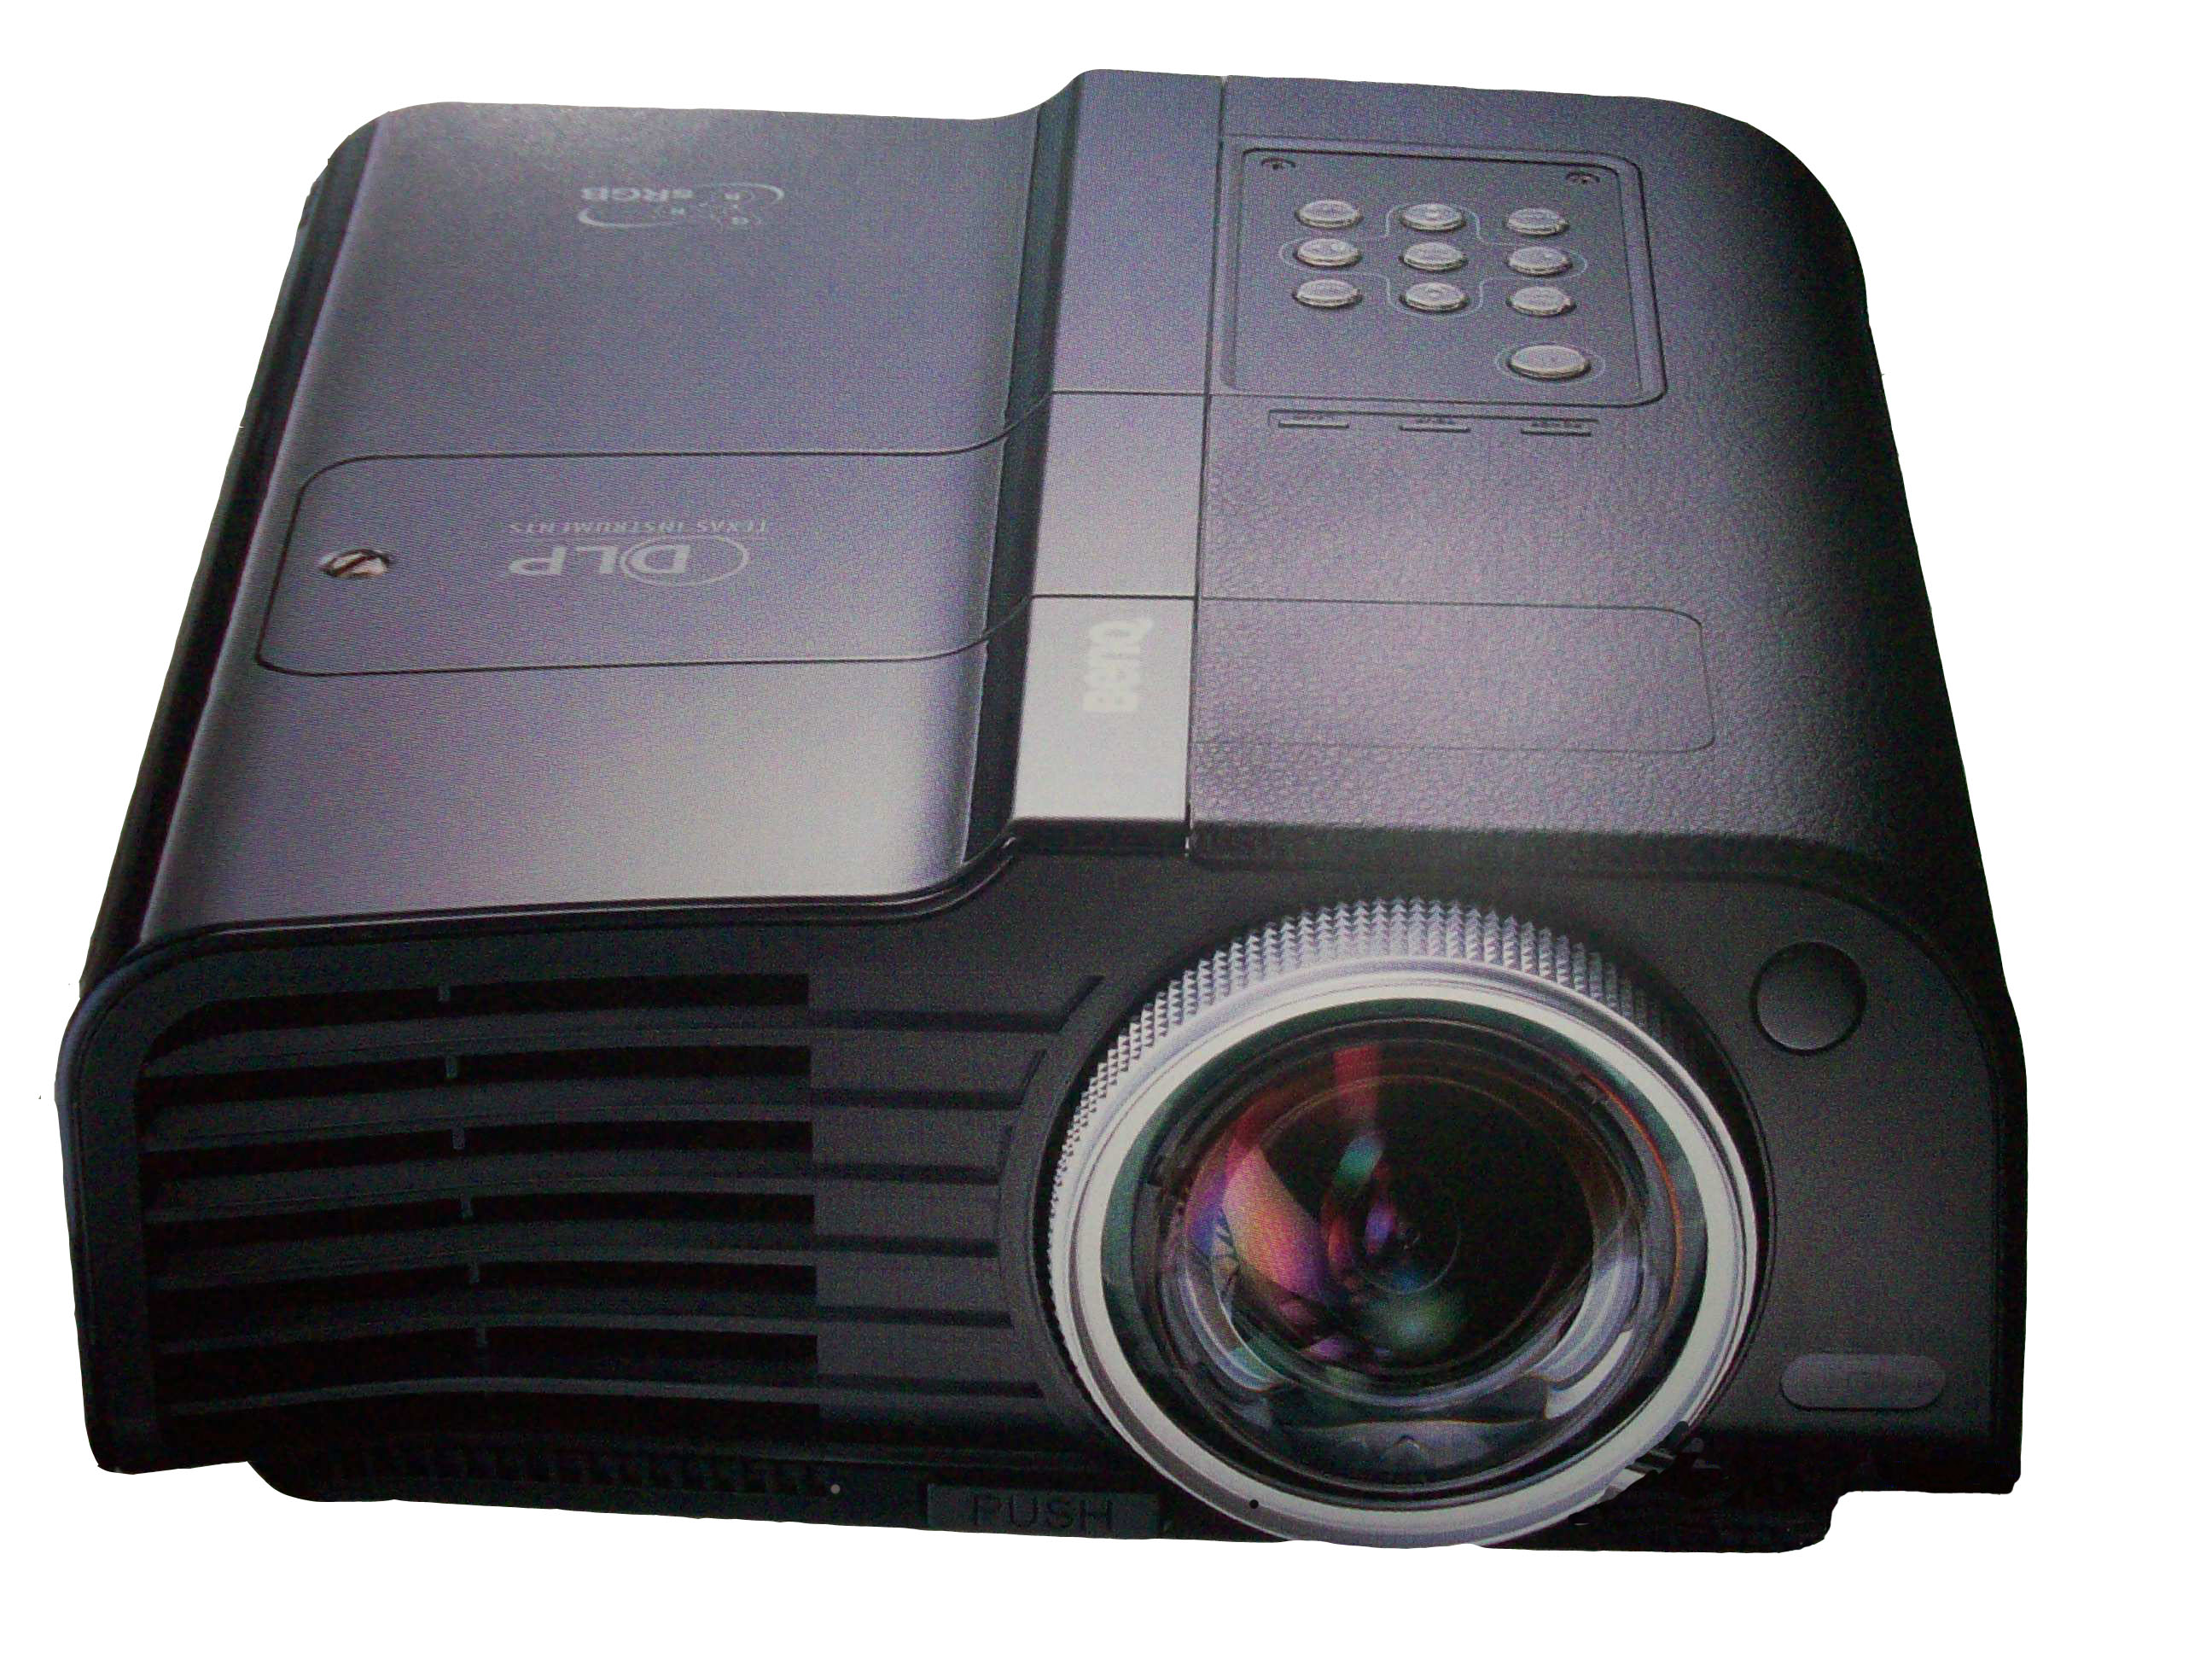
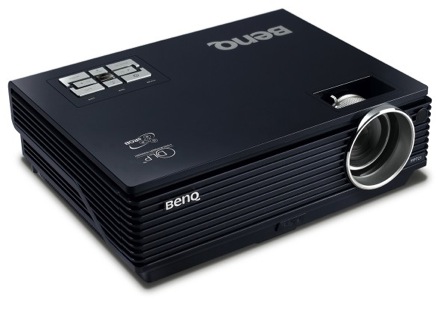
The BenQ 5J.J2D05.001 is compatible with:
BenQ SP920P
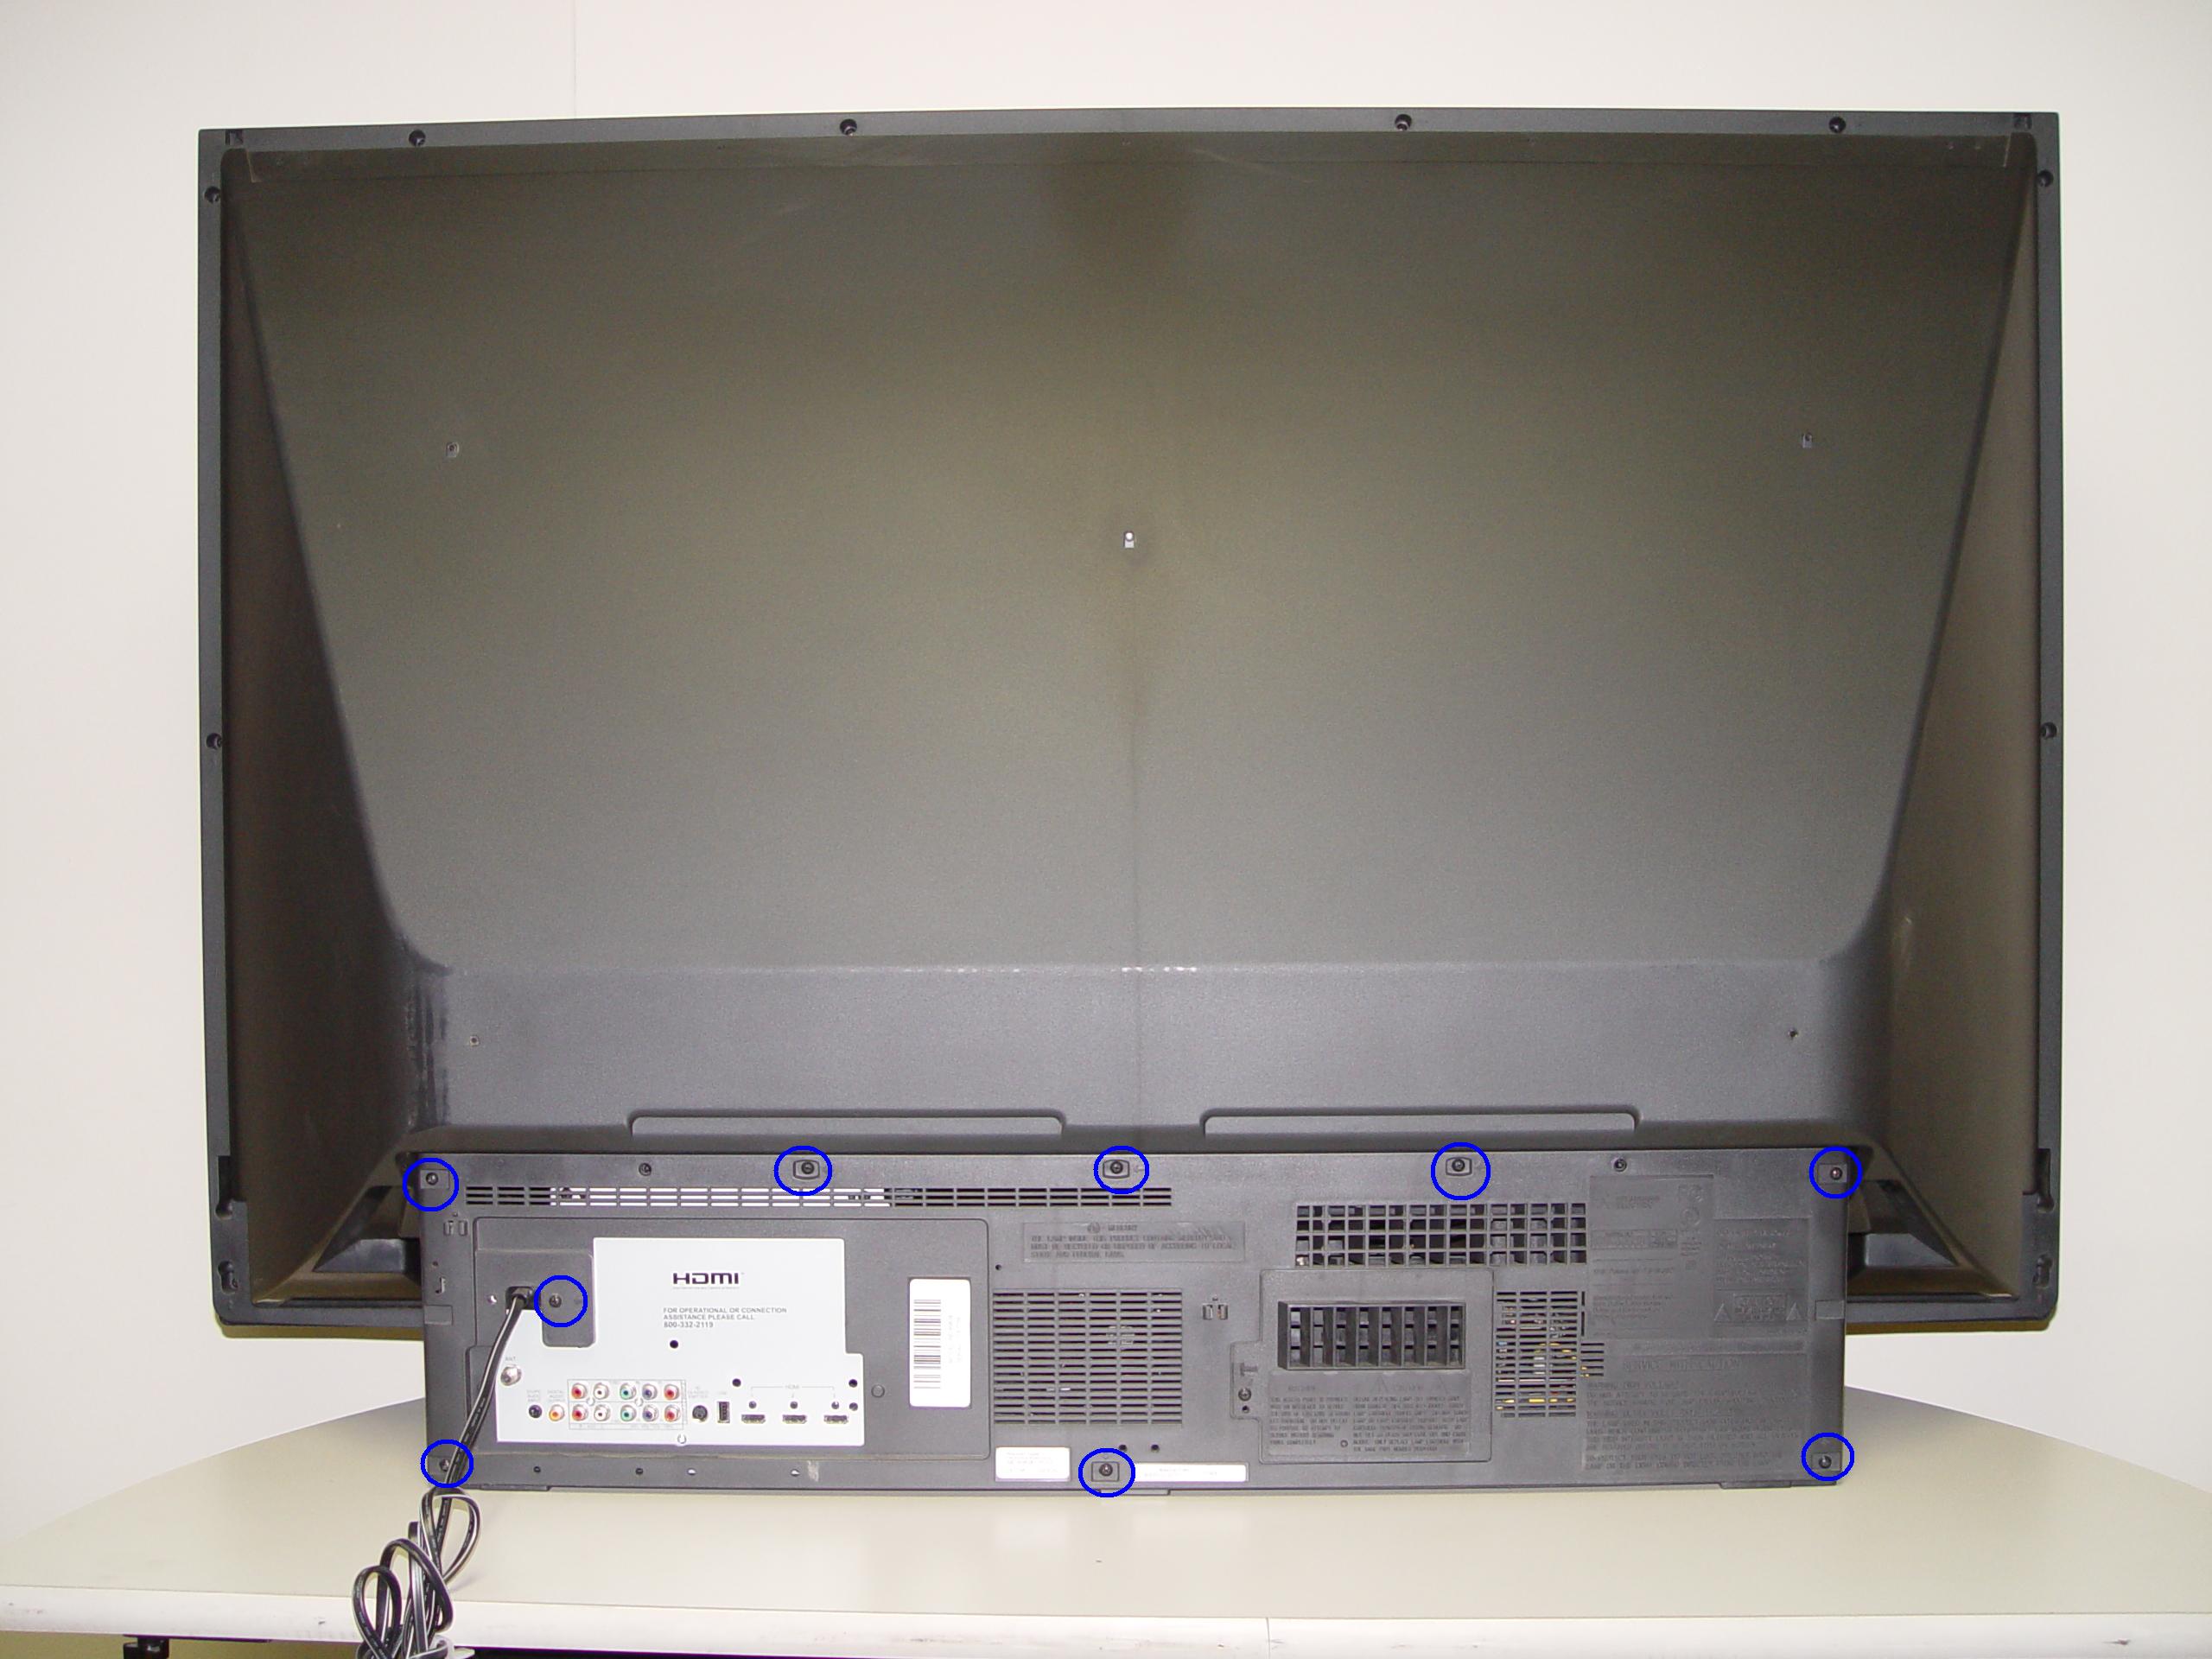
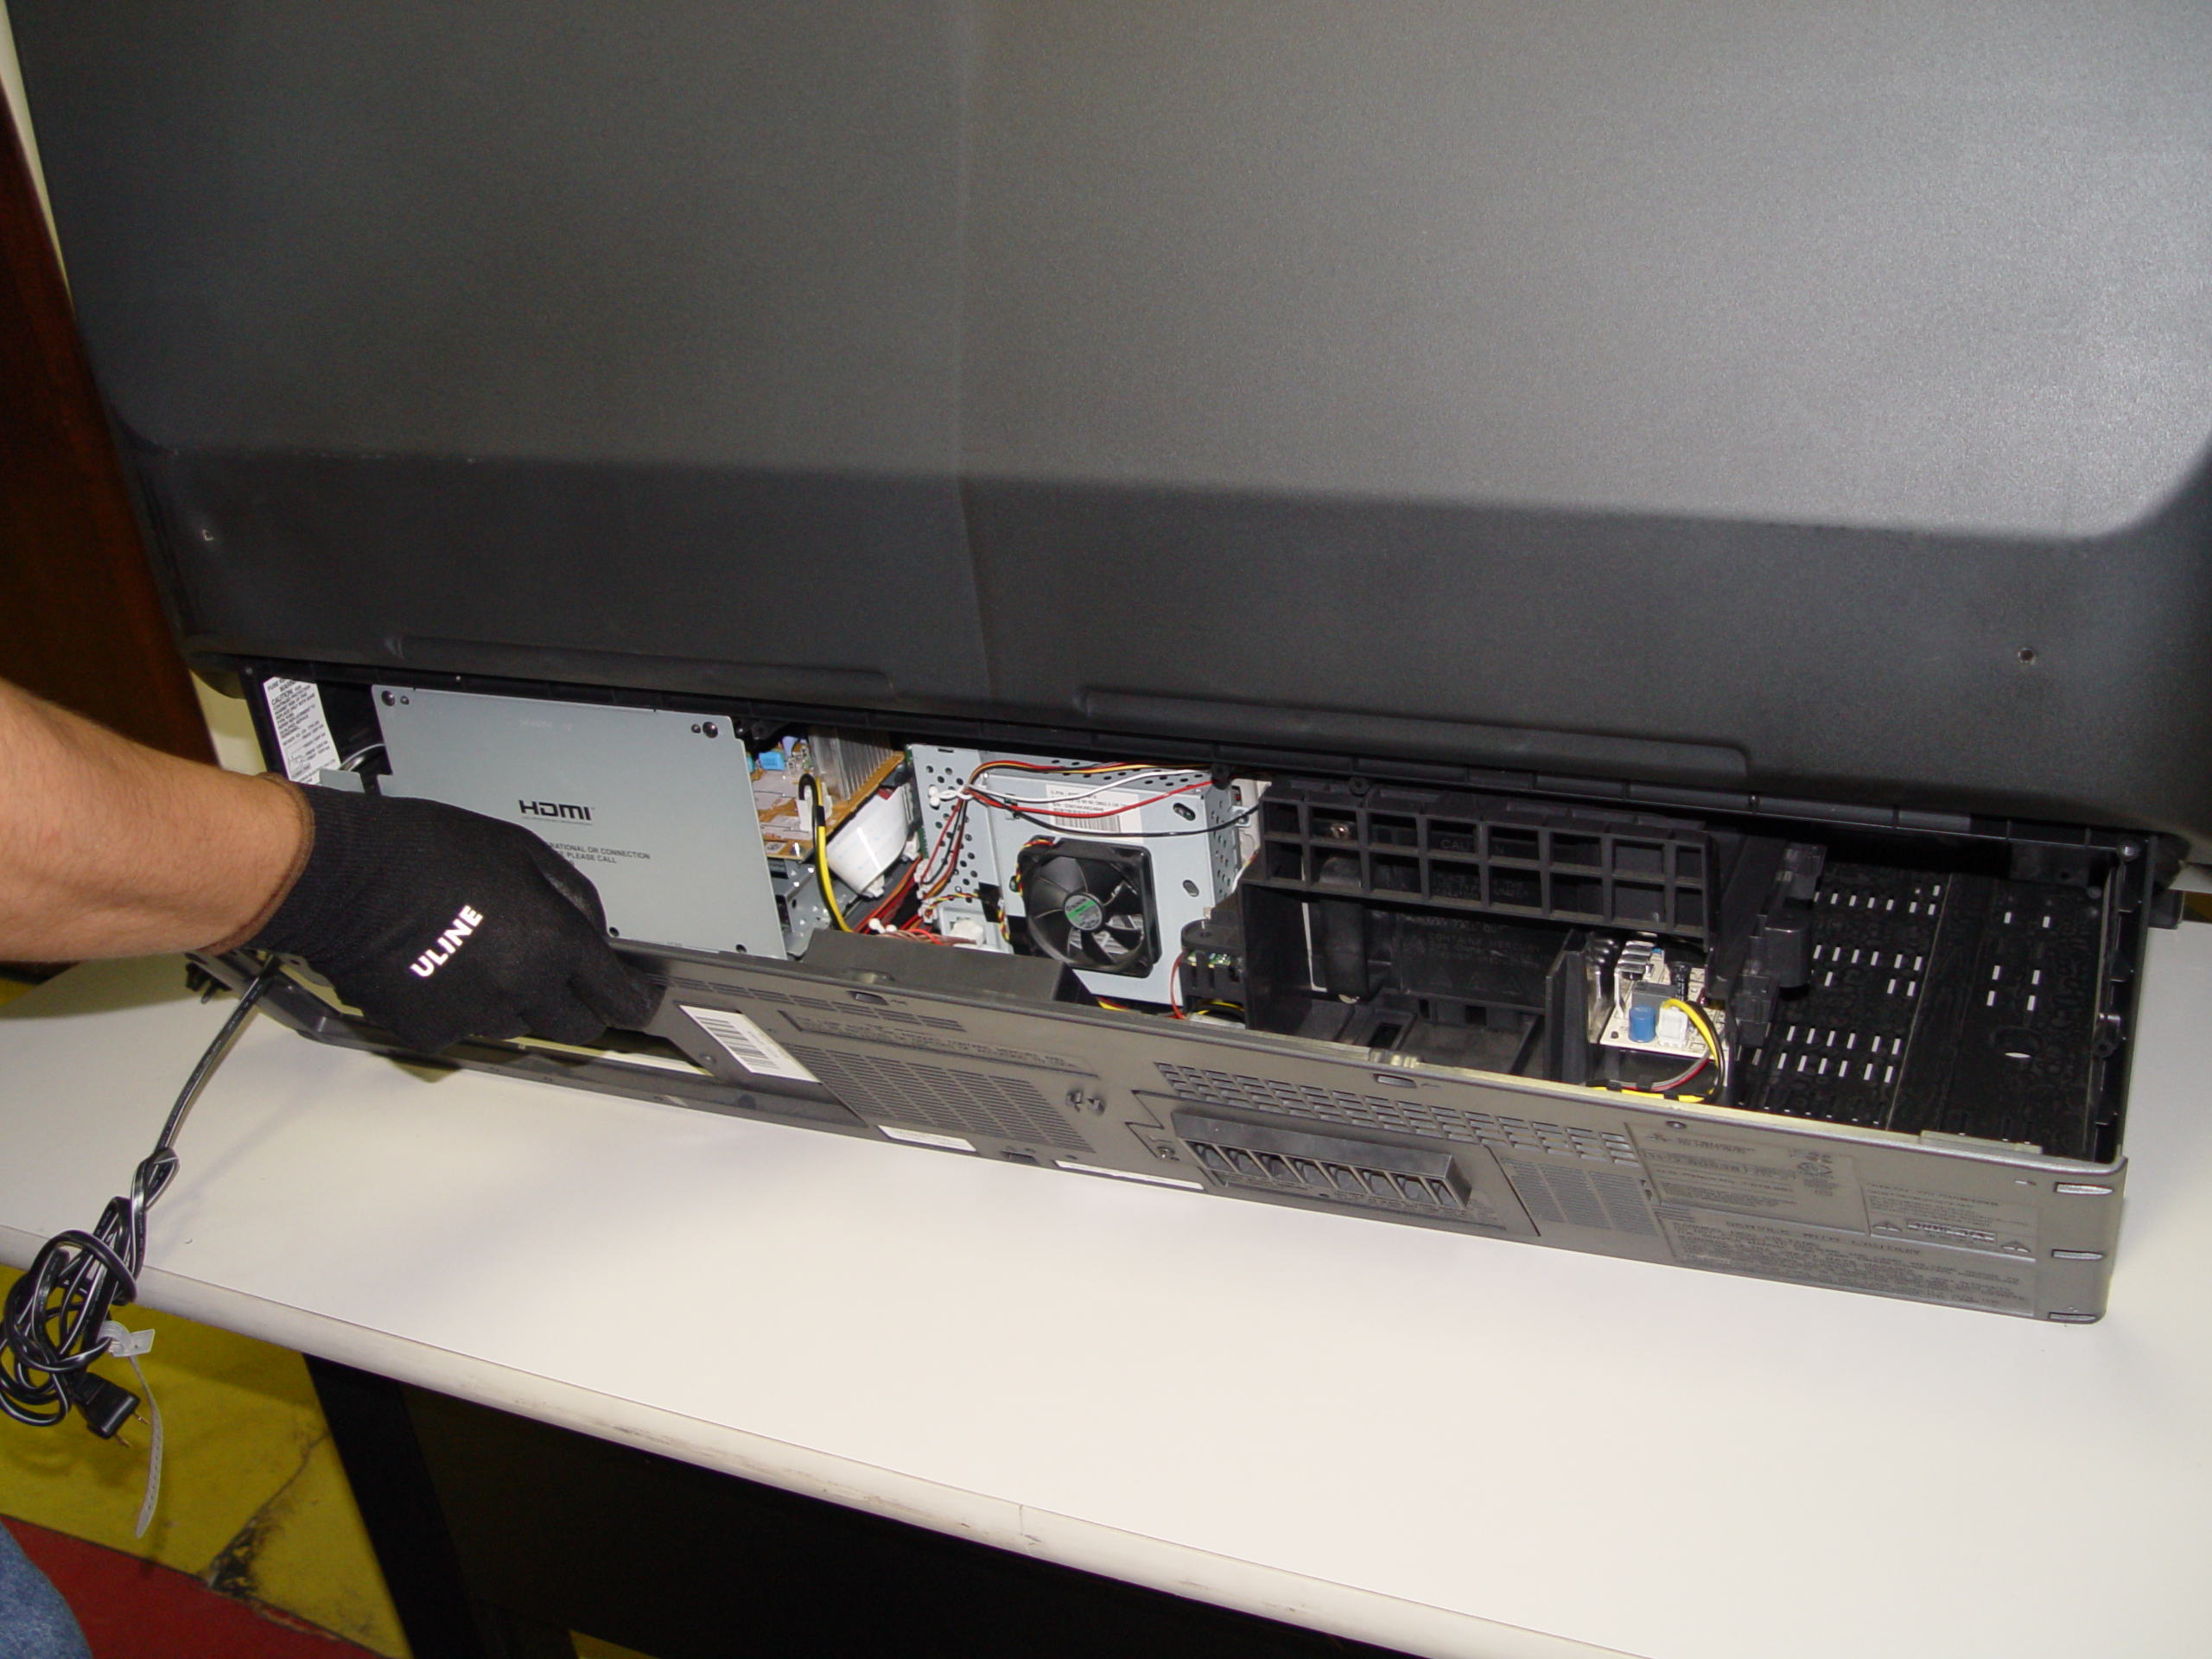
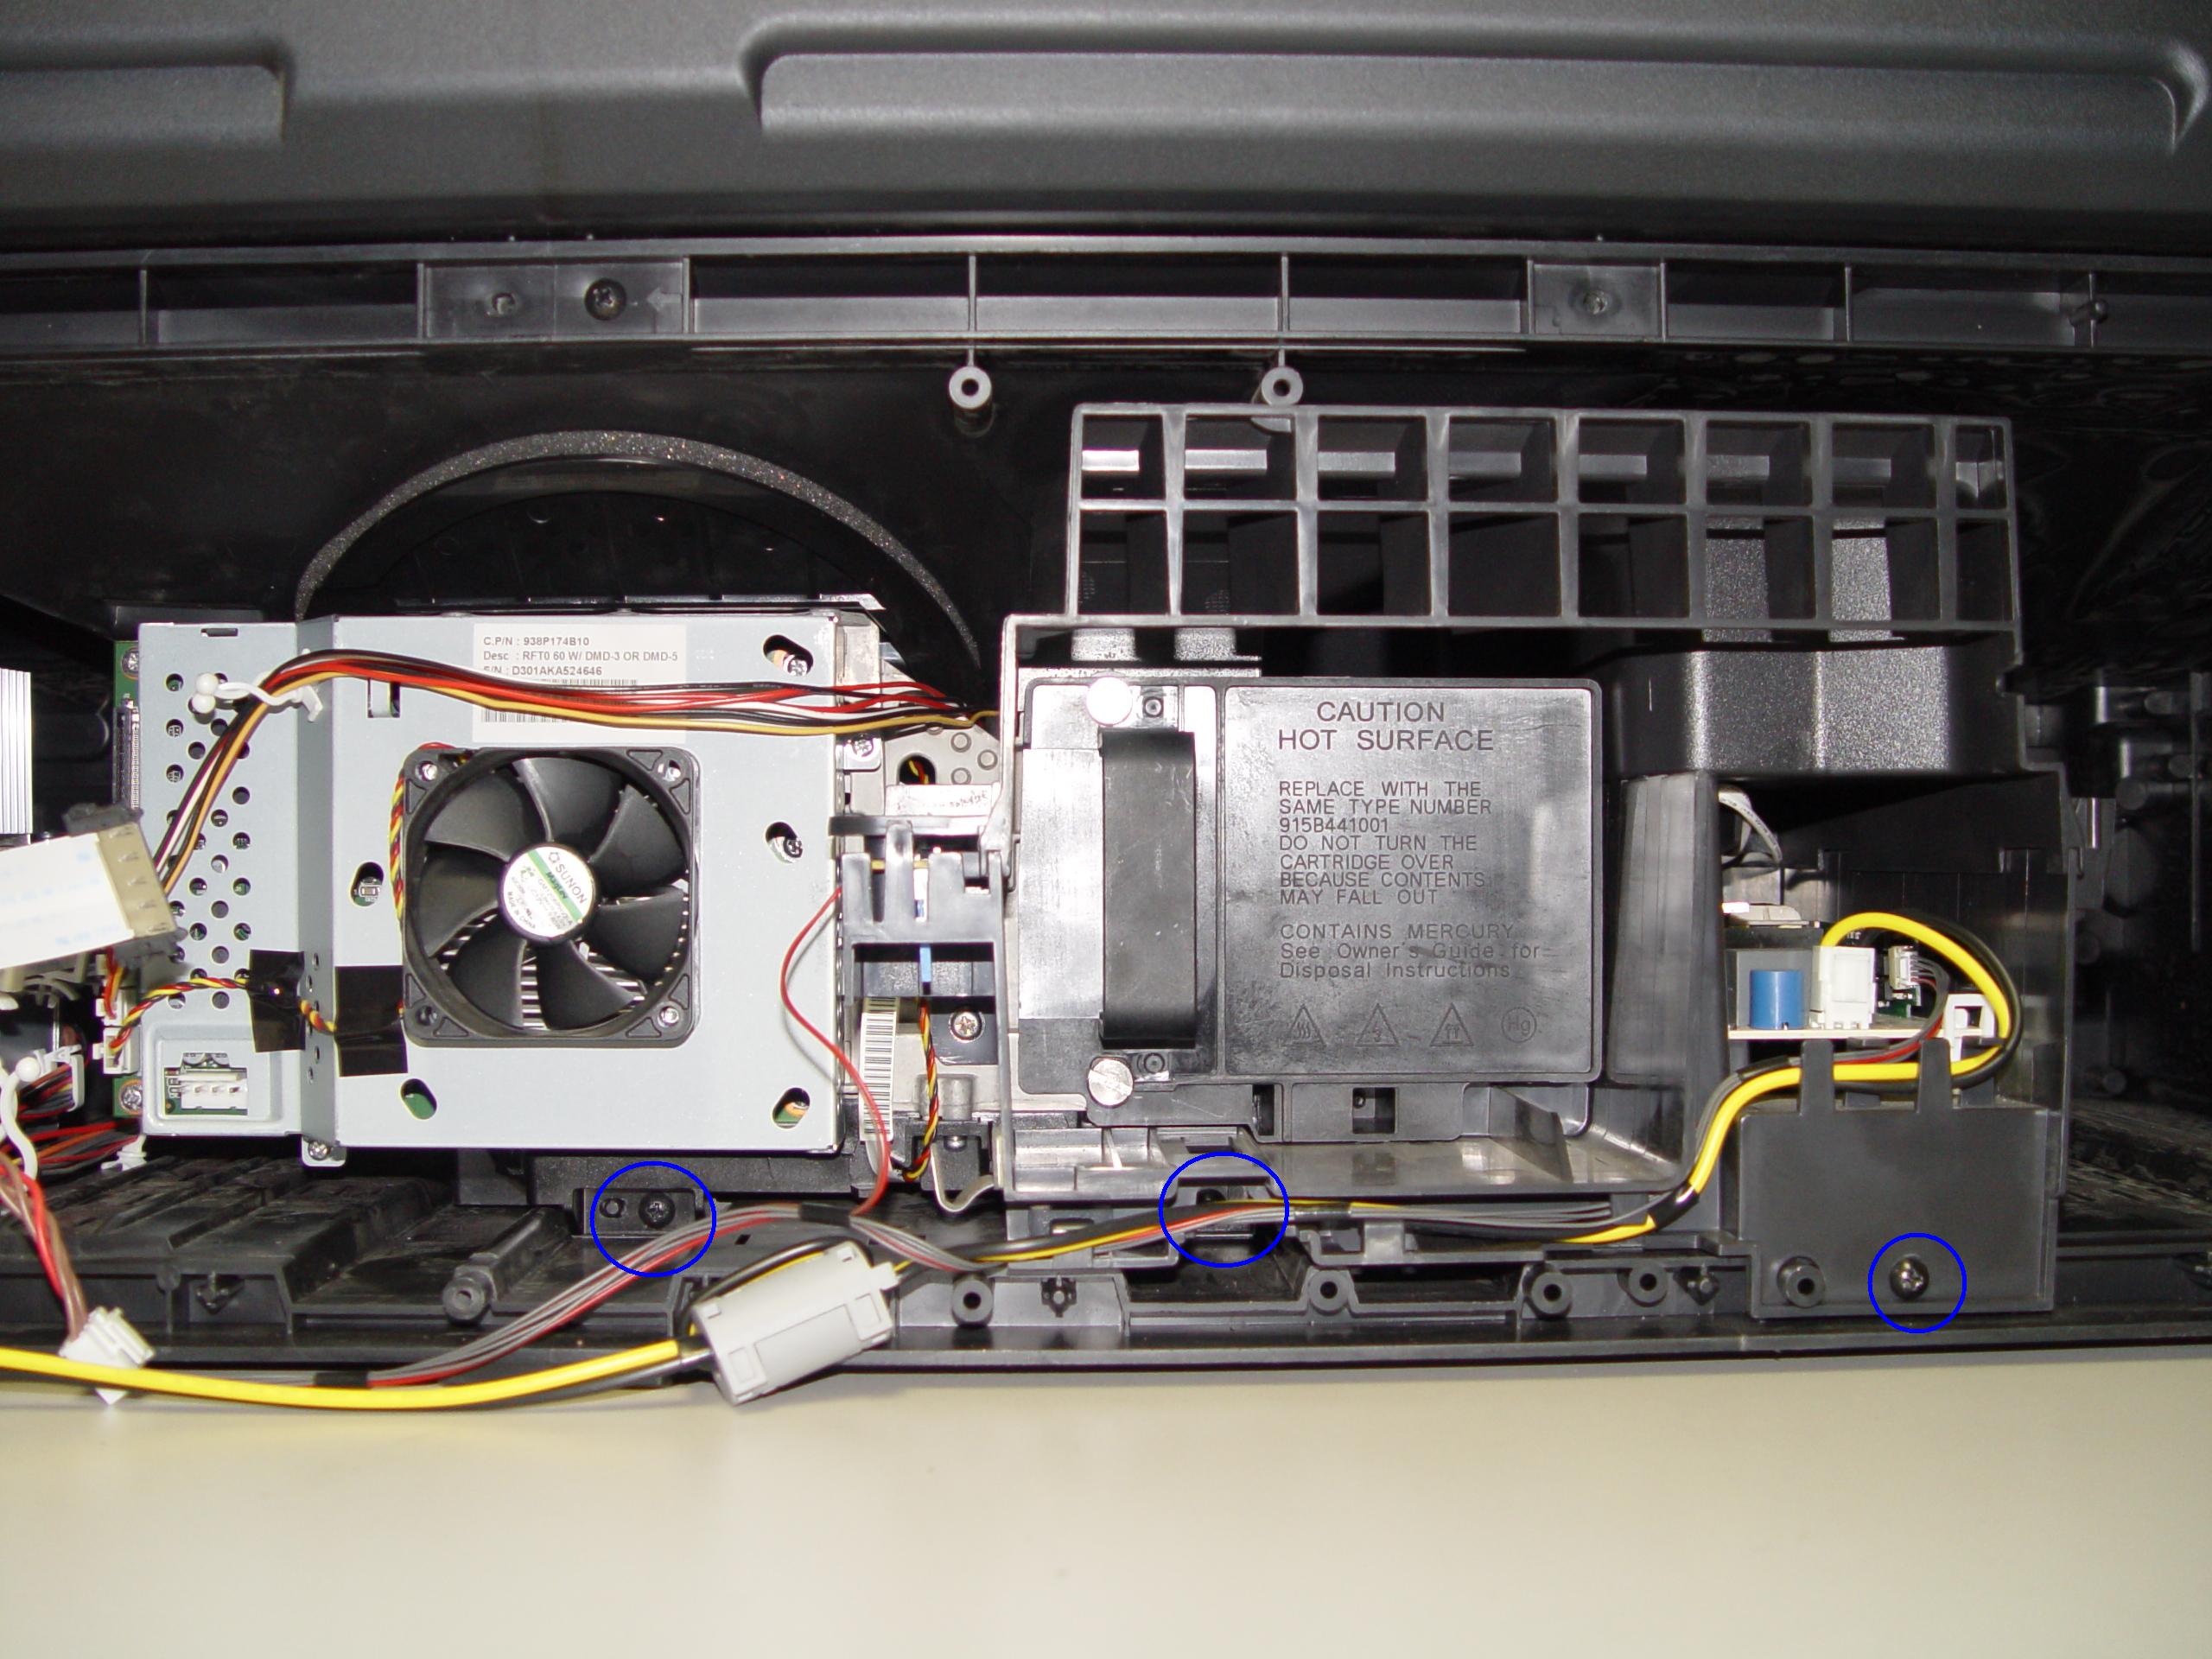
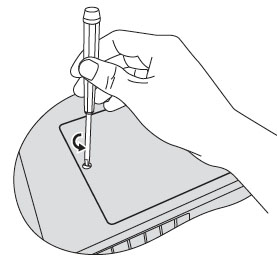
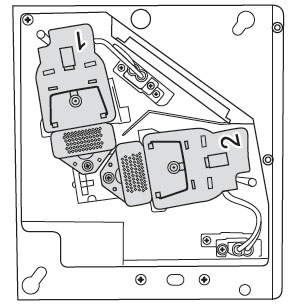
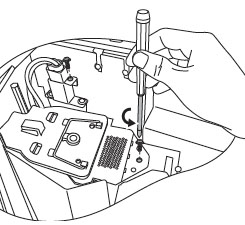
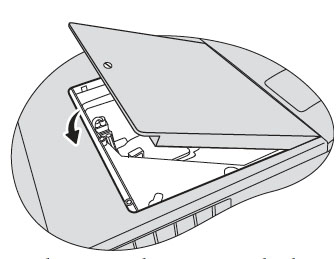
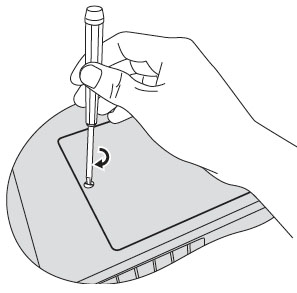
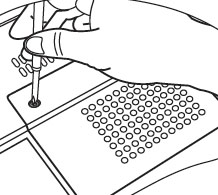
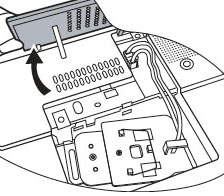
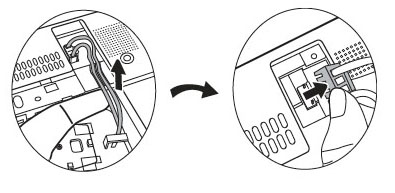
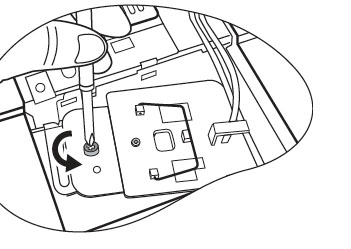
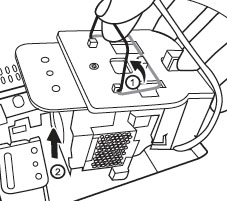
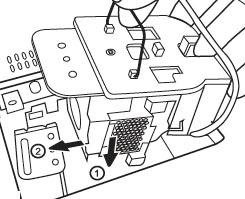
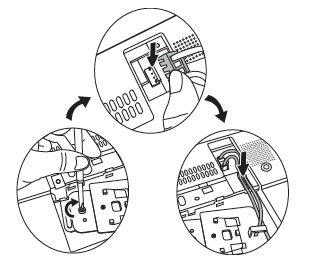
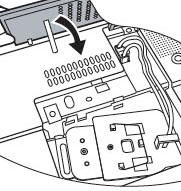
For step-by-step instructions on replacing your BenQ 5J.J2D05.001 projector lamp, click on your projector listed below:
Click here for step-by-step instructions on how to change the BenQ 5J.J2D05.001projector lamp for the BenQ SP920P projector.
Tips for extending the life of BenQ 5J.J2D05.001 lamp
- Keep your air filters clean to avoid overheating the projector.
- Use the Lamp Power option and set lamp life to to Economic Mode to reduce the amount of power used and extend lamp life.
- Learn more with Top tips for extending DLP projector lamp life