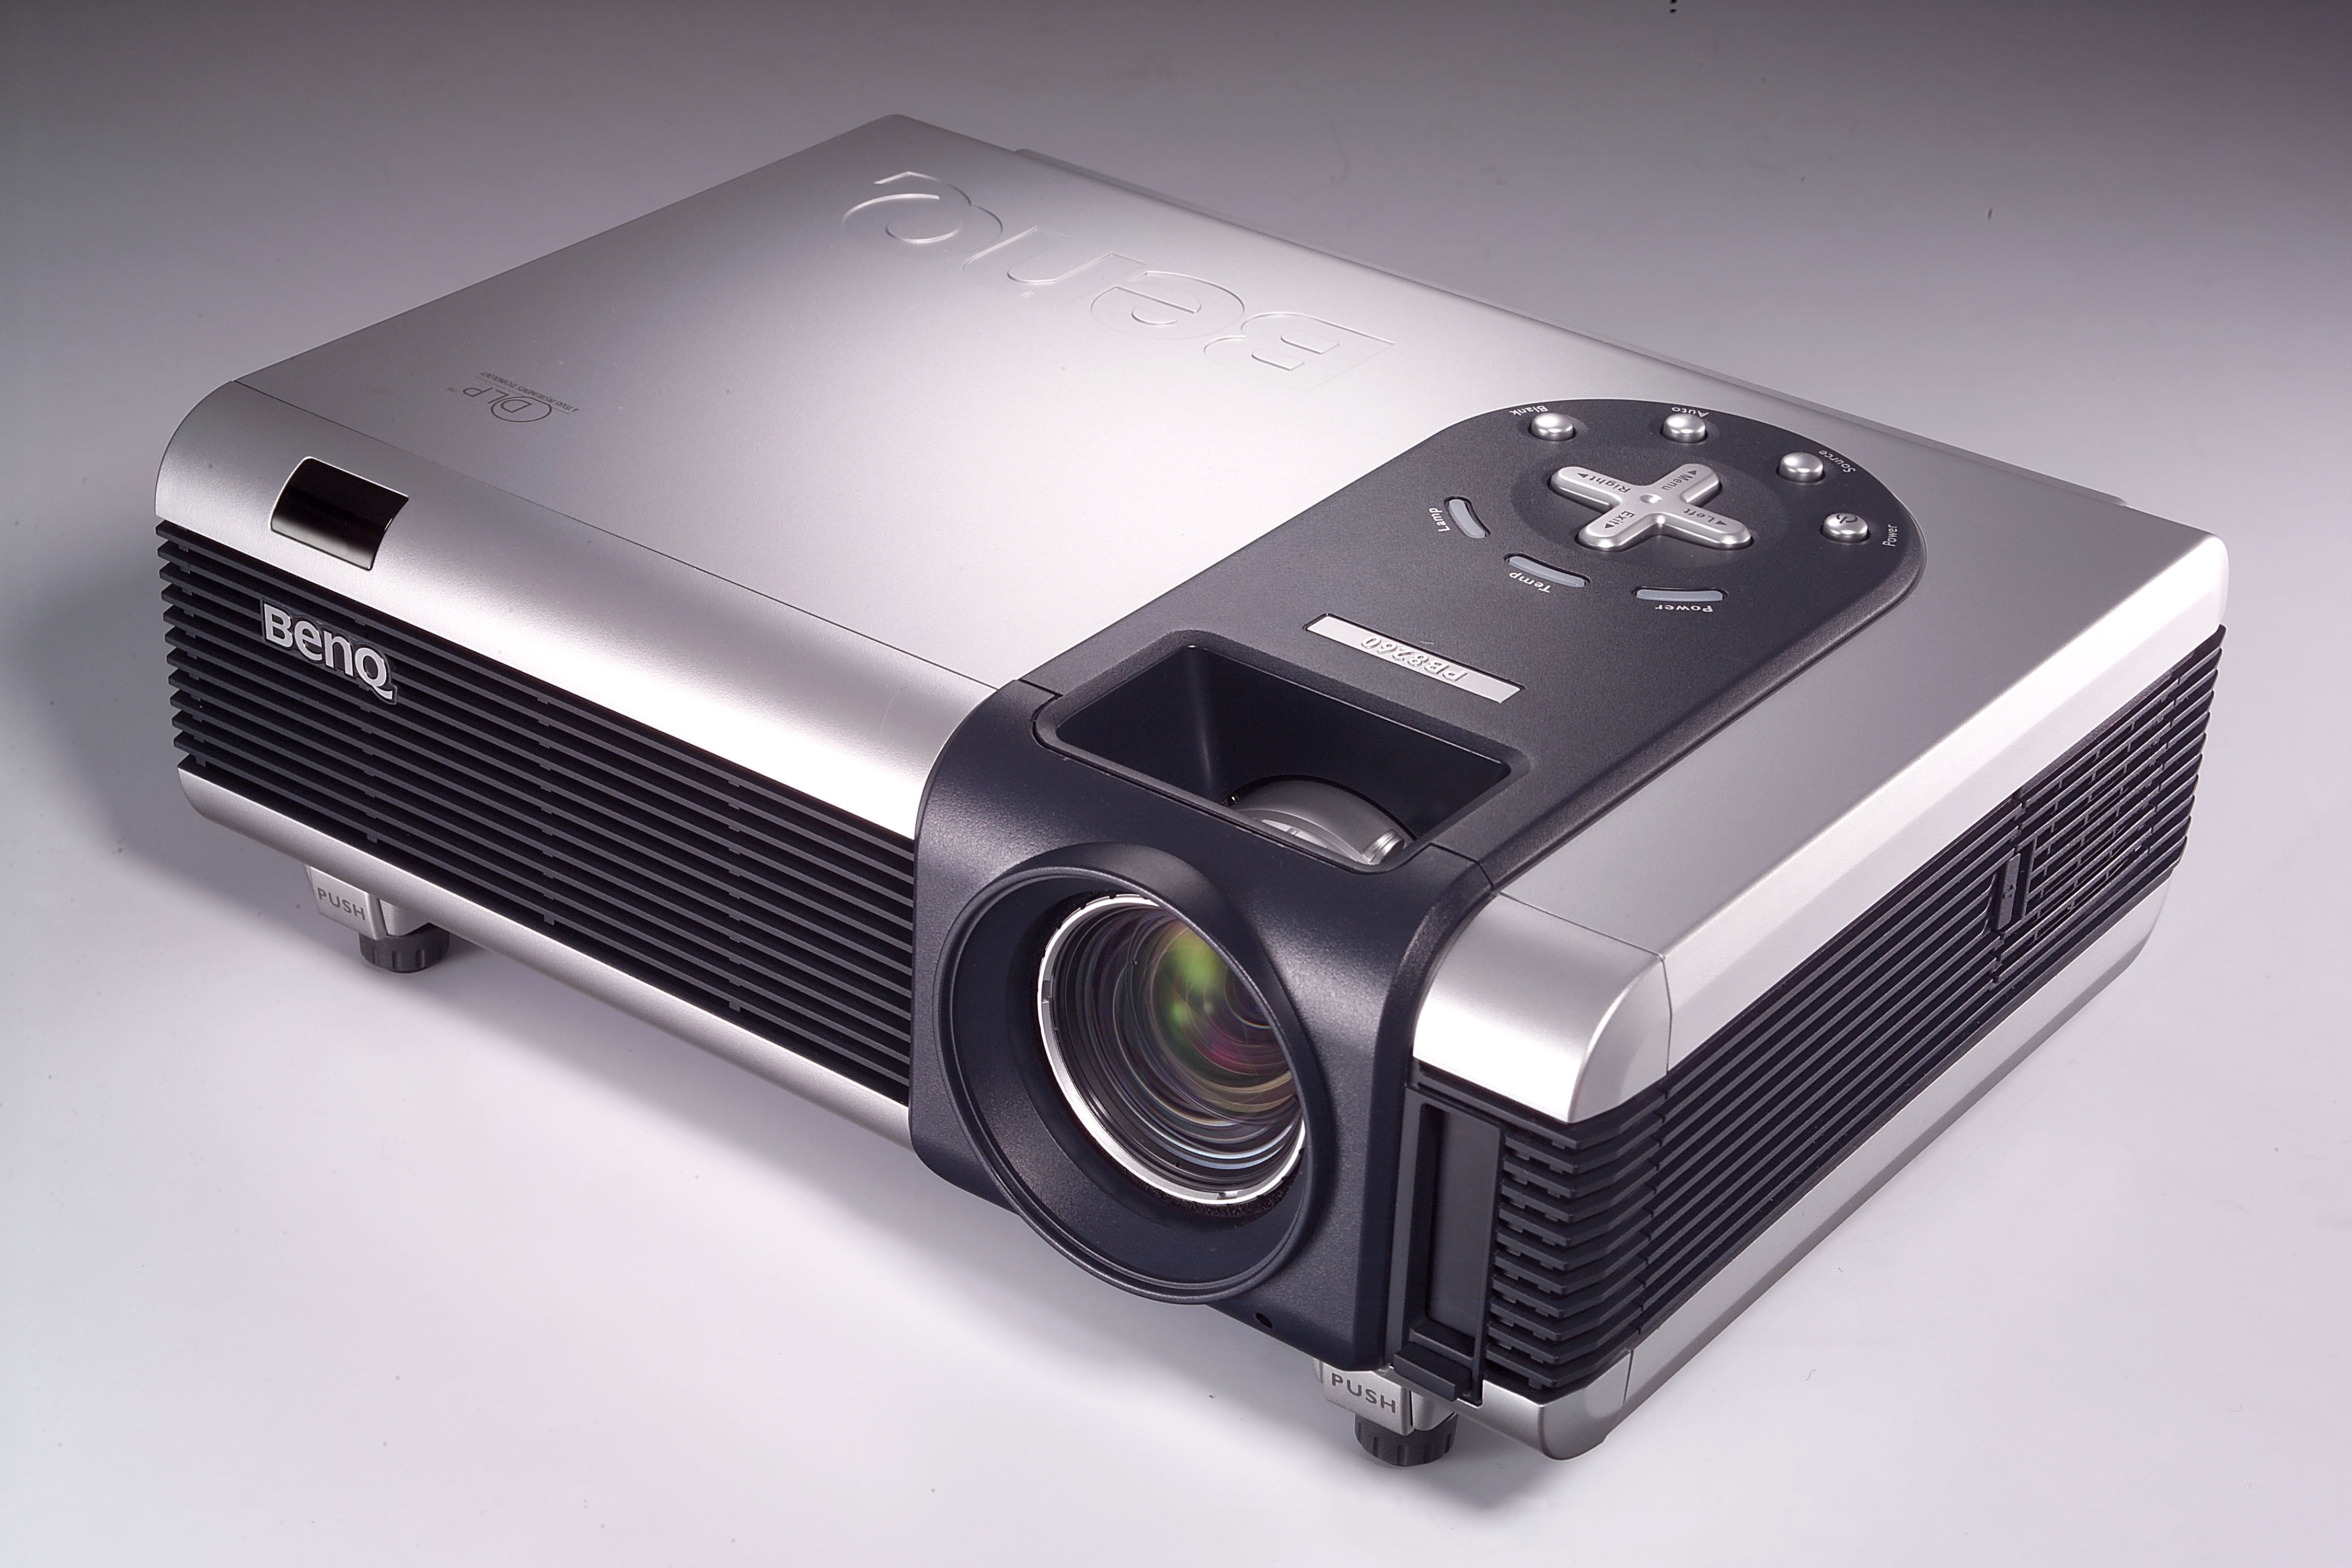
3 Steps to a new BenQ PB2140 projector lamp
 Replacing the BenQ 59.J9301.CG1 lamp in your BenQ PB2140 projector is as easy as 1-2-3. Follow our step-by-step guide!

Step 1: Buy authentic
It can be confusing trying to find the proper BenQ 59.J9301.CG1 lamp for your BenQ PB2140 projector. The Internet has been flooded with companies offering “compatible” generic lamps at bargain prices. These are NOT authentic lamps and should be avoided.
Authentic lamps are important
Your BenQ PB2140 projector is a sophisticated machine with sensitive electronic components. The BenQ 59.J9301.CG1 projector lamp has been designed specifically to keep your projector operating at optimum levels. Generic “compatible” lamps are made with copycat technology that use inferior and often toxic materials.
Knock-off manufacturers don’t possess the proper technology to create these lamps and as a result these lamps have a shorter lamp life, are prone to explosions and can seriously damage your projector. Installing them cancels your warranty leaving your vulnerable should anything go wrong. It’s not worth the small savings. Protect yourself from buying a knock-off counterfeit compatible generic lamp.
The few dollars you save with generic “compatible” lamps is not worth it in the long run. Save yourself unnecessary headaches and buy an BenQ 59.J9301.CG1 lamp from a recognized dealer. You’ll be getting a far superior product with a replacement guarantee and tech support.
Step 2: Replacing the BenQ 59.J9301.CG1 projector lamp
Your BenQ PB2140 projector will give you plenty of warnings when it’s time to replace the BenQ 59.J9301.CG1 lamp. You can expect up to 3,000 hours of use from the lamp depending on the frequency of use and whether the machine is maintained properly.
Warning Messages
Your BenQ PB2140 projector will give you plenty of warnings when the BenQ 59.J9301.CG1 lamp is approaching its end of life. You can find out the number of hours left by accessing the Information/Lamp Hour menu.
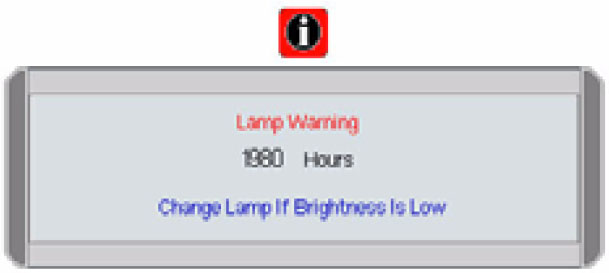
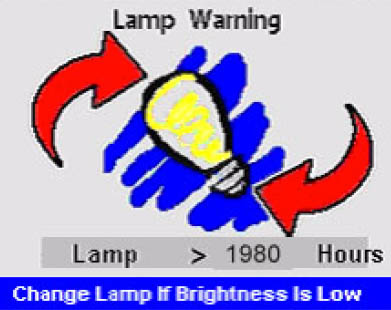
Your first warning to replace the BenQ 59.J9301.CG1 lamp will show up when the lamp has been in operation for 1980 hours. If the projector is being run in Economic Mode you may continue until the second warning at 2980 hours.

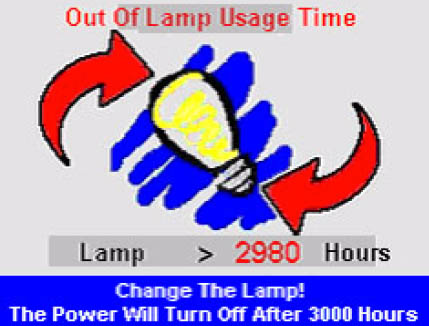
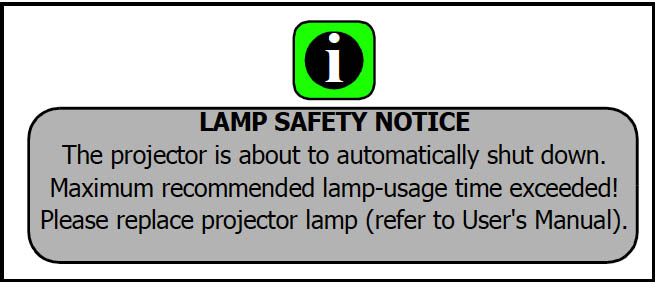
The second warning appears at 2980 hours–the BenQ 59.J9301.CG1 is approaching end of life and the BenQ PB2140 projector will shutdown in 20 hours time. Replace the BenQ 59.J9301.CG1 lamp immediately.
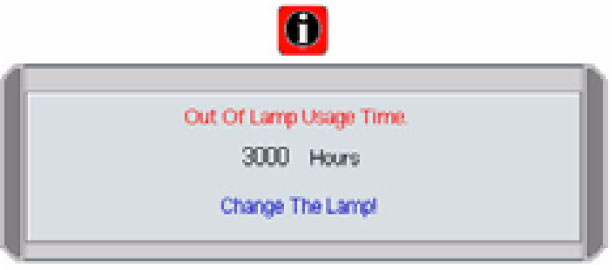
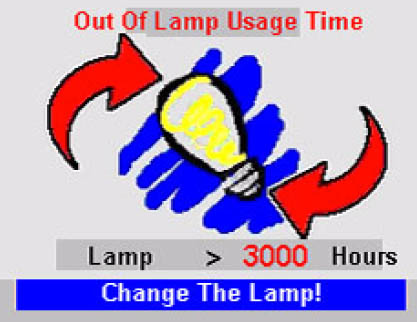
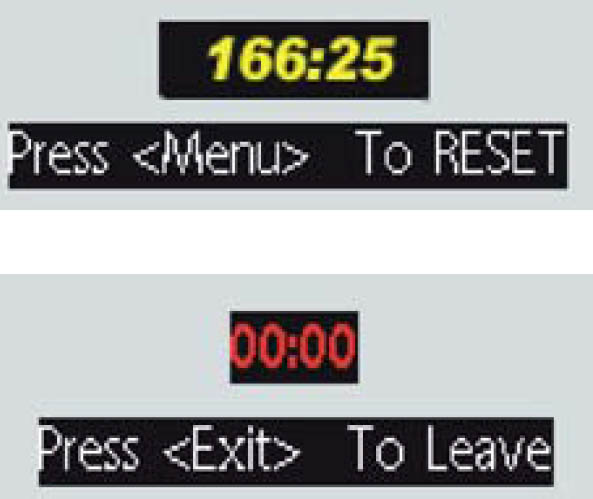
Time is up! At 3000 hours the BenQ 59.J9301.CG1 is out of life. Time is up. The final warning will flash in the center of the BenQ PB2140 projector for 40 seconds and then shut down for good. The projector will not turn on until the BenQ 59.J9301.CG1 lamp has been replaced.
Before changing the lamp:
- Reduce the risk of electrical shock by disconnecting the power cord on the BenQ PB2140 projector.
- Reduce the risk of severe burns by allowing the projector to cool for at least 45 minutes.
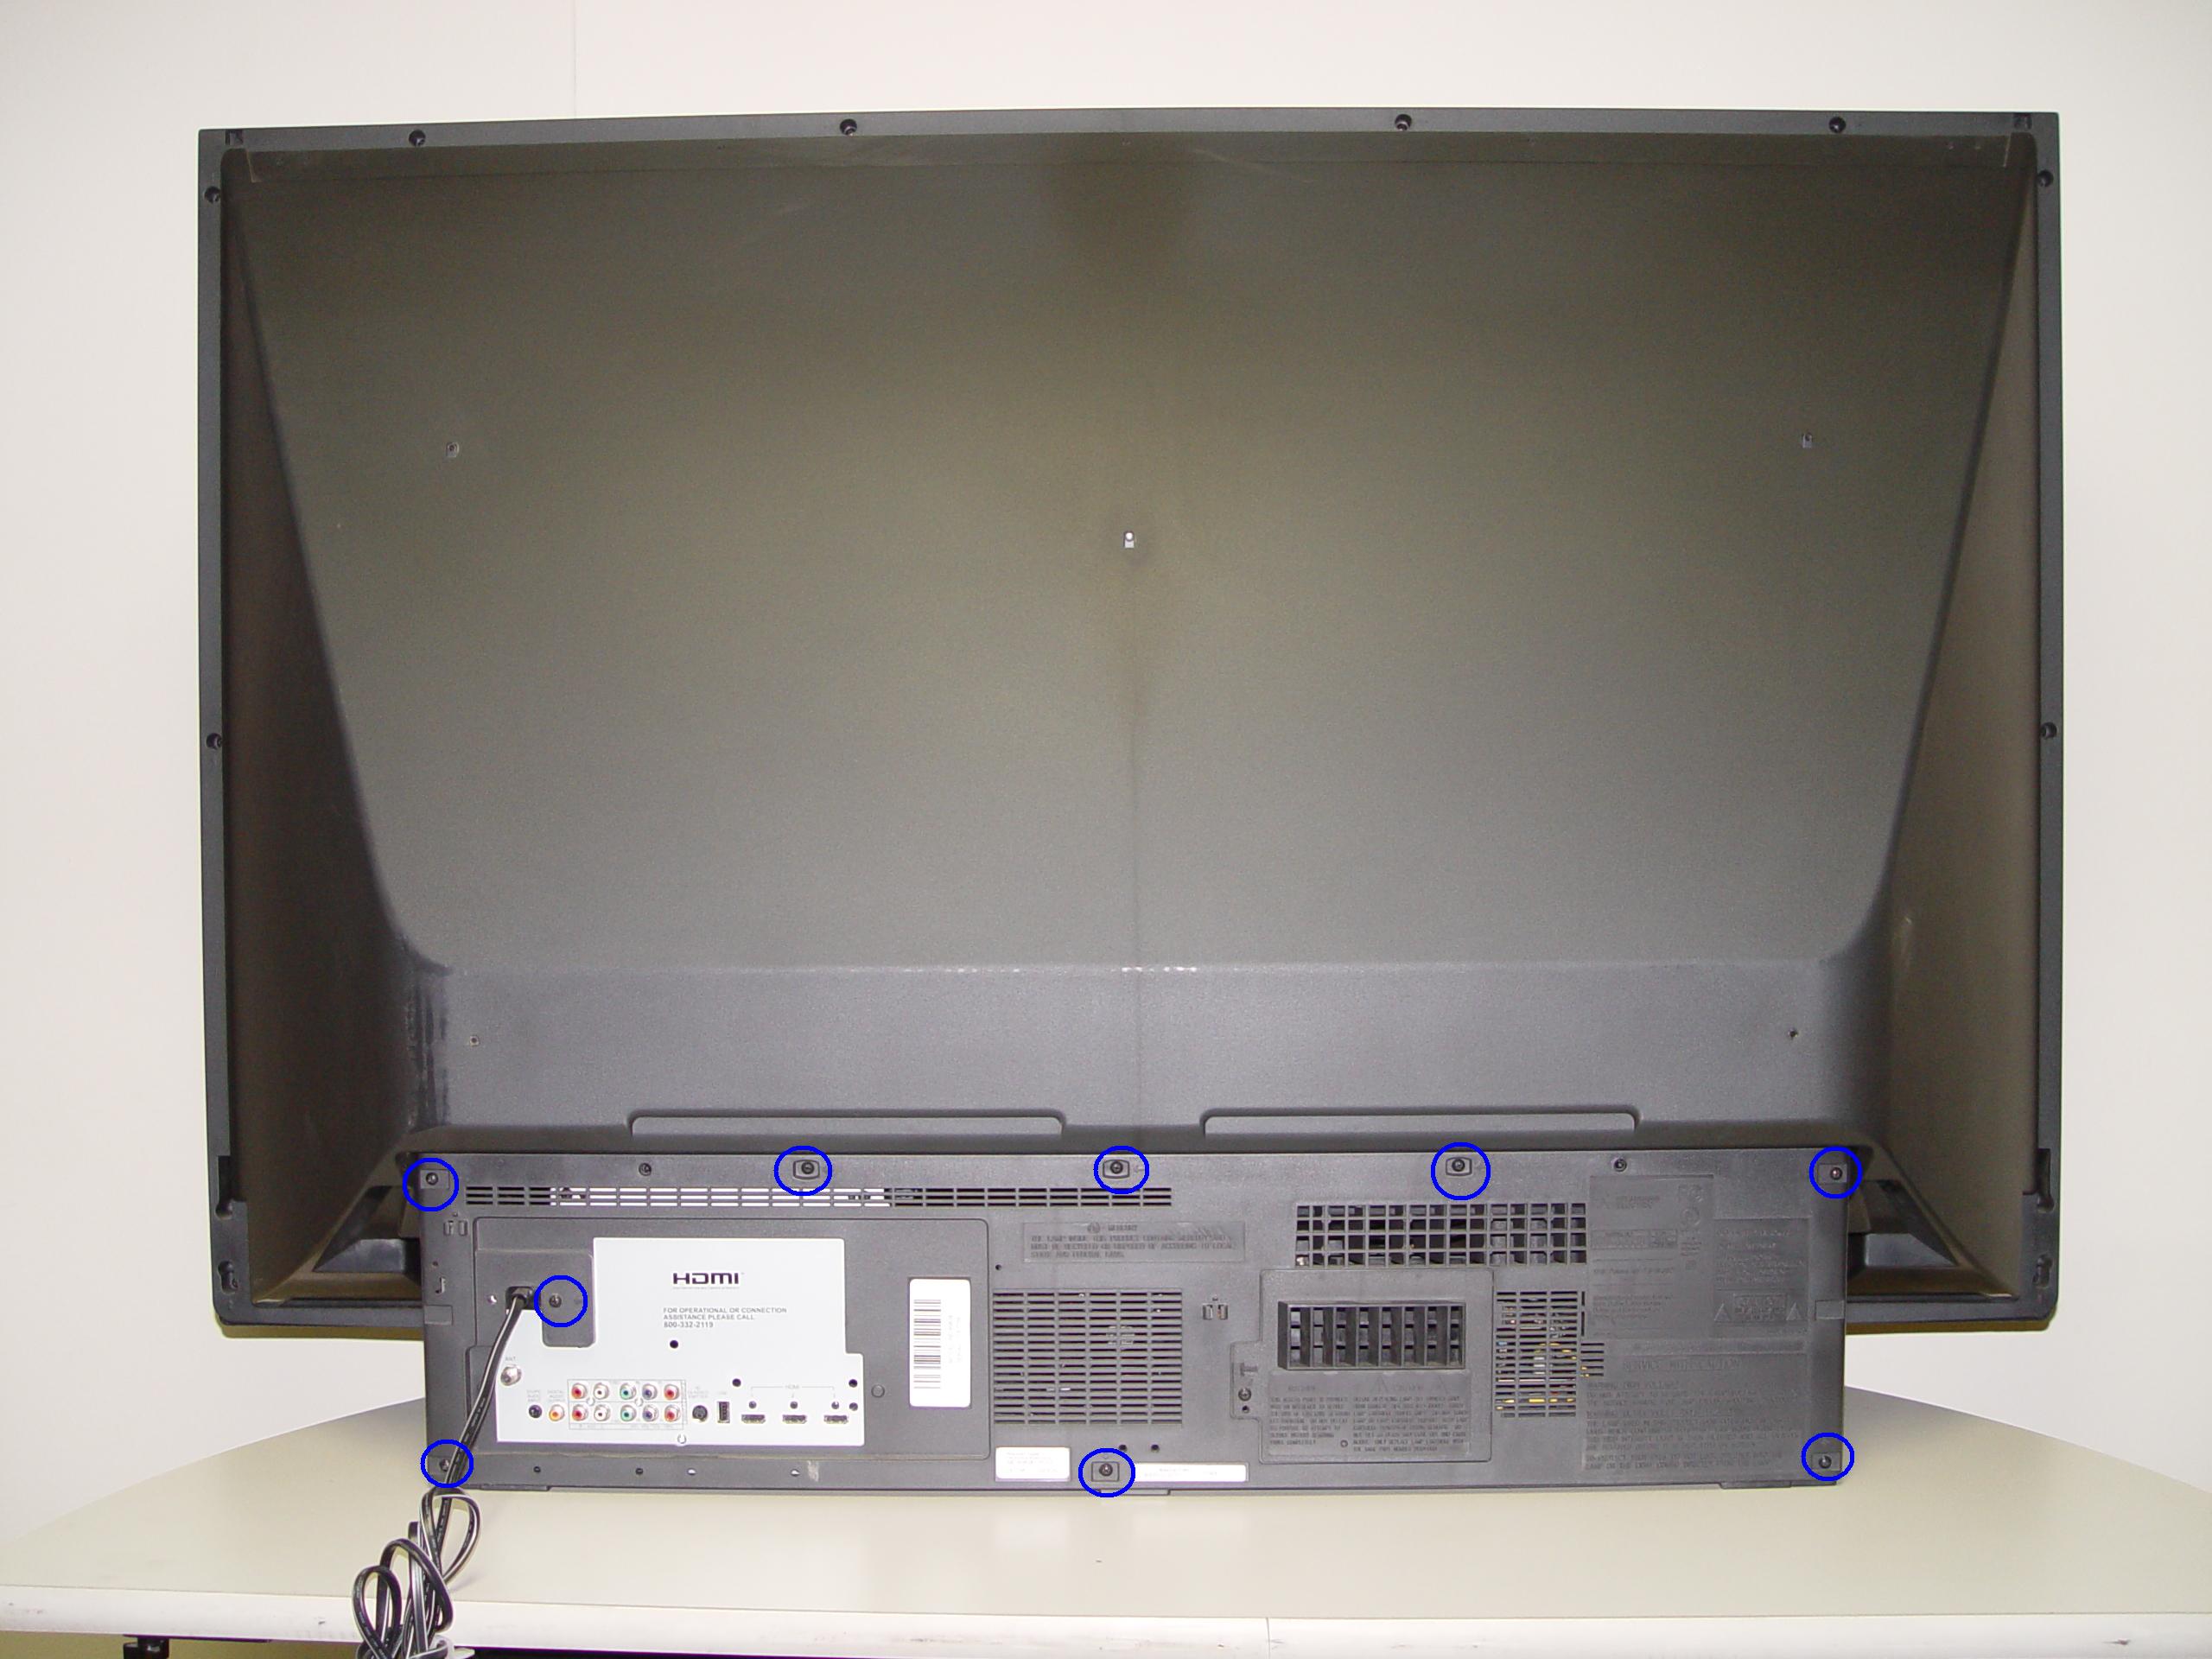
Step-by-step instructions for changing the BenQ 59.J9301.CG1 projector lamp
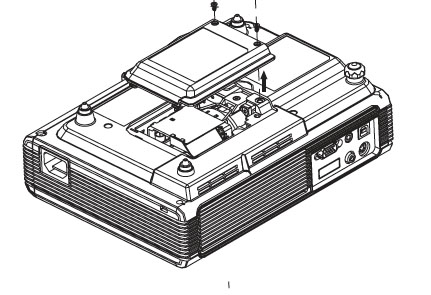
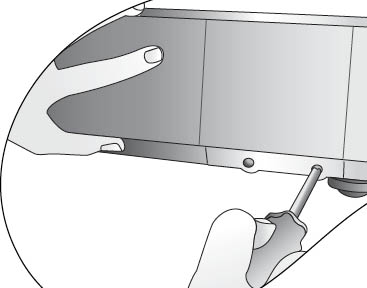
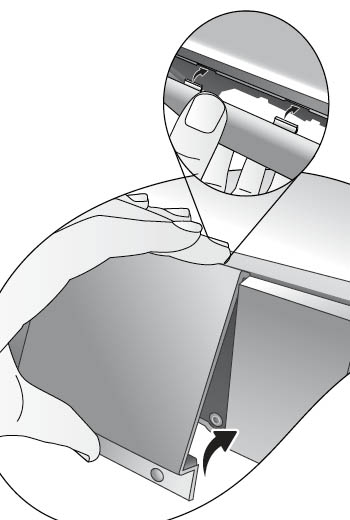
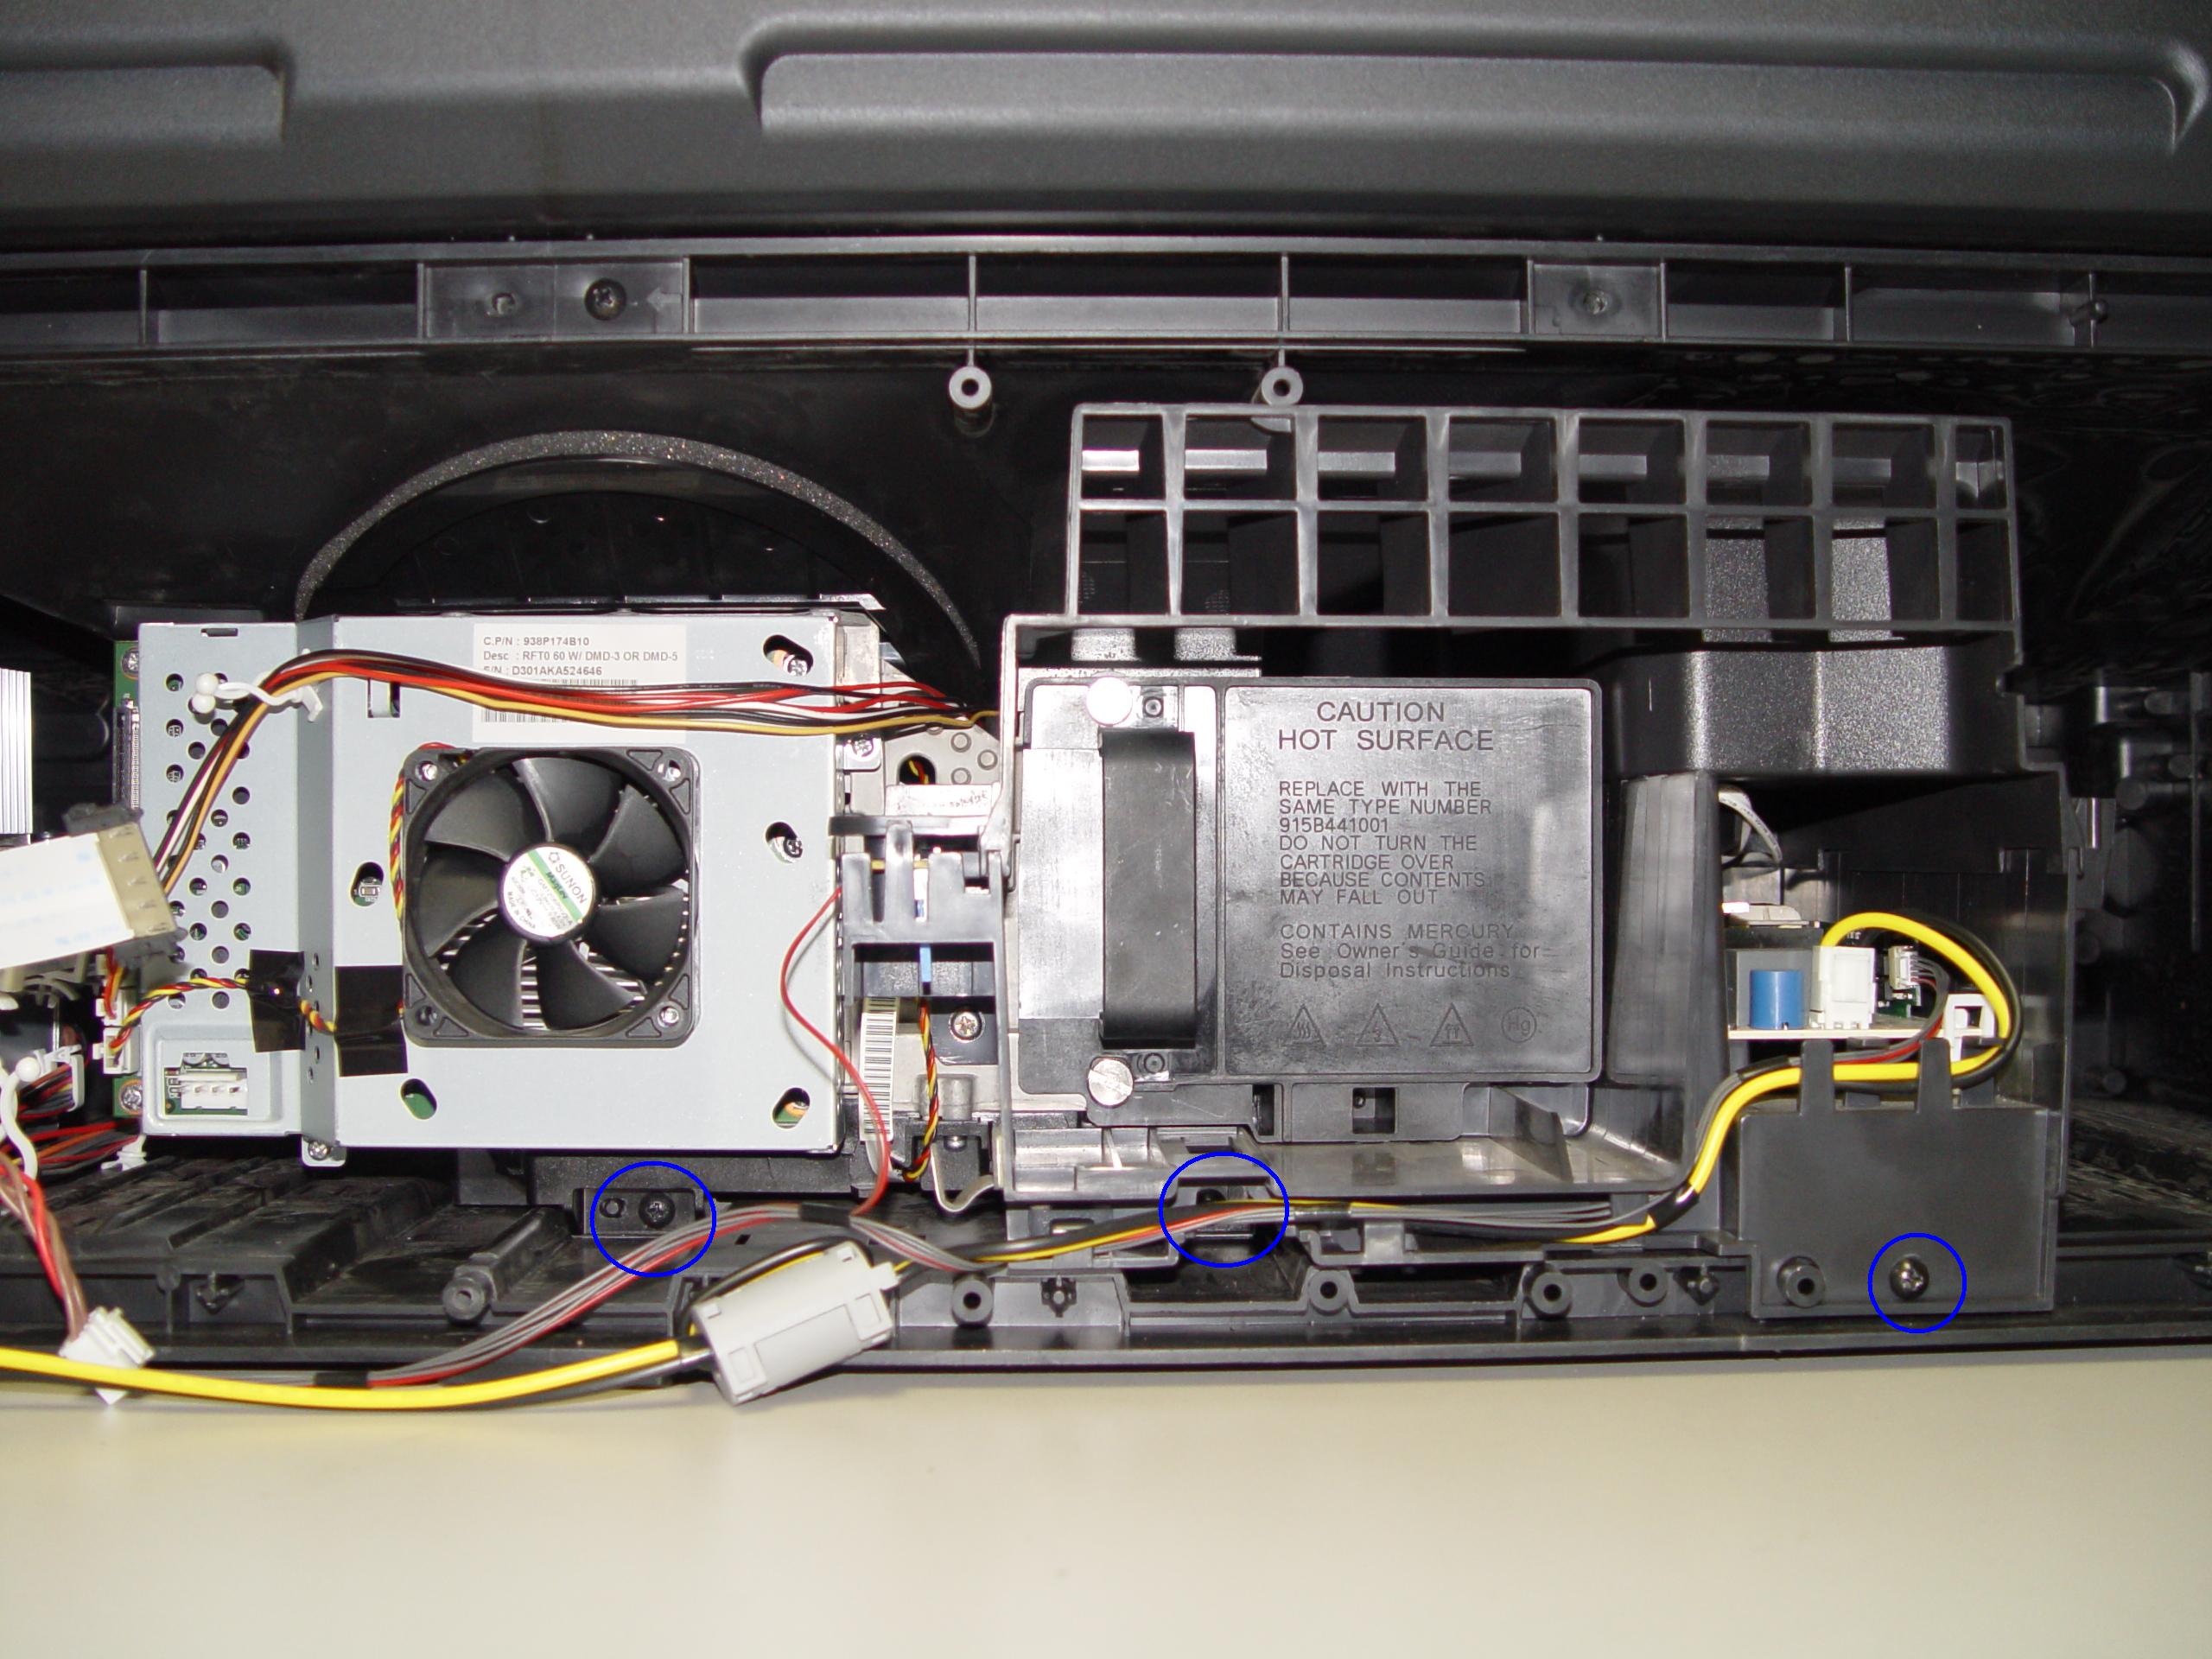
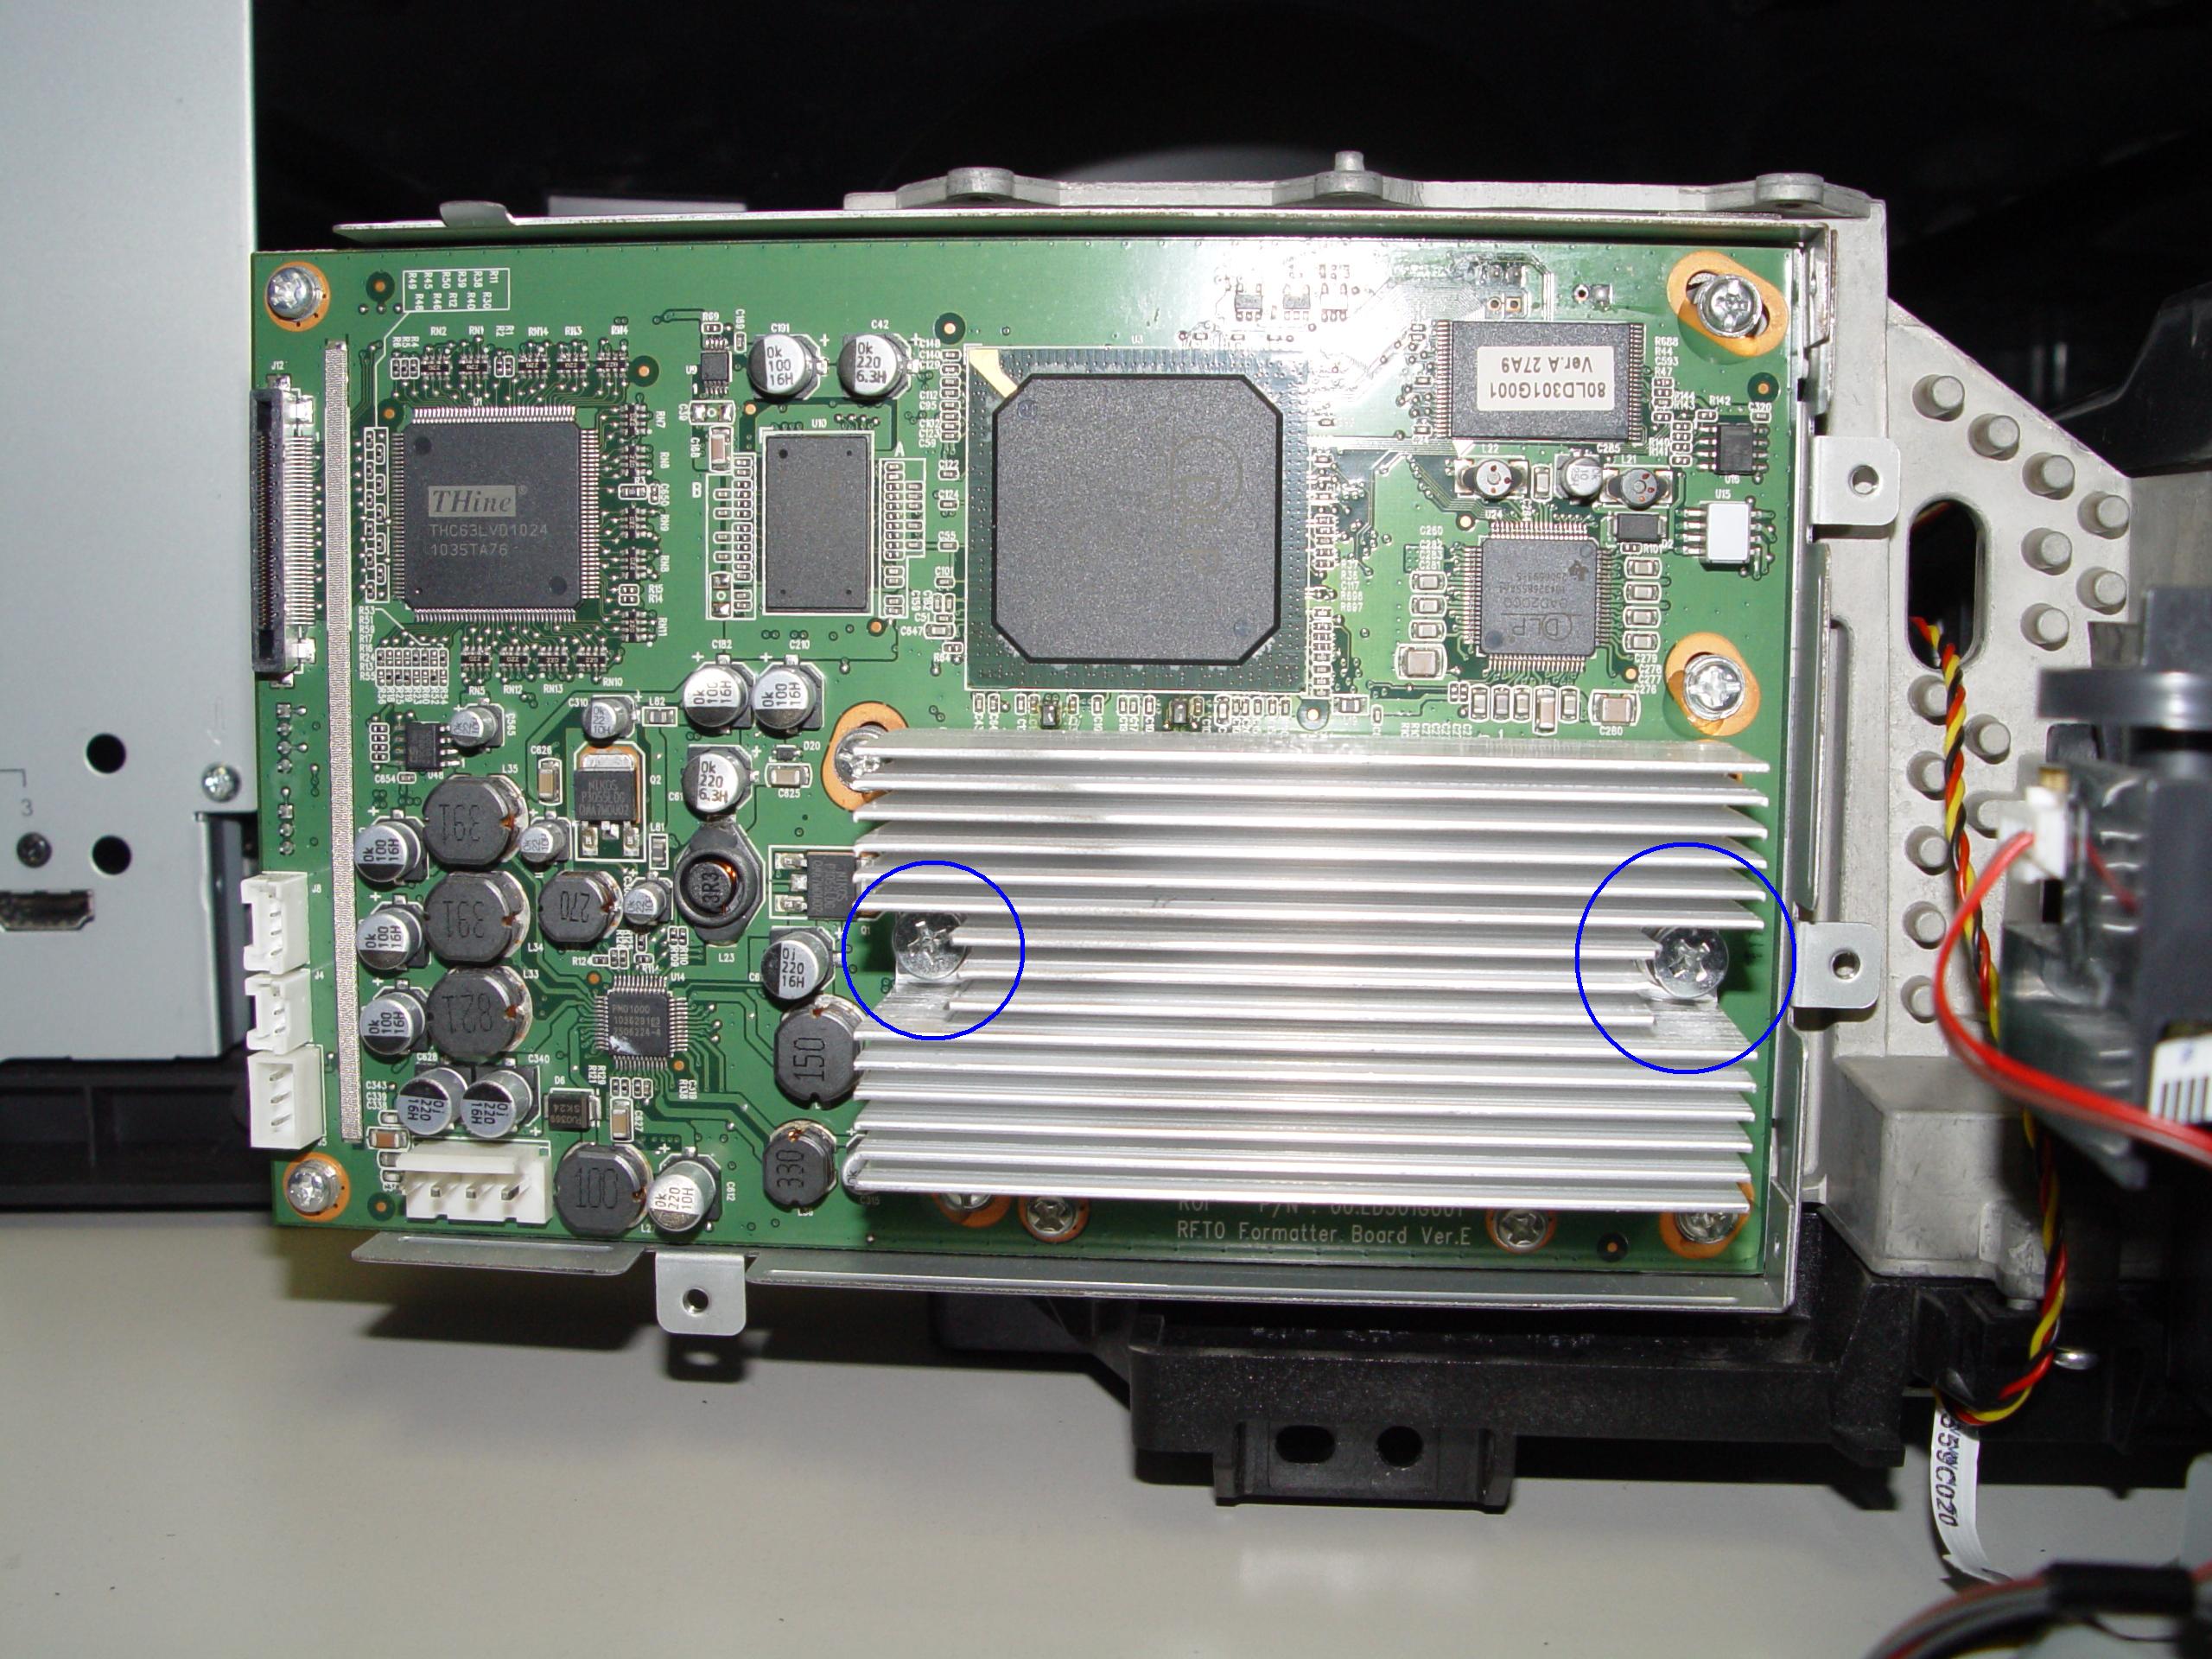
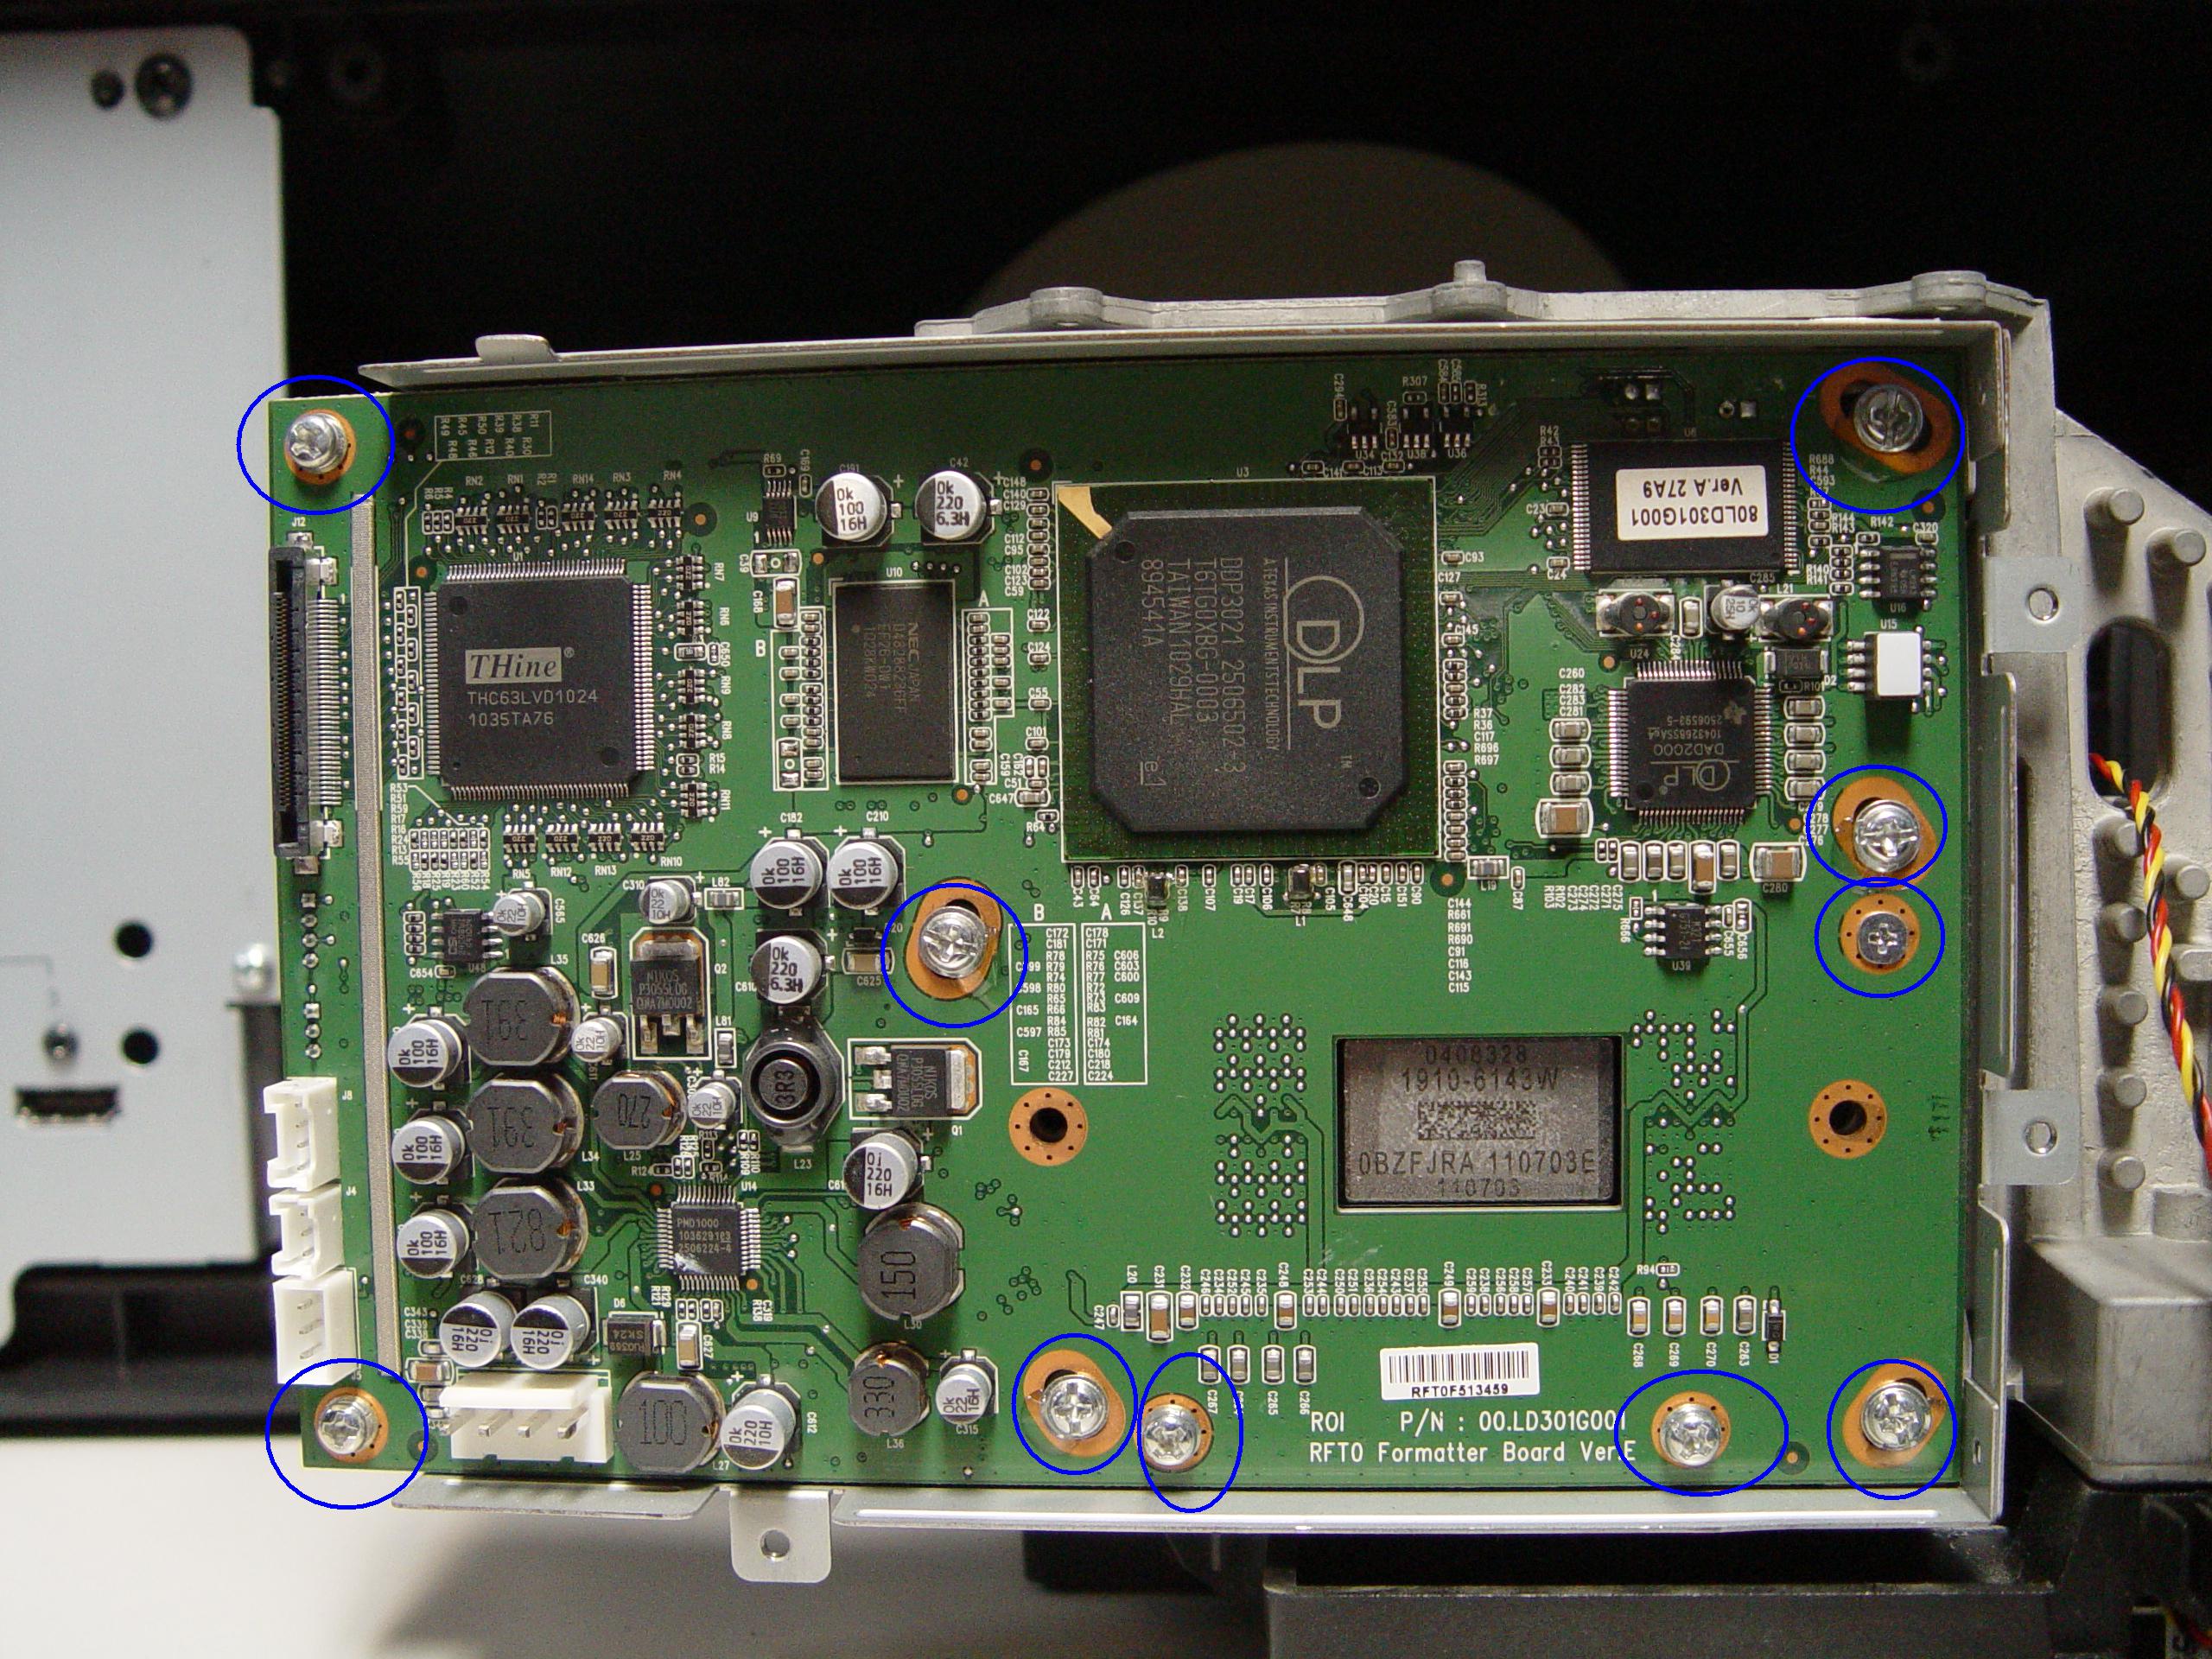
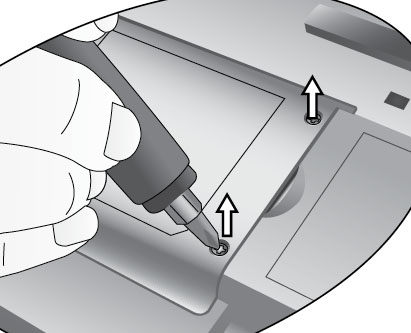
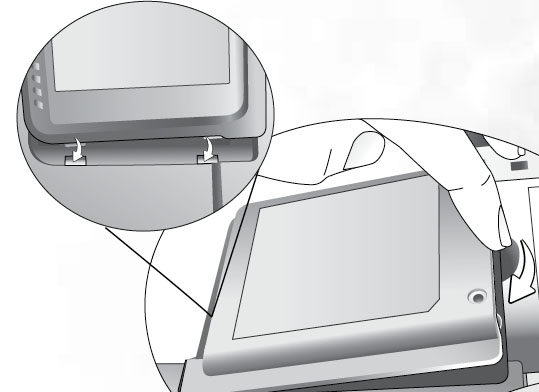
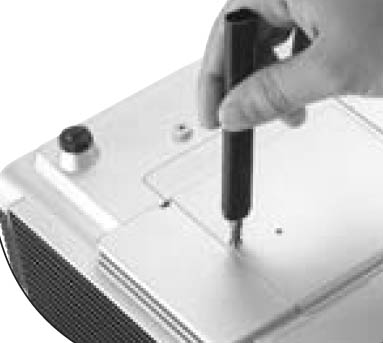
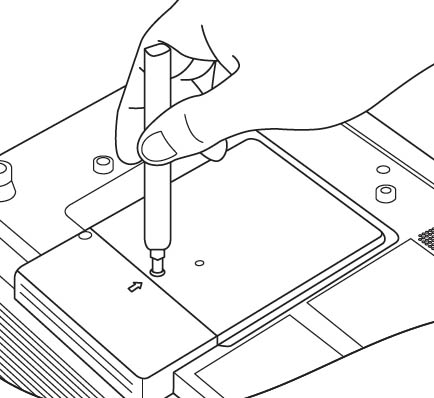
- The lamp cover is found on the bottom of the projector. Turn the projector over onto soft surface to protect the top of the projector. Loosen the two screws holding the BenQ PB2140 lamp cover in place. (Use a magnetic screwdriver to make the whole process easier.)
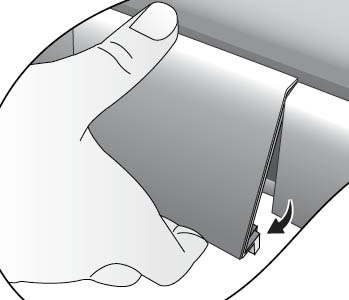
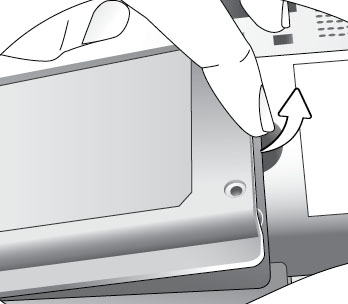
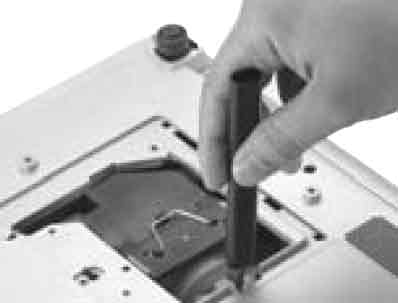
- Remove the lamp cover and place it to one side.
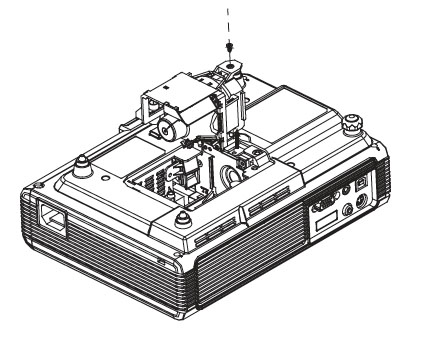
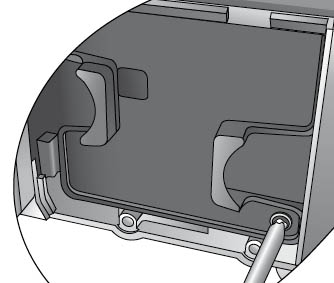
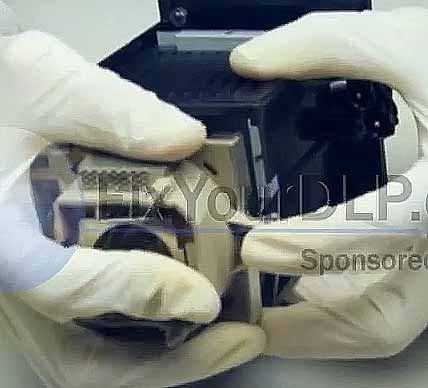
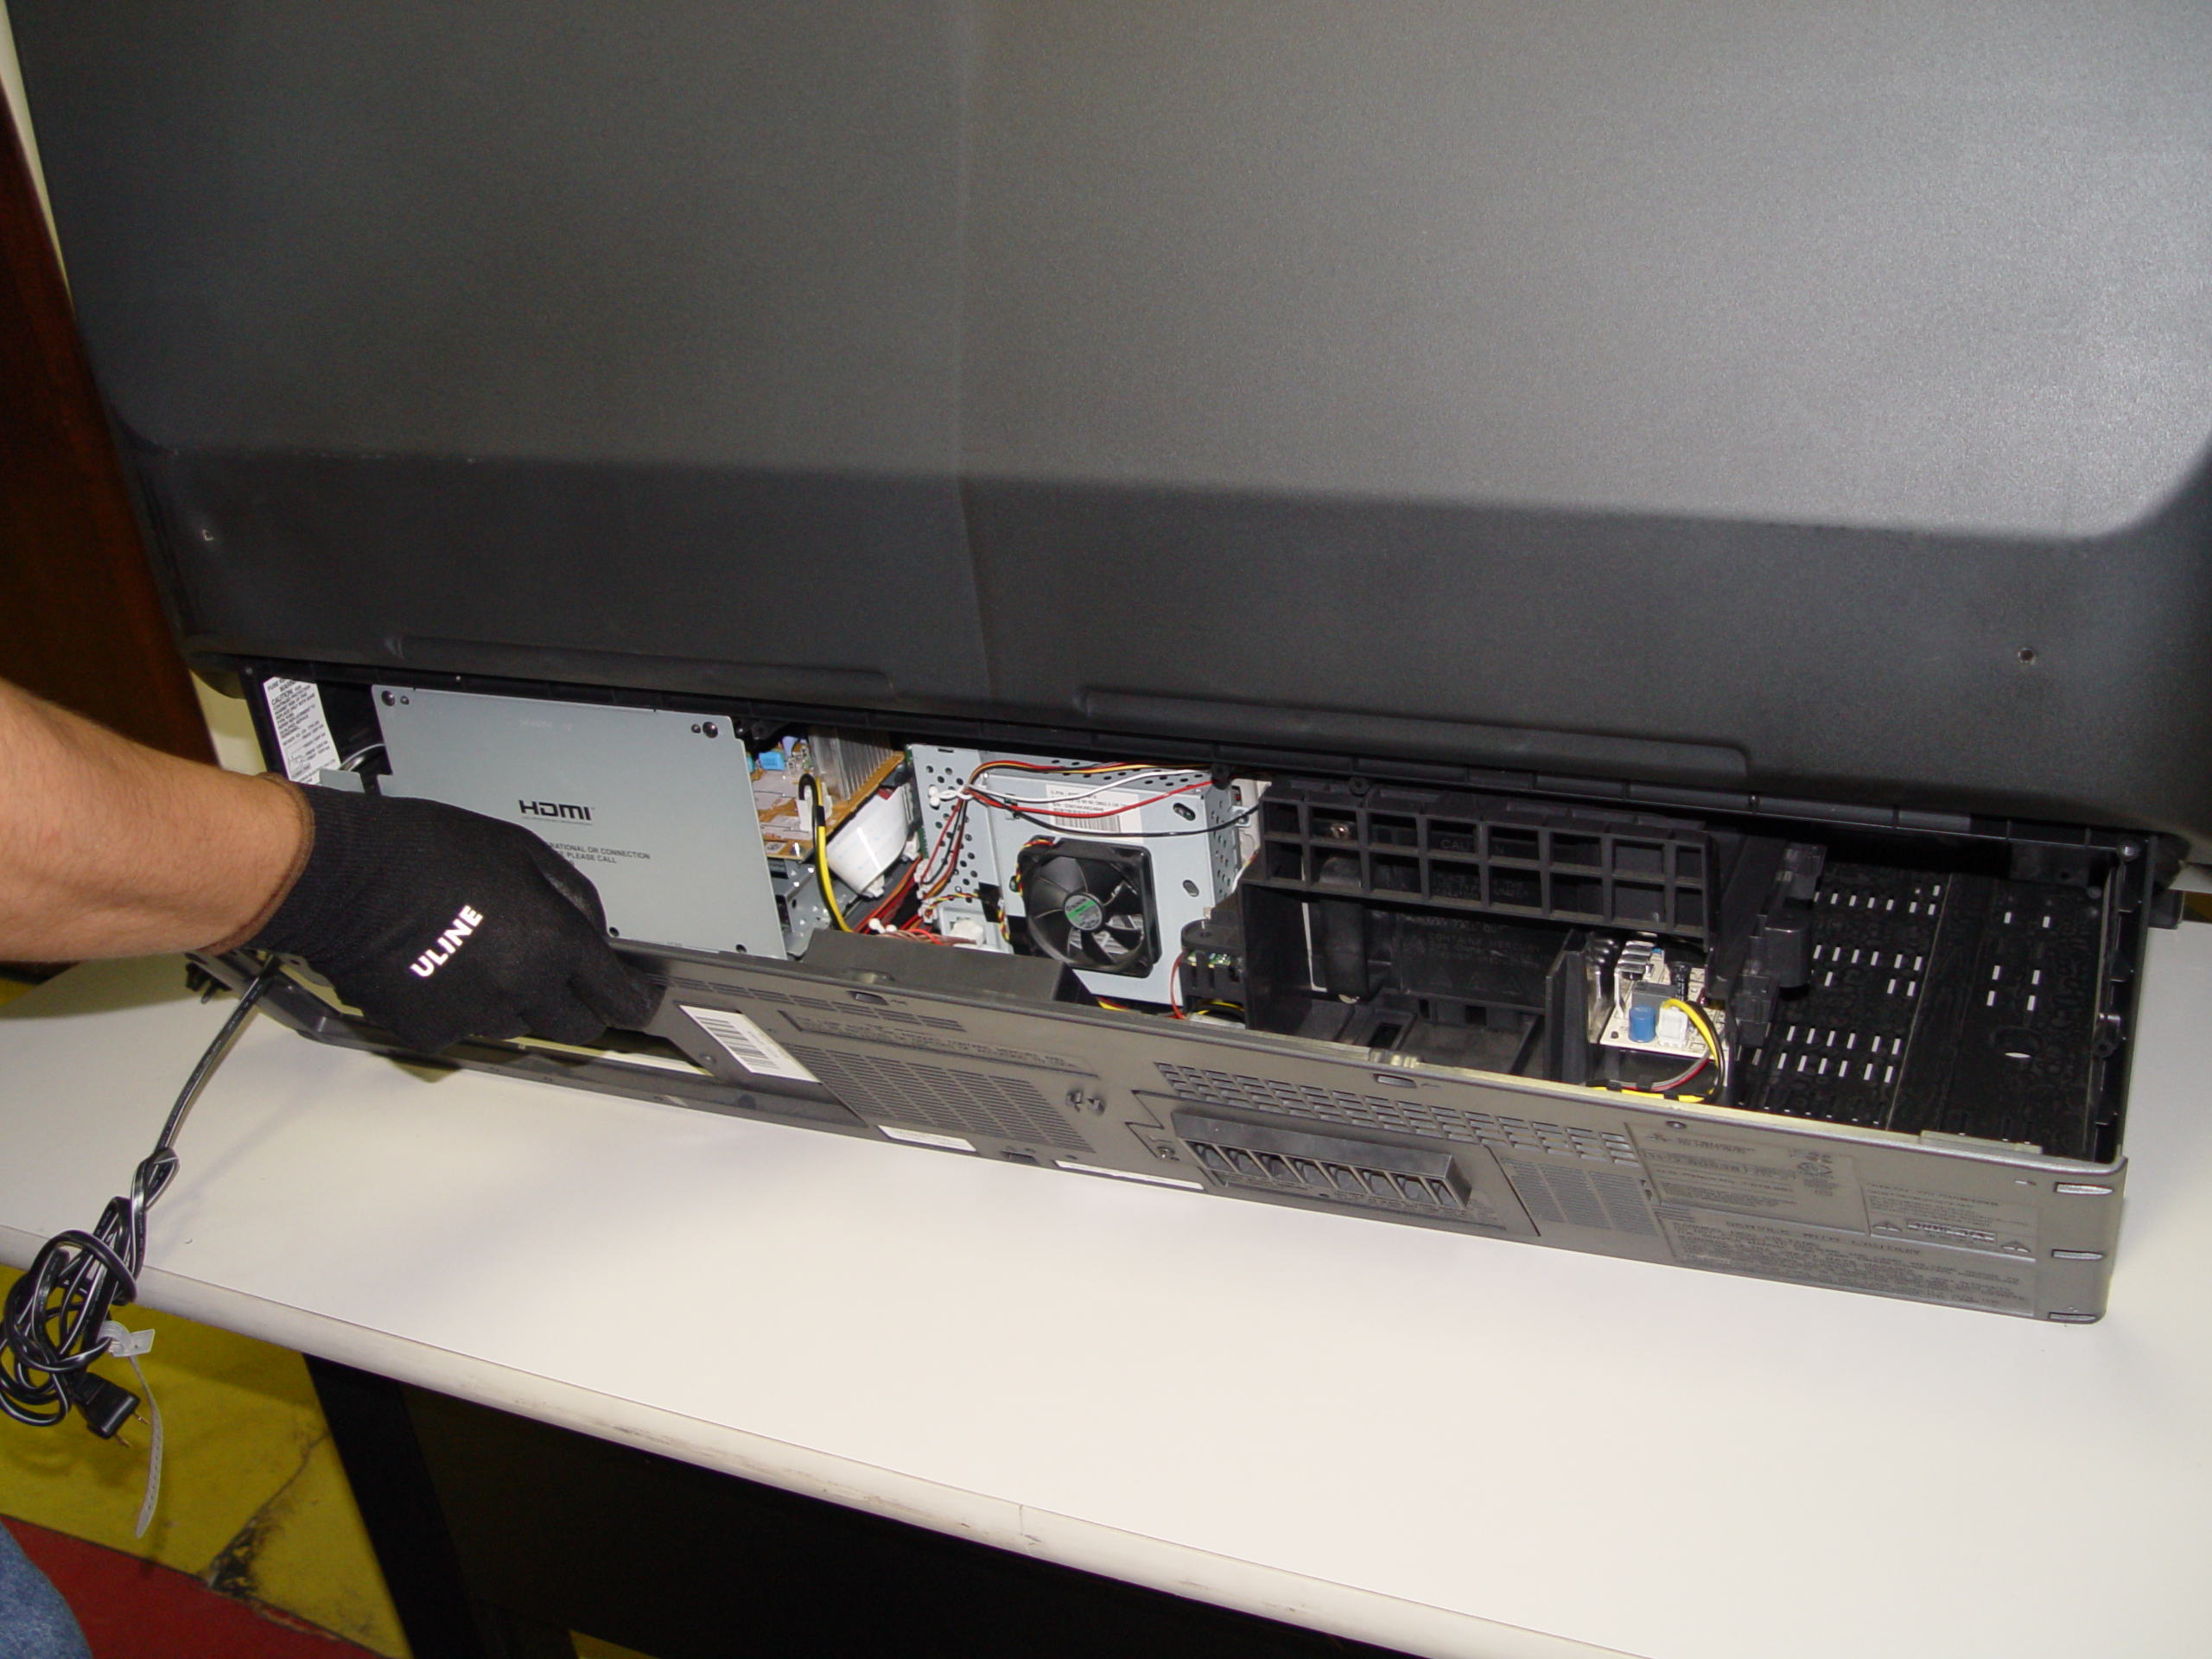
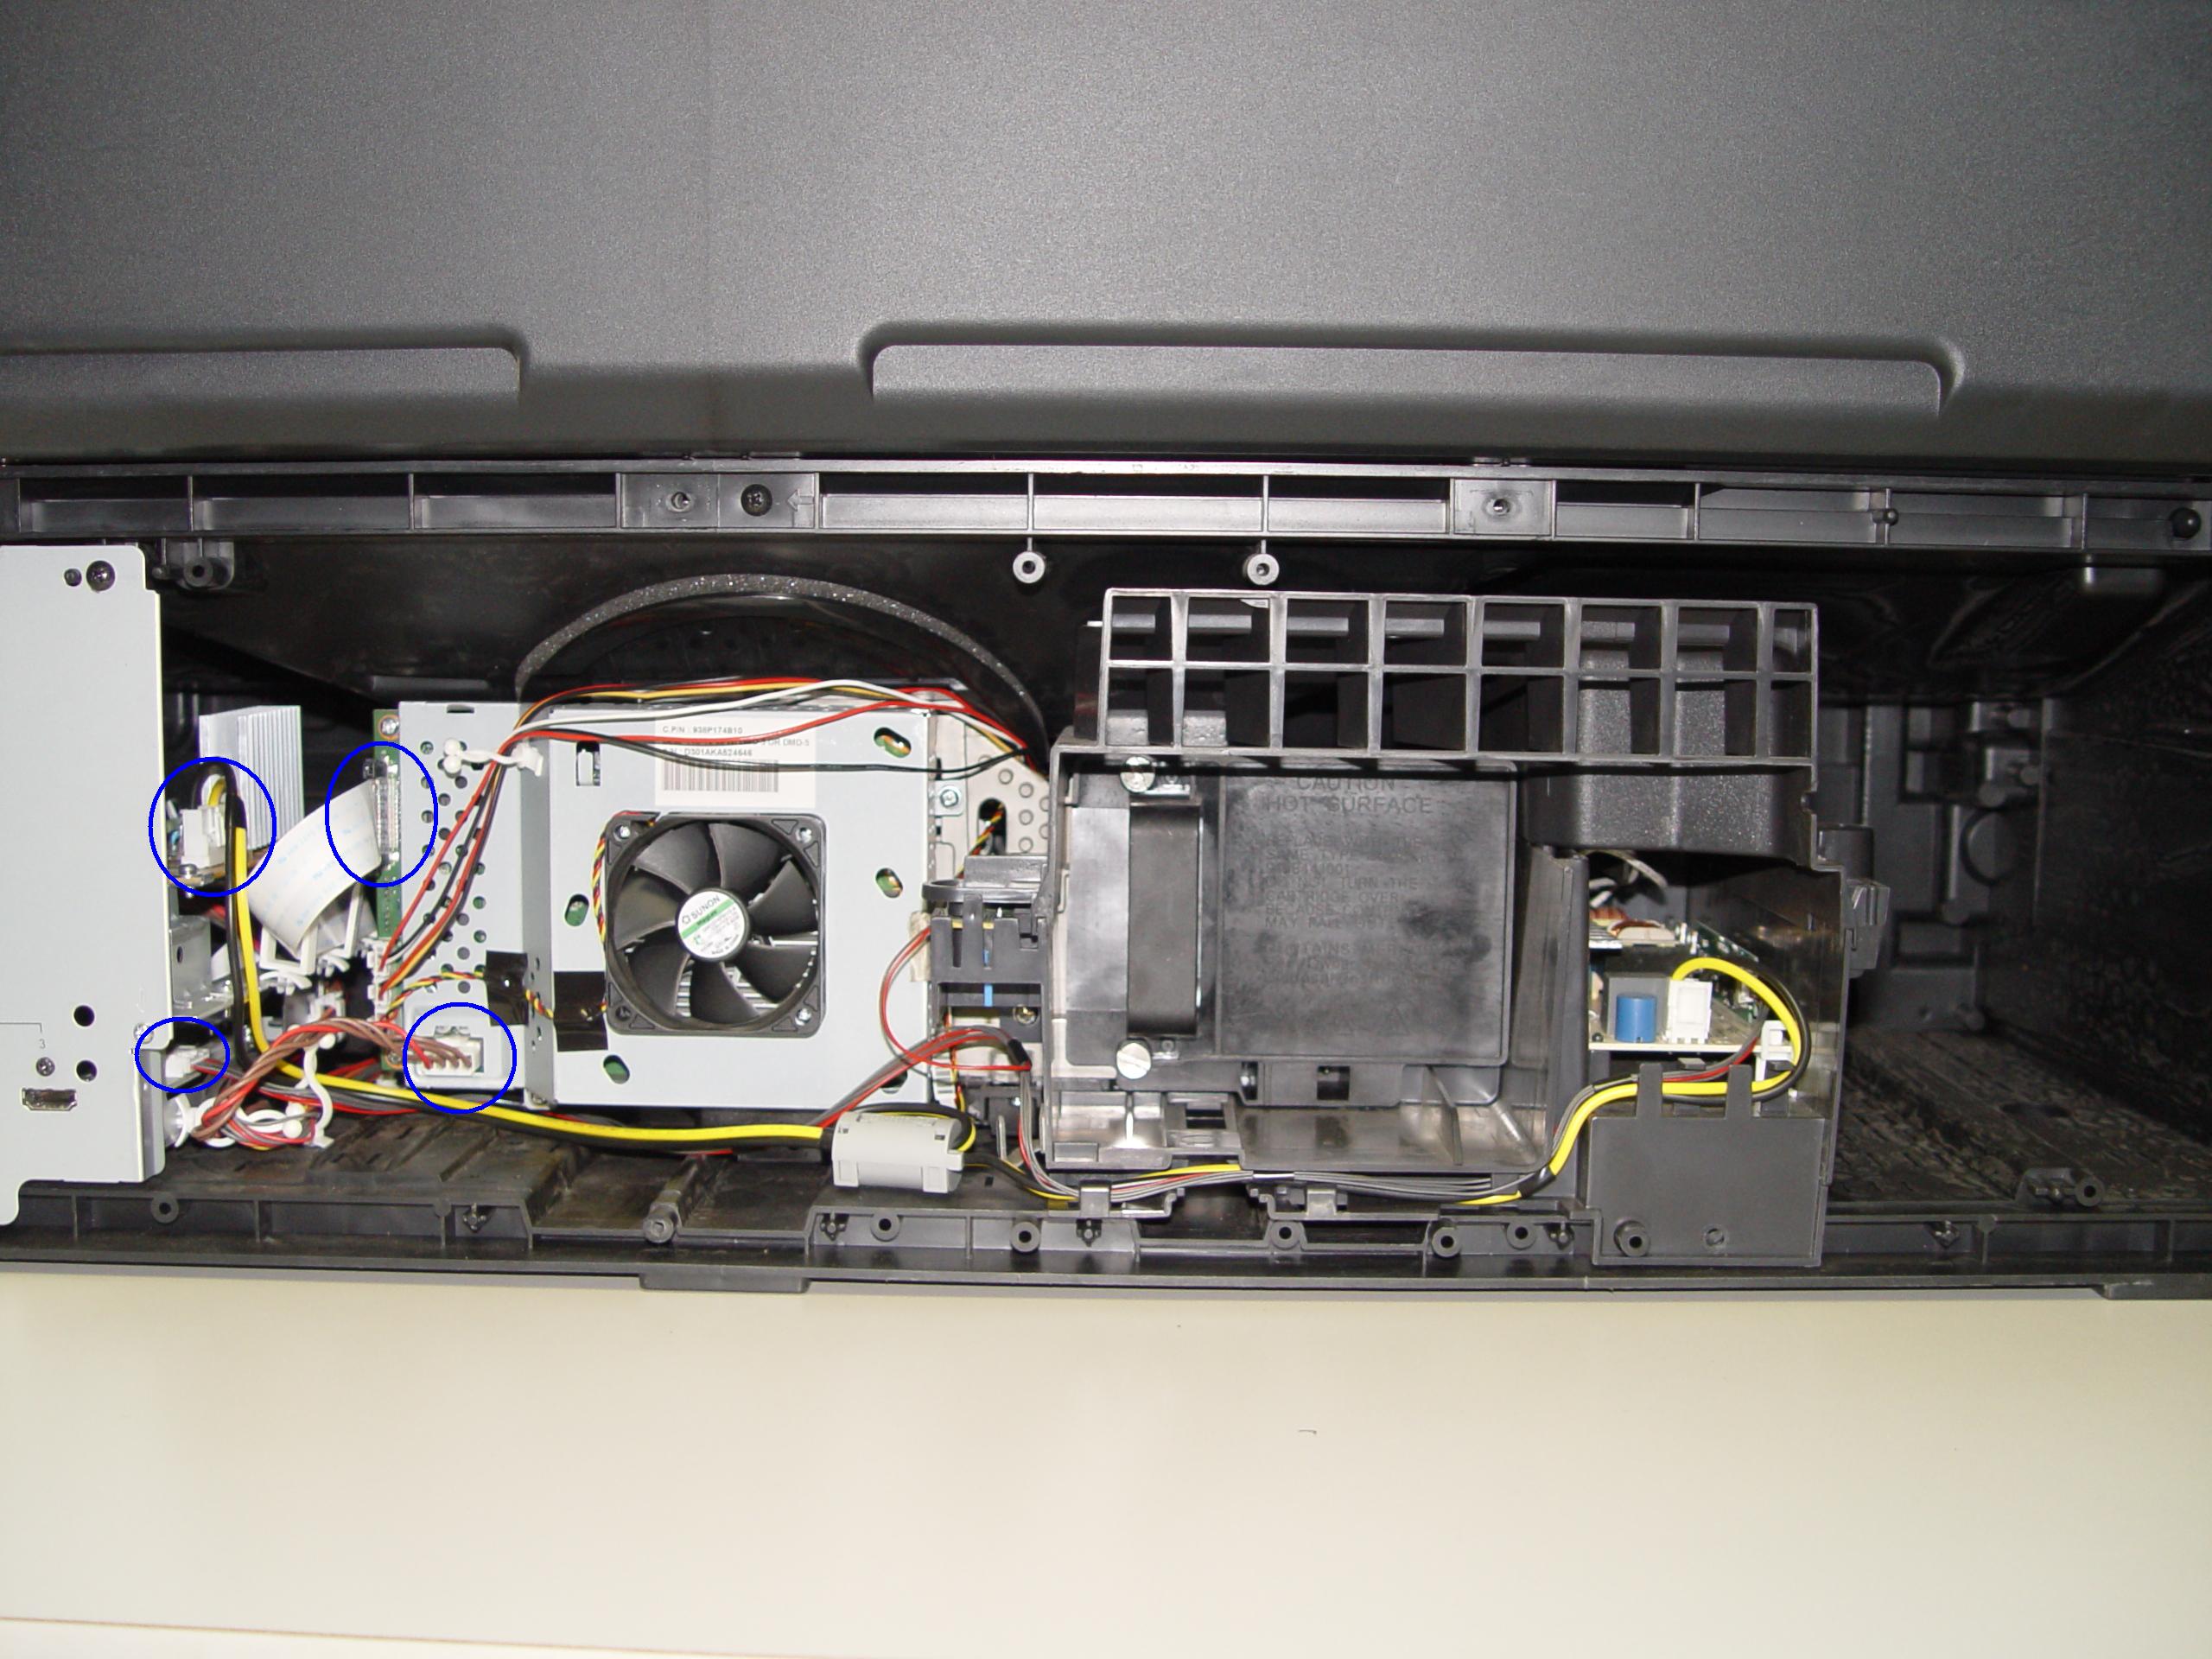
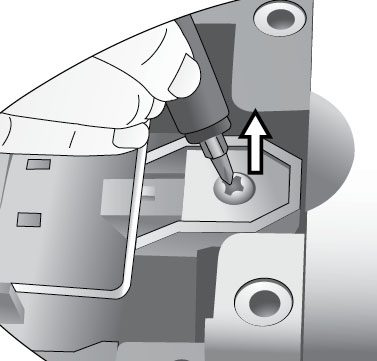
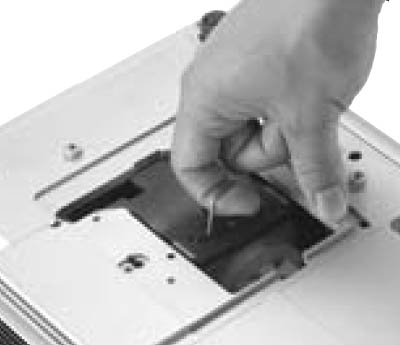
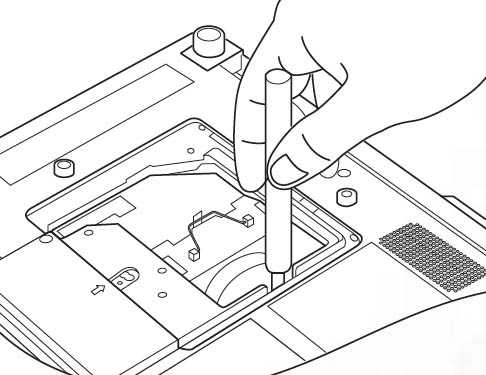
- Loosen the screw on theBenQ 59.J9301.CG1 lamp. Be sure not to lose the screw as the projector will not turn on unless the lamp is properly secured into the projector. Using a magnetic-head screwdriver will ensure you don’t accidentally drop the screw into the projector!
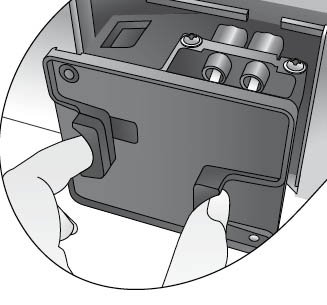
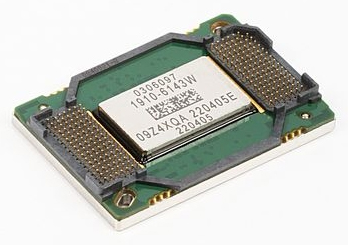
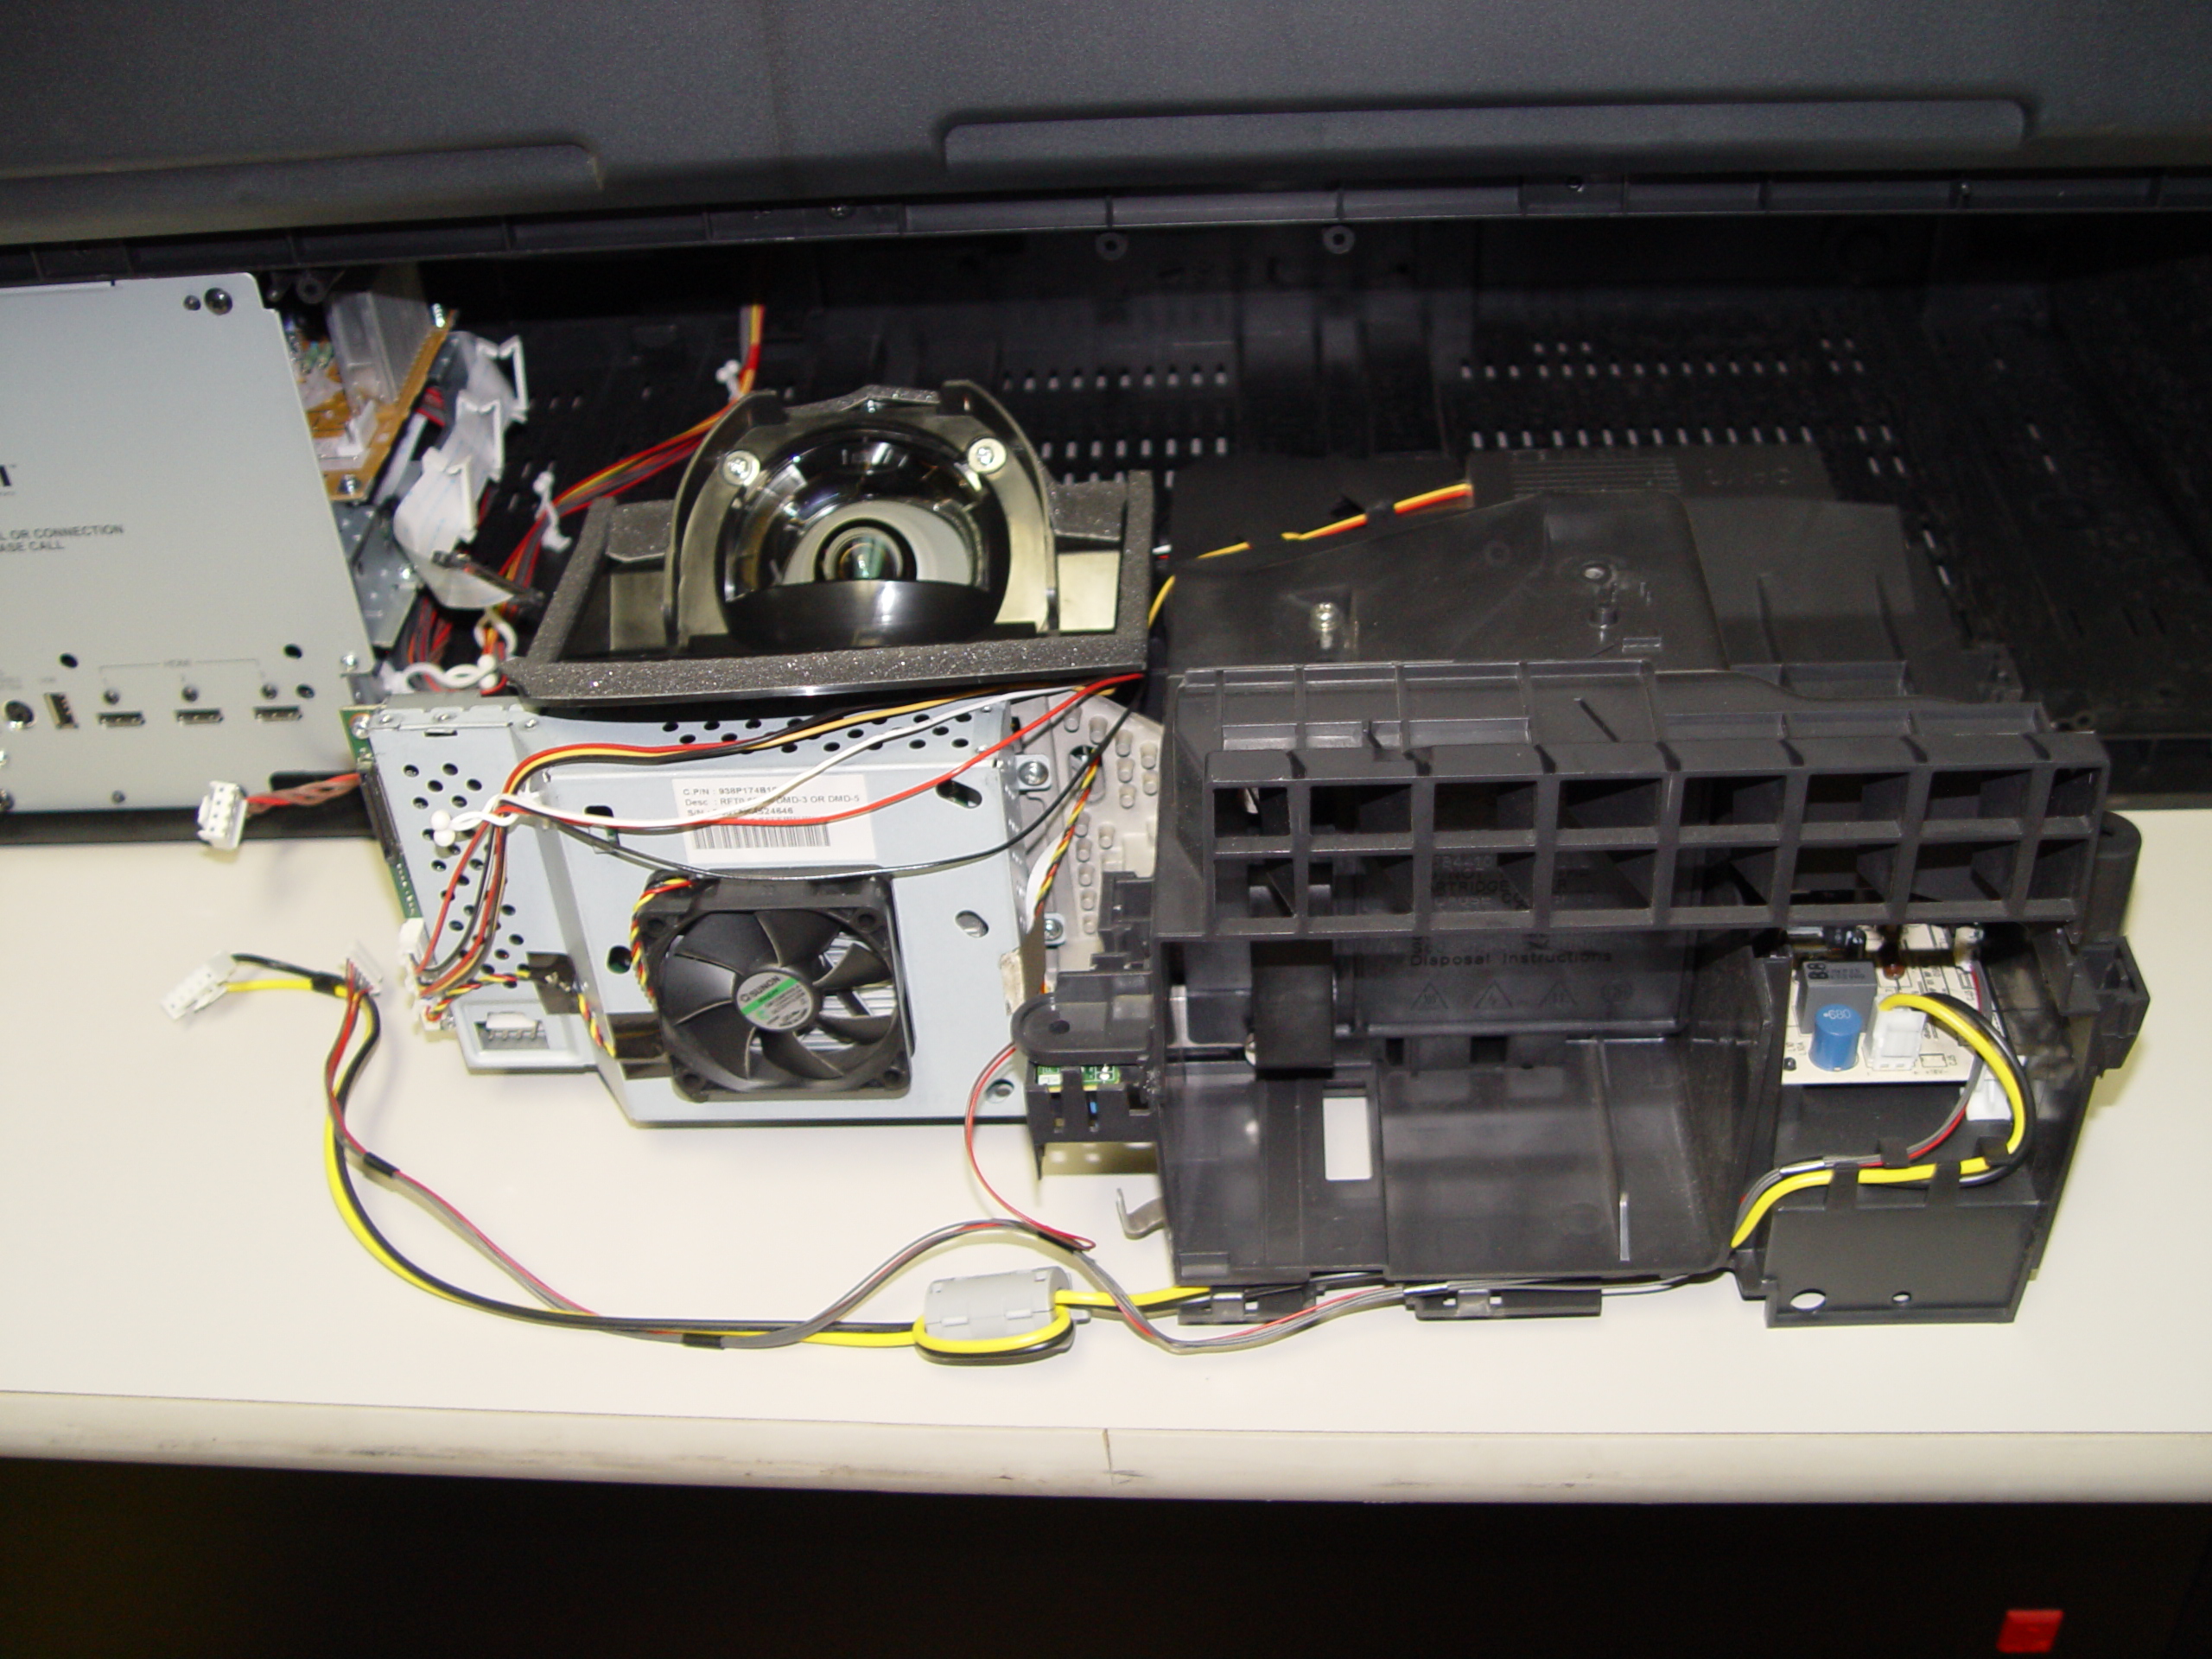
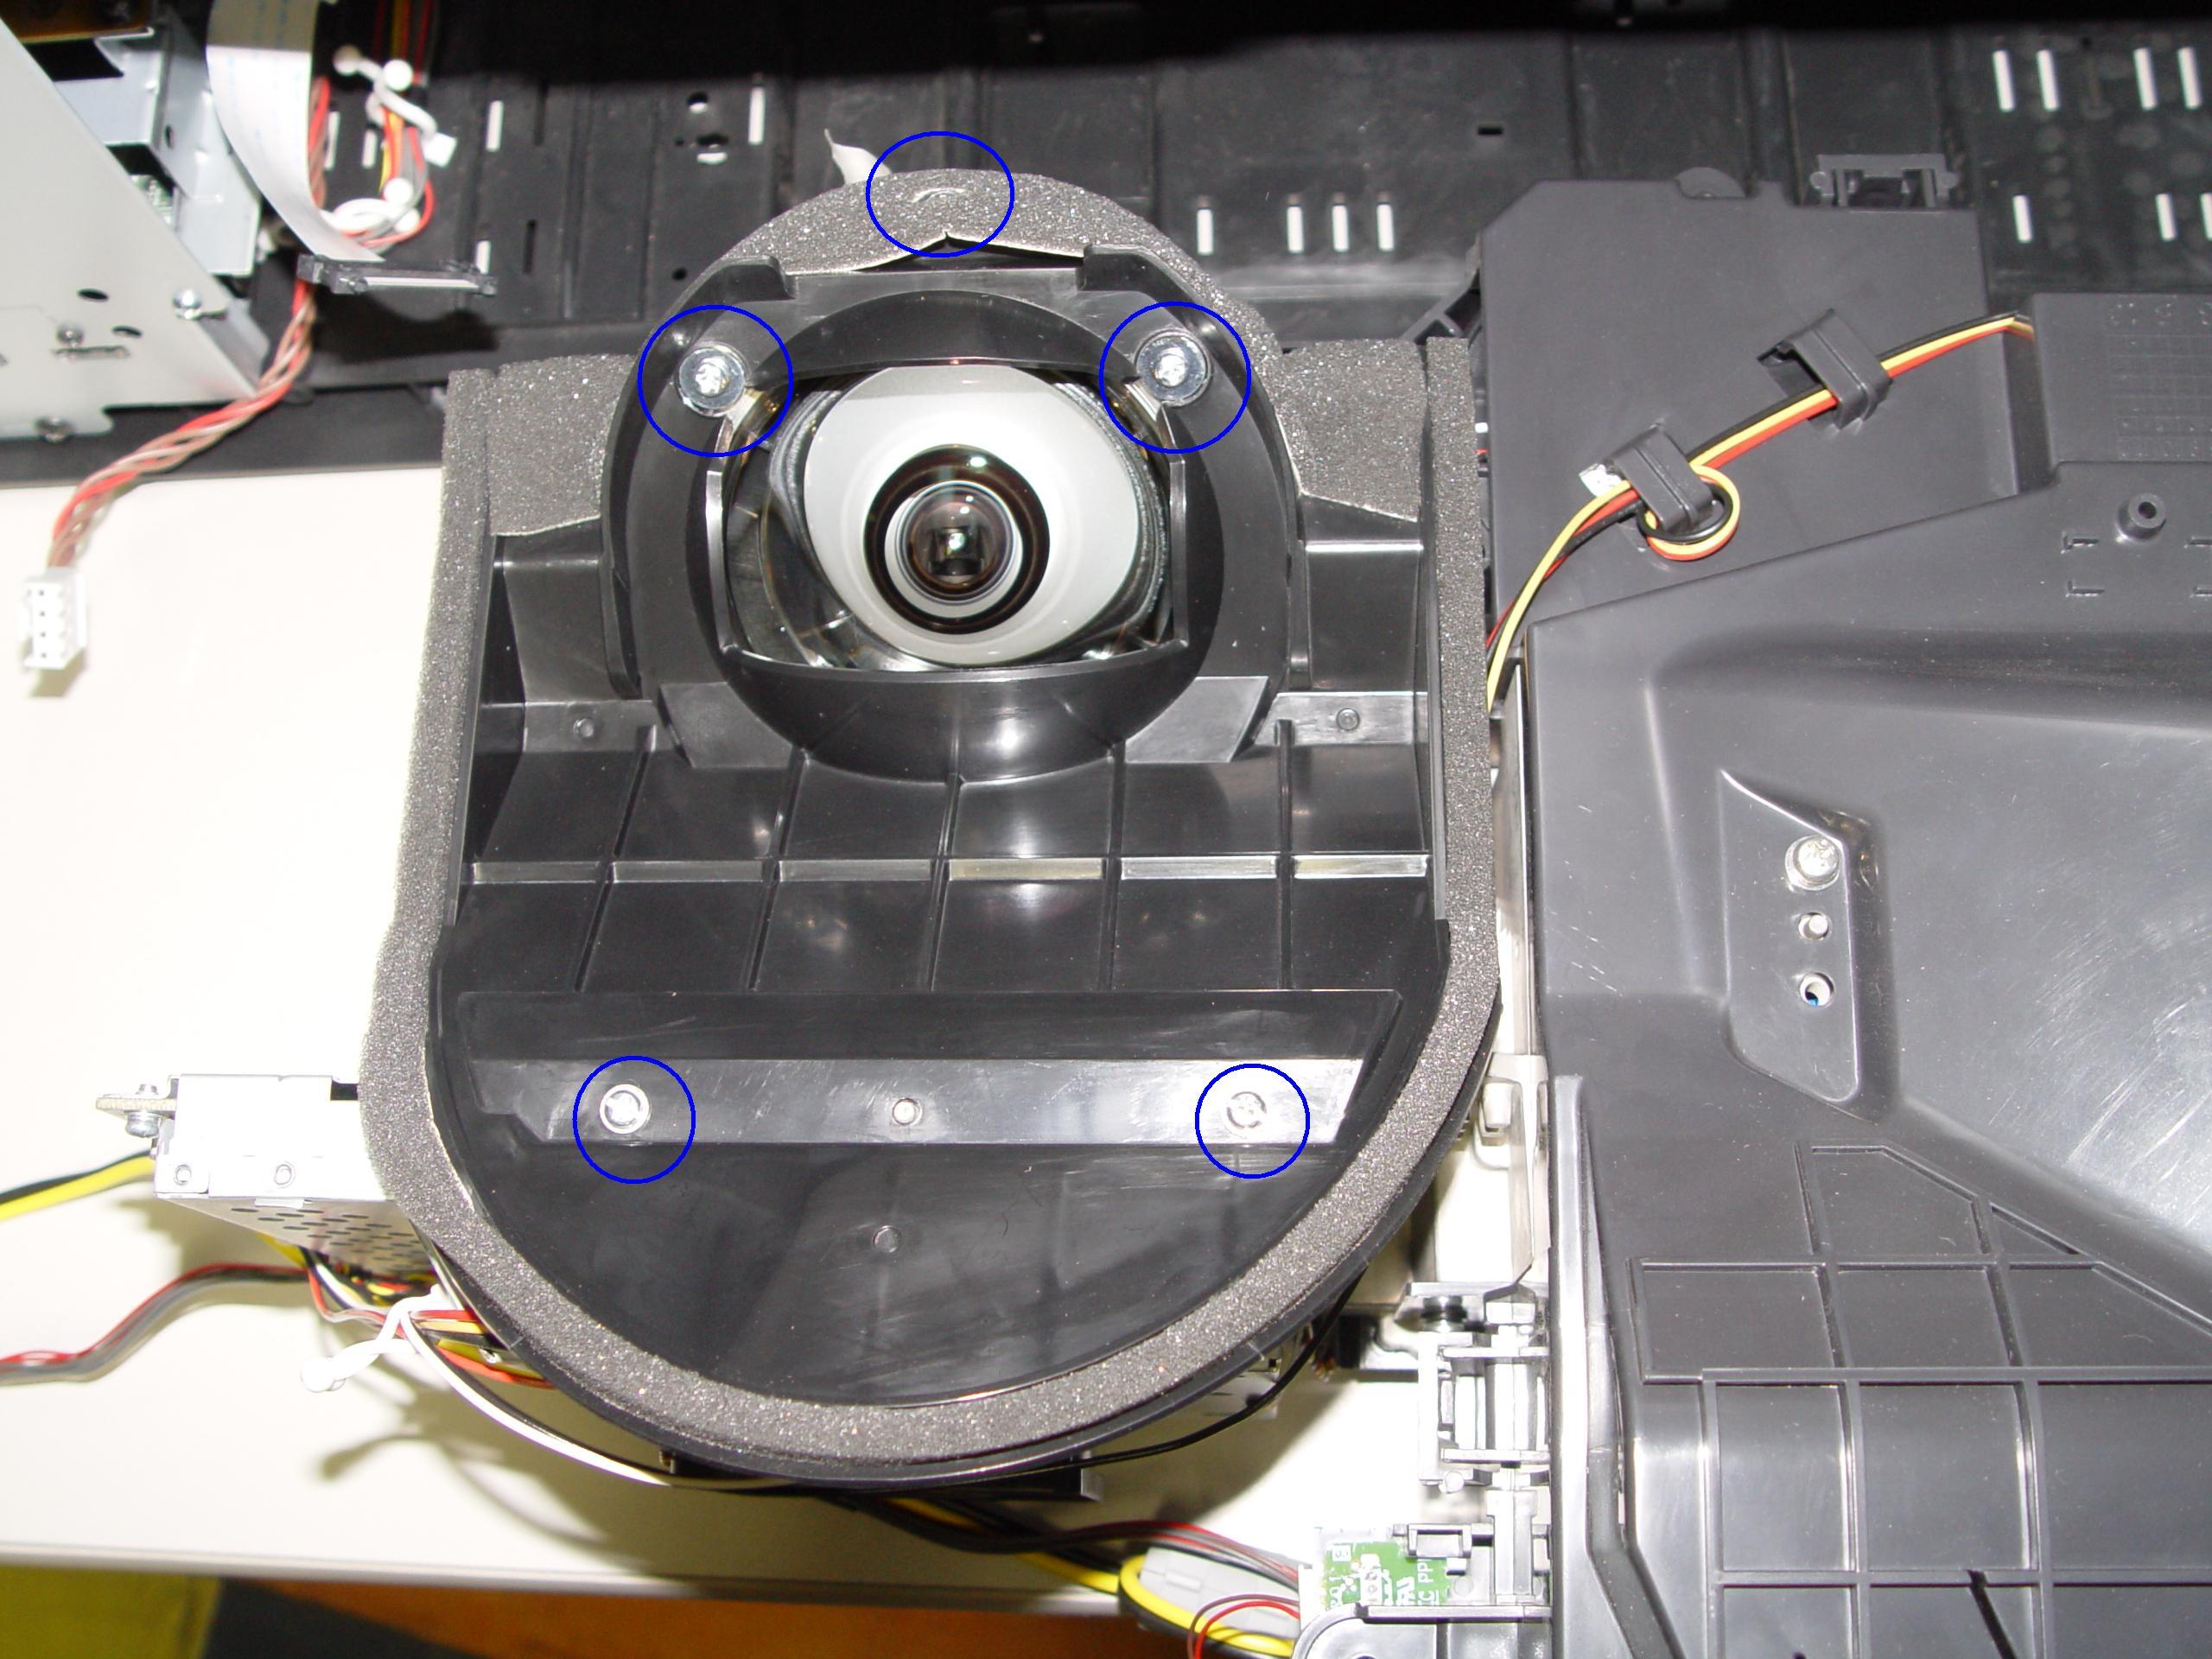
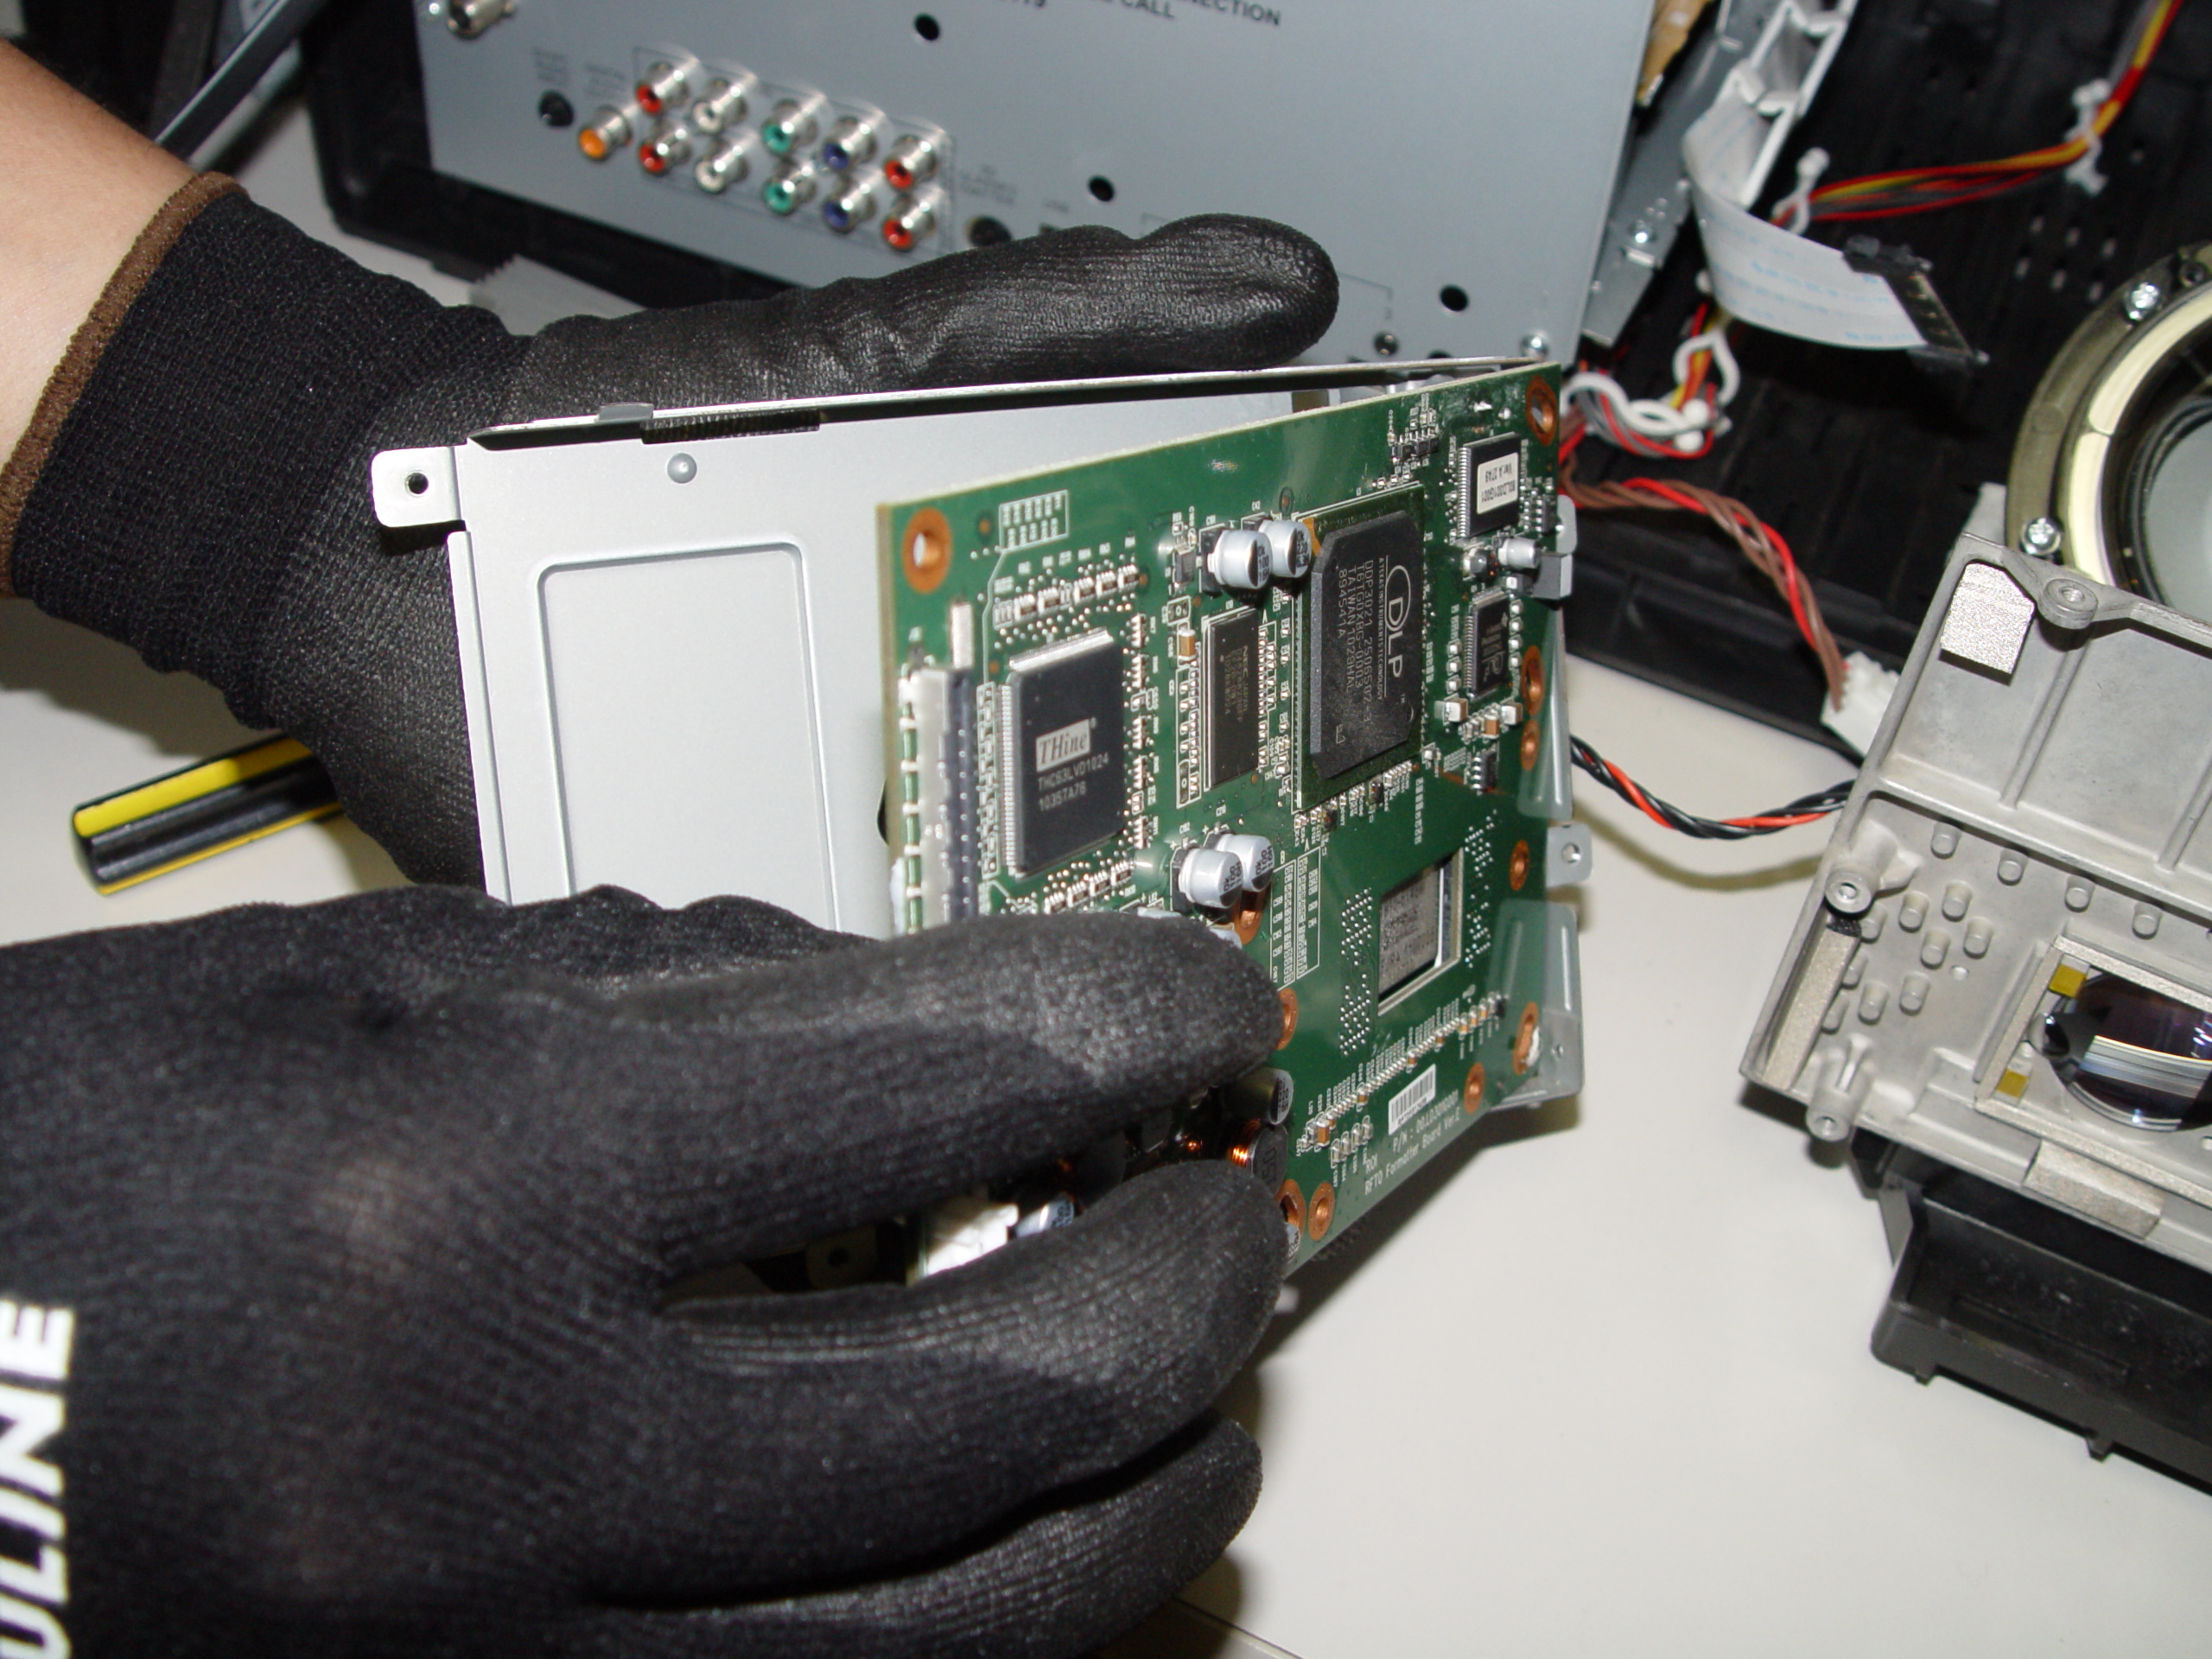
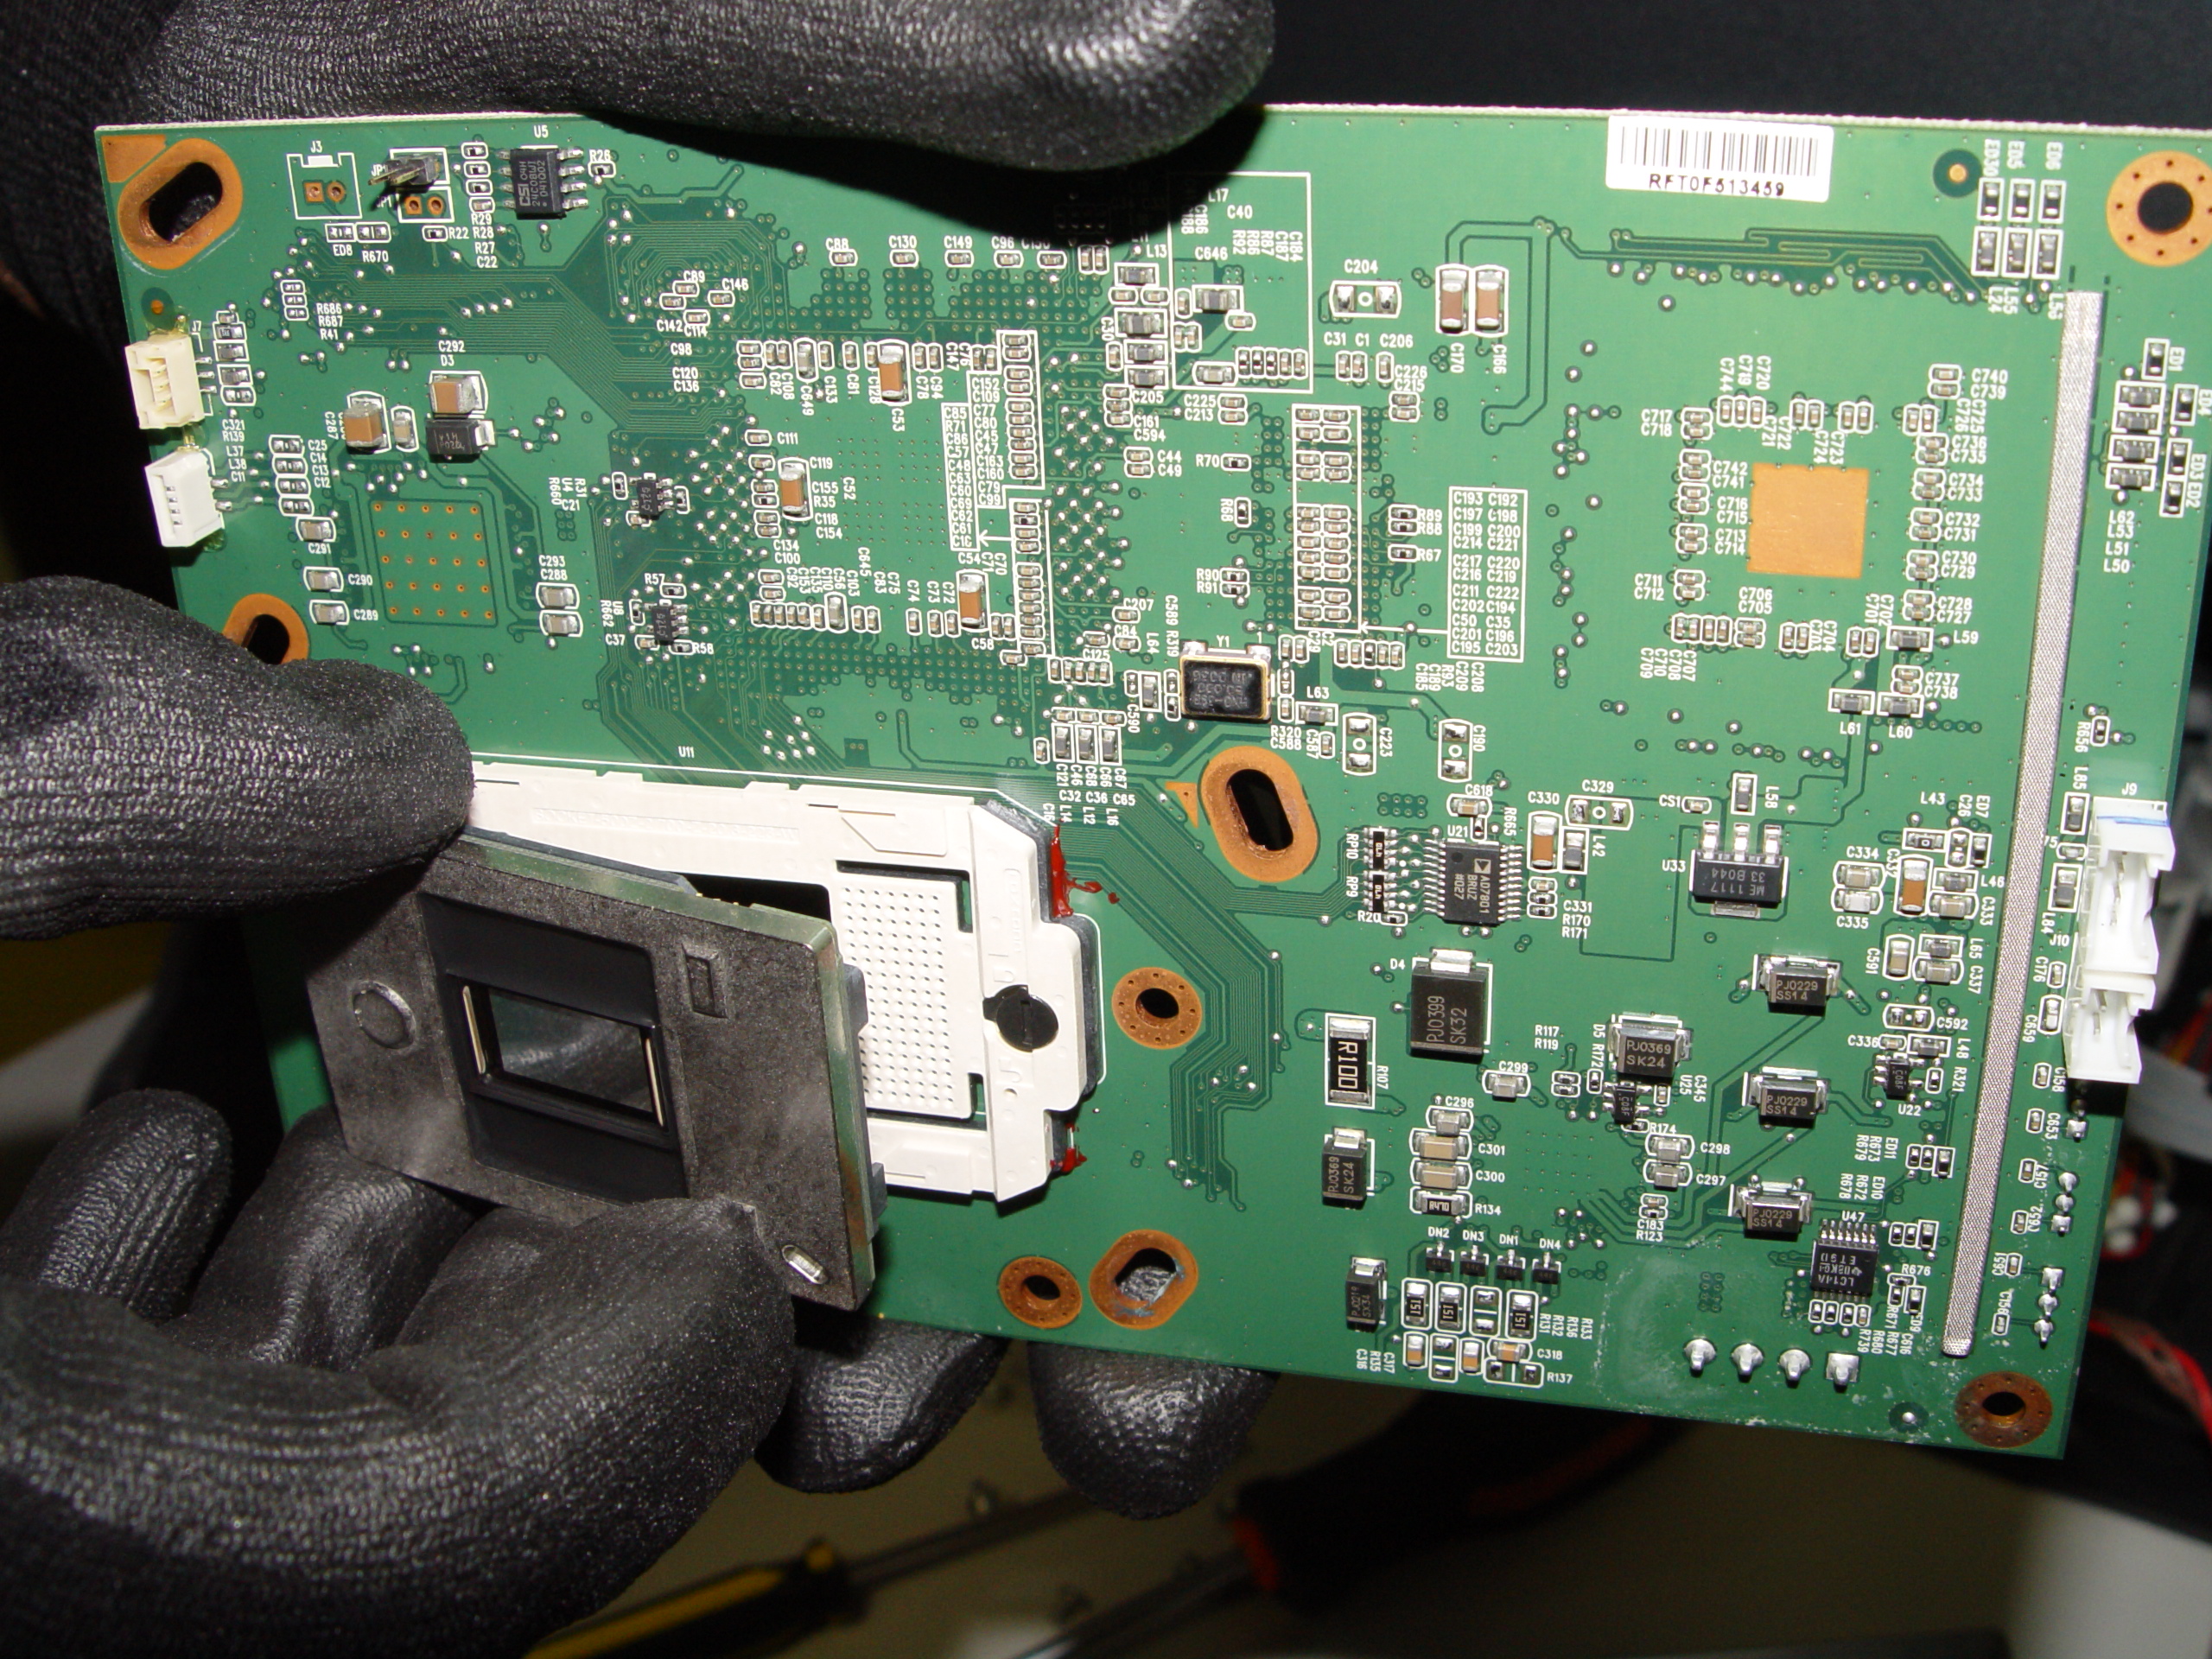
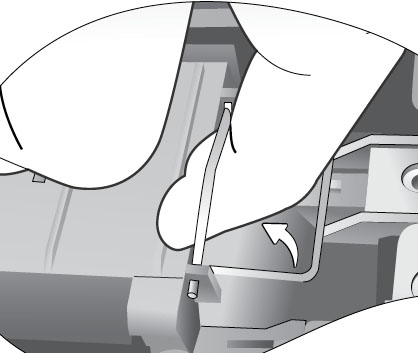
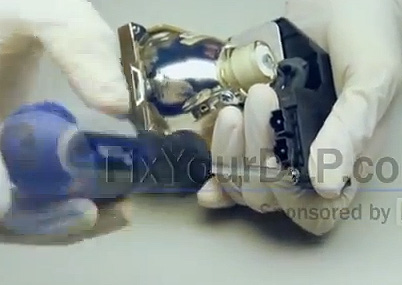
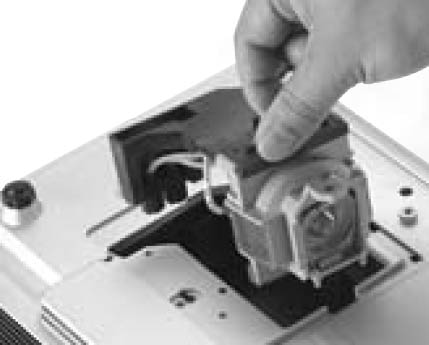
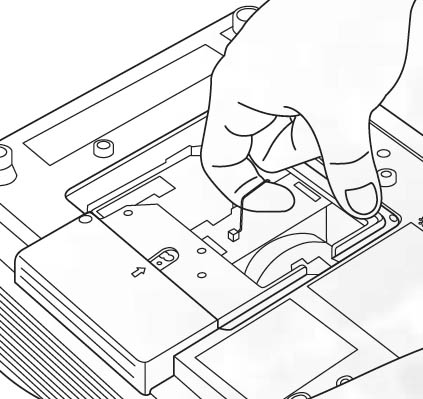
- Grab the sides on the BenQ 59.J9301.CG1 lamp and gently pull the BenQ 59.J9301.CG1 lamp out of the projector. Pulling too quickly can cause the bulb to shatter. Learn what to do should the bulb shatter.
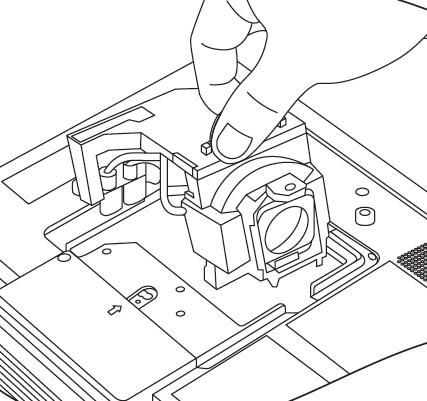
- Insert the new BenQ 59.J9301.CG1 lamp making sure the handle is fully locked. Tighten the screw. If the screw is too loose or too tight, the projector may not turn on.
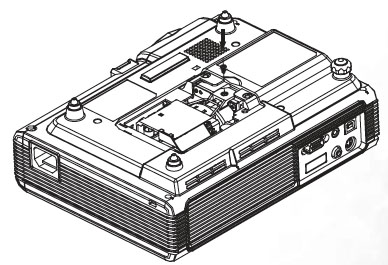
- Re-install the BenQ PB82140 lamp cover and tighten the screw.
- Reset the total lamp operation timer.
NOTE: The BenQ 59.J9301.CG1 lamp contains mercury and should not be thrown into regular garbage. Recycle your used lamps! If you bought from an authentic manufacturer they will recycle the lamp for you at no extra cost (another reason to buy authentic lamps).
Step 3: Reset the lamp counter
It’s important to only reset the lamp timer when the BenQ 59.J9301.CG1 lamp has been replaced. Resetting the lamp timer without changing the BenQ 59.J9301.CG1 lamp can cause significant harm to your BenQ PB2140 projector.
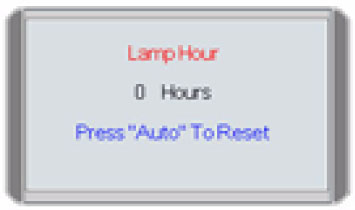
- Press and hold up arrow button on the projector for 3 seconds to display the total used lamp time.
- Press AUTO on either the projector or on the remote control. Scroll down to the LAMP HOUR TIMER. An adjustment message will appear.
- Press AUTO to reset the lamp hours. Press EXIT.
Extending the life of the BenQ 59.J9301.CG1 lamp:
- Keep your air filters clean to avoid overheating the projector.
- Use the Lamp Power option on the BenQ PB2140 projector and set to Economic Mode to reduce the amount of power used but extend lamp life.
- Learn more with Top tips for extending DLP projector lamp life


 How do you spot counterfeit projector lamps?