Tips to make your projector lamp last longer
A few simple maintenance tips can make your projector lamp last longer.
Learn how to create a simple maintenance routine that will keep your projector working at its best while prolonging projector lamp life. Here are some top tips to get you started.
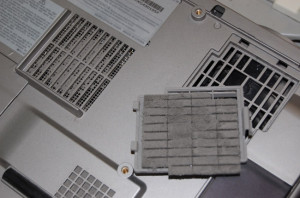
Filter Cleaning
Your projector creates heat, especially from the projector lamp Every projector is cooled by fans that pull air inside. This air must pass through a filter that stops dirt and dust from getting inside the projector. When the filter gets clogged the projector can’t cool properly so overheats. When a projector runs too hot it puts stress on the circuitry and makes the lamp overheat so it wears out faster. Sometimes the lamp can explode from getting too hot. Cleaning your filter regularly is the simplest way to extend the life of your projector lamp. Follow your instruction manual to learn how to change the filter in your particular model.
 Check airflow
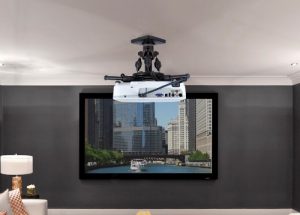
Mounting your projector on the ceiling is a great way to save space and create a cinema-like experience. You’ll want to make sure there is enough airflow around your projector so it doesn’t overheat. If the filters can’t get enough air intake, your projector will overheat and your projector lamp won’t last as long.
Let it cool
Sudden changes in temperatures are not good for your projector lamp. Let the fans run for at least two minutes before switching it off. Suddenly turning off the projector puts the projector under too much pressure.
Don’t be trigger happy
Turning your projector constantly on and off creates a power surge that will make your projector wear out faster. It puts unnecessary stress on the projector lamp as well since it’s heating and cooling constantly. If you plan to use the projector throughout the day, let it go into sleep mode. A good rule to follow is for every 24 hours of use give it a 2-hour rest period.

Go Green
More and more projectors are coming equipped with a power saver mode sometimes called Eco Mode. It lowers the amount of light used and extends the life of your projector lamp. Running in Eco Mode is perfect for viewing in a dark room since you don’t need as much light. Without having to use maximum brightness, the life of the projector lamp is extended sometimes upwards of an extra 1,000 hours or more. Eco Mode also gets your projector to run quieter.
 Watch the lamp life
Every projector has a built in timer to track lamp life. Most projectors will give you a status update when it’s time to replace the projector lamp. Be sure to pay attention to these warnings. Never reset the lamp time without changing the projector lamp as this can make the lamp work beyond it’s ended use and possible explode. Change the lamp immediately when your projector prompts you. Projector lamps tend to gradually get dimmer as they approach end of life so watch for that sign as well.
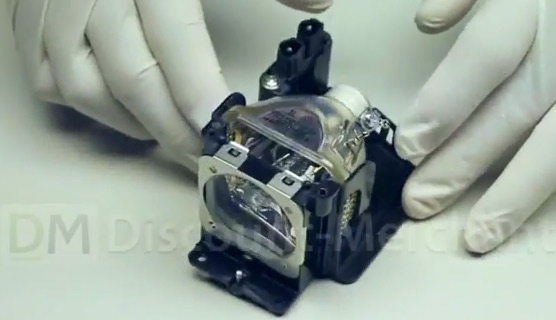
Hands off
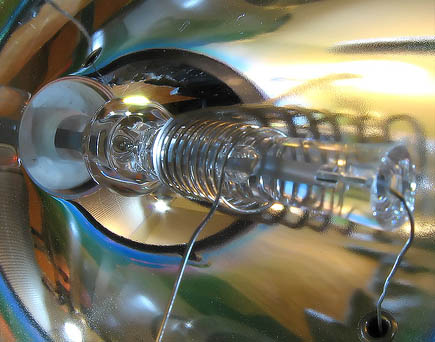
Never touch a hot lamp or you can end up with one nasty burn. Never touch a cool lamp bulb either since the oil from your skin leaves a residue on the glass. Once the lamp heats up the oil residue will burn, creating a black spot on the lamp that shows up on the screen. A large enough oil spot can cause the lamp to shatter.
Invest in the right lamp
When it’s time to change your lamp be sure to buy from a recognized OEM manufacturer. These dealers will offer you a variety of safe options for projector lamps to suit your budgets and needs as well as a guarantee.
 How to install a replacement NEC NP1000 projector lamp
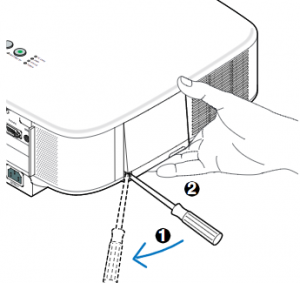

 Get connected with our guide
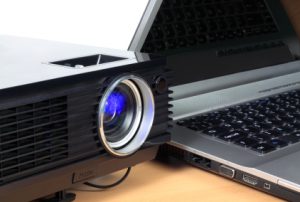
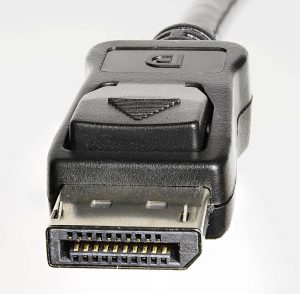 Display Port is a digital display interface found on many PC laptops used to connect a video source to a display device – usually a computer monitor to a projector or TV screen.
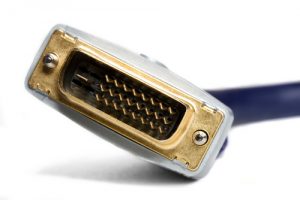 Digital Visual Interface (DVI) is a video connection found on some older PC laptops and on many desktop computers and is used to display 144Hz to 1080p resolution. A DVI connector is usually needed to connect a computer to any LCD TV. This interface has been designed to transmit uncompressed digital video so is often compatible with the older VGA interface and often found on DVD players. There are three different cable types:
 High-Definition Multimedia Interface (HDMI) has quickly become the industry standard. It the one-cable solution since it’s able to carry uncompressed video and audio works into most multimedia devices such as computer monitors, video projectors, digital TVs or audio devices.
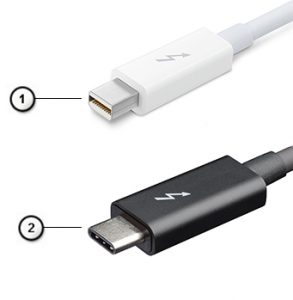 Thunderbolt is the hardware interface that is installed on all newer MacBooks and iMacs.
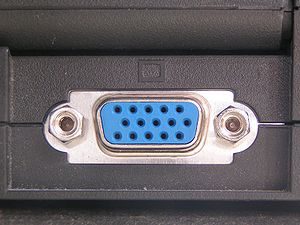 A Video Graphics Array (VGA) is type of connector found on older desktop computers monitors, older laptop computers and early HD TVs.
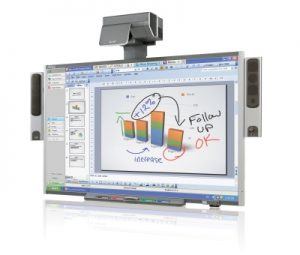 Follow this guide for easy replacement of the Smartboard 685ix projector lamp.
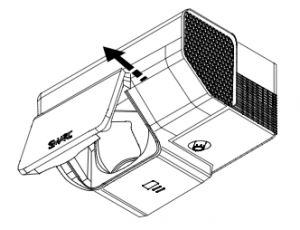 Pull the lamp cover forward and remove it from the projector. Put the lamp cover to one side. If the cover is difficult to remove, insert a flat screwdriver or small coin into the slot on the bottom of the lamp cover to gently pry it open.
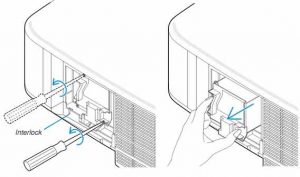
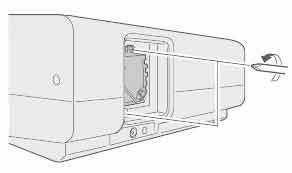
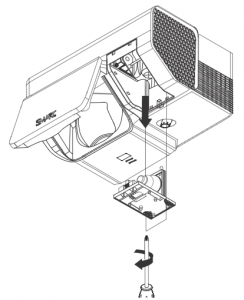 Loosen the two screws holding the
  Remove all packaging from the new
  Change the Sharp PG-F200X projector lamp easily with this step-by-step guide.
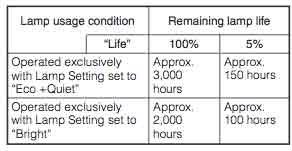
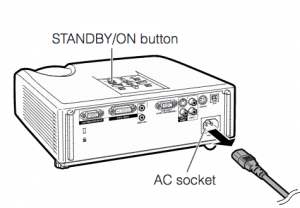
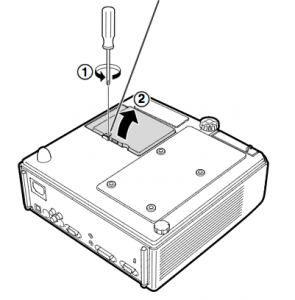
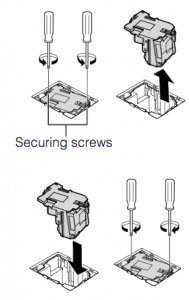 Remove the screws holding the
 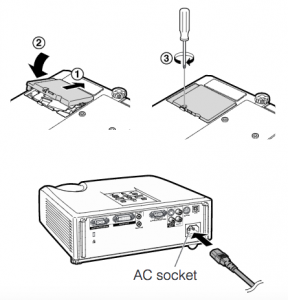 Note: The used
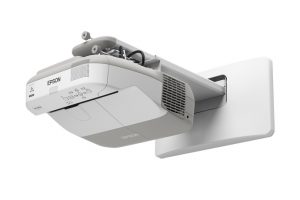 Our guide shows how to install a new Epson PowerLite 470 projector lamp.
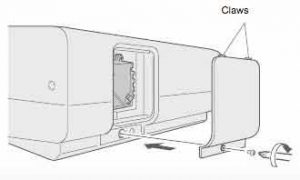
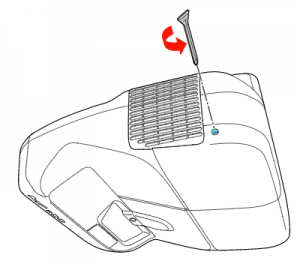 Loosen the screw holding the Epson PowerLite 470 projector lamp cover in place.
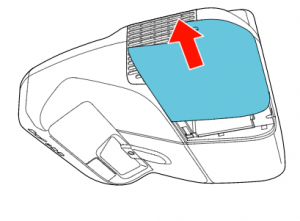 Slide the Epson PowerLite 470 lamp cover off and place it to one side.
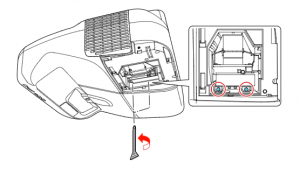 Loosen the two screws holding the Epson 470 projector lamp in place.
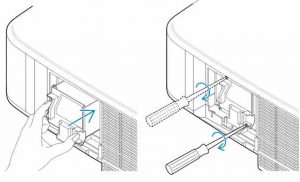
 Slowly insert the
 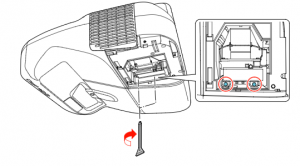 Tighten the screws on the newly installed

 How to replace the JVC DLA-HD1 projector lamp
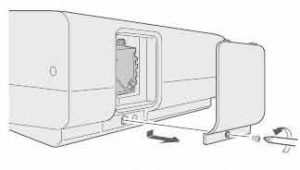
 Loosen the two screws keeping the
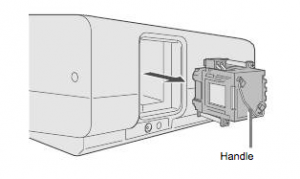

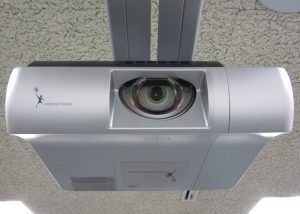 Replace the Sanyo Promethean PRM-10 projector lamp in three easy steps.
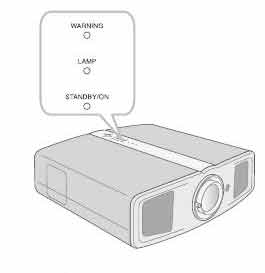
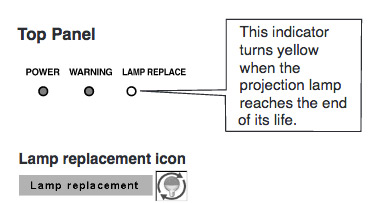 When it time to replace the Sanyo Promethean PRM-10 projector lamp the LAMP REPLACE indicator turns yellow light. Replace the lamp immediately. Other indications of end of lamp life can also be a poor picture, darker light or strange colours.
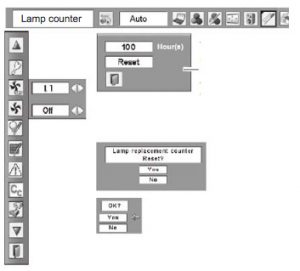 Reset the Sanyo Promethean PRM-10 Lamp Control Mode only when