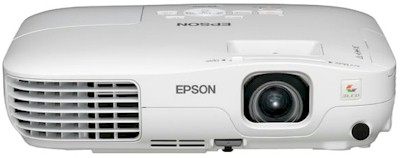
Installing a new Epson PowerLite X9 projector lamp
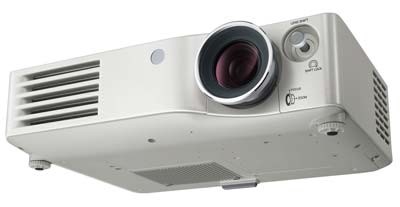
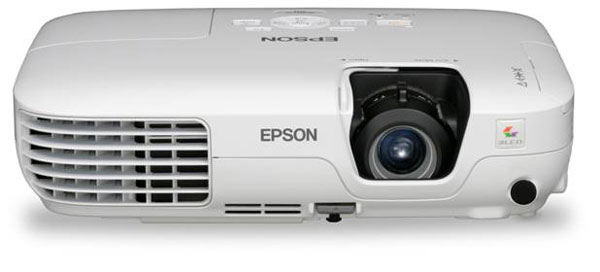
 This guide shows you how to replace the Epson PowerLite X9 projector lamp.
When to replace
The Epson PowerLite X9 projector lamp can last up to 4,000 hours when the power consumption is set to NORMAL and up to 5,000 hours if the ECO option is used.
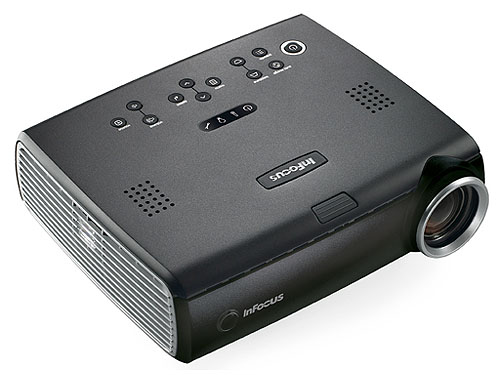
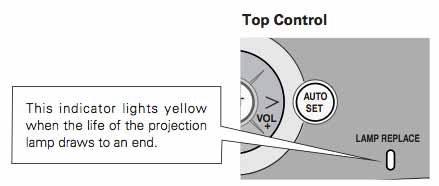
 It’s time to change the Epson PowerLite X9 projector lamp whenyou see the projector lamp indicator flashing orange. You may also see the Replace the
 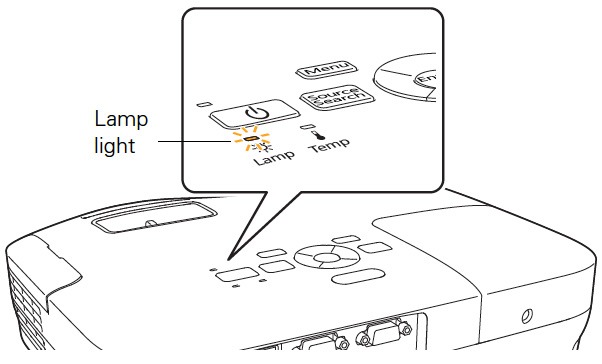 lamp message on screens or the screen may get darker.
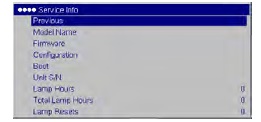
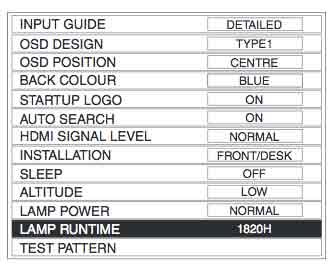
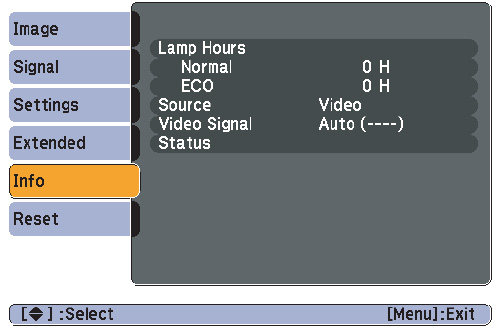
You can check the hours left on the Epson PowerLite X9 projector lamp from the INFO Menu access off the Main I
Invest in authentic
The Epson PowerLite X9 uses the Epson ELPLP58 projector lamp. Avoid the cheaper generic lamp; while these knock-off lamps appear to be a bargain, they will actually end up costing you more in the end. See the six reasons to avoid generics at the end of this post.
Find this lamp on Amazon sold by these authorized dealers:
- Epson ELPLP58 – Projector lamp – E-TORL UHE – 200 Watt – 4000 hour(s) (standard mode) / 5000 hour( –
- EPSON ELPLP58 / V13H010L58 Replacement Projector Lamp for EPSON PowerLite 1220
- Epson – Epson ELPLP58
- EPSON ELPLP58
Installing the new ELPLP58 projector lamp
Before replacing the Epson PowerLite X9 projector lamp follow these important safety rules:
- Always unplug the power cord on the Epson PowerLite X9 projector before replacing the projector lamp.
- This projector operates using high temperature. Wait at least 60 minutes before replacing the lamp so you don’t run the risk of getting burned.
- Never touch the bare projector lamp bulb as the oil from your fingers will burn black marks onto the projector lamp when it heats up.
- Never operate the Epson PowerLite X9 projector with the projector lamp removed.
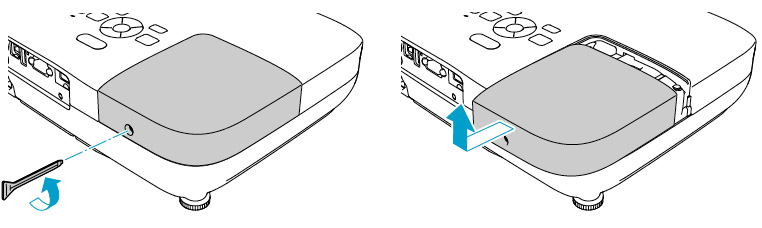
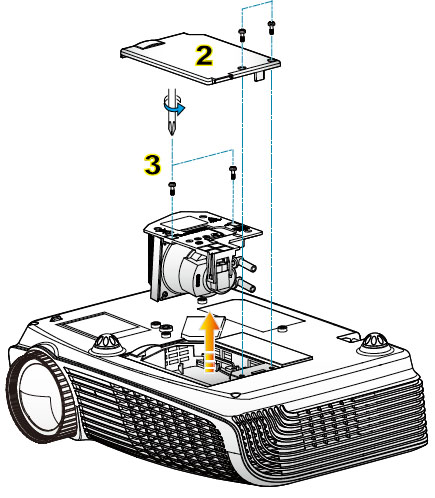
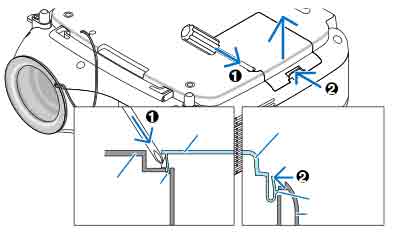
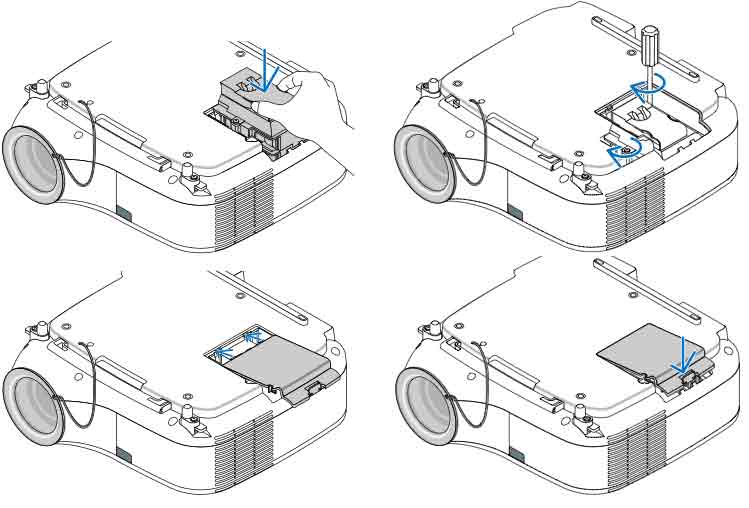
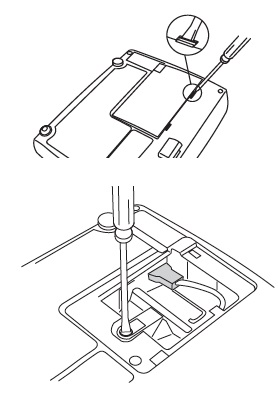
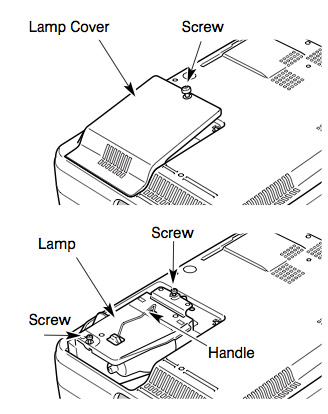
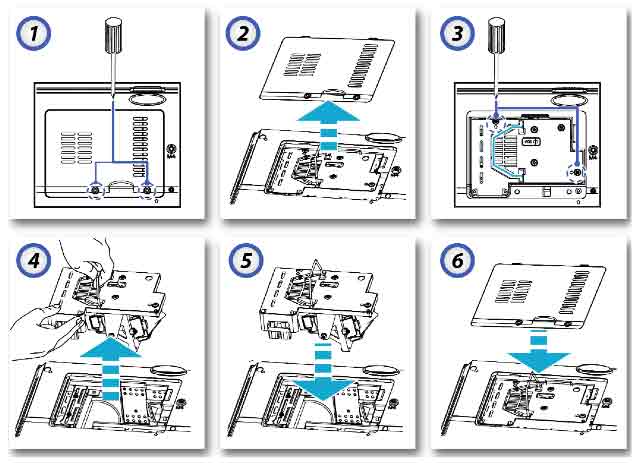
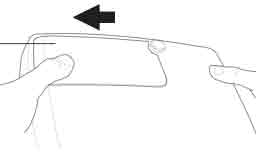
Remove the projector lamp cover screws and place to one side.
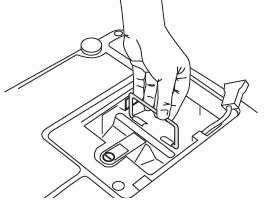
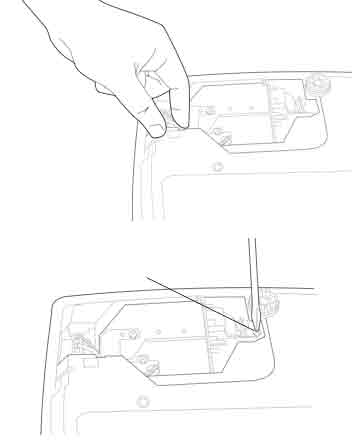
Loosen the two screws holding the Epson ELPLP58 projector lamp in place (you can’t remove them).
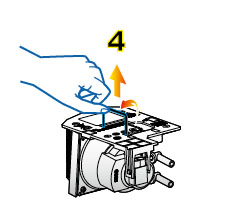
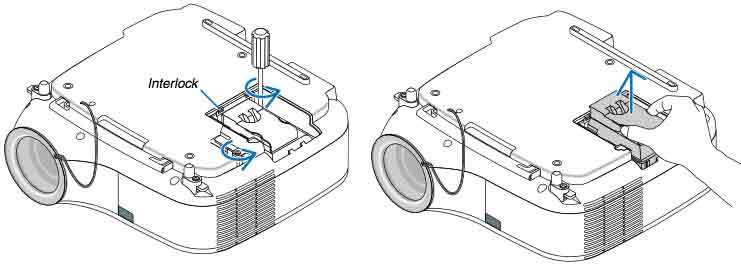
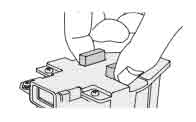
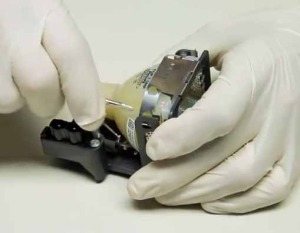
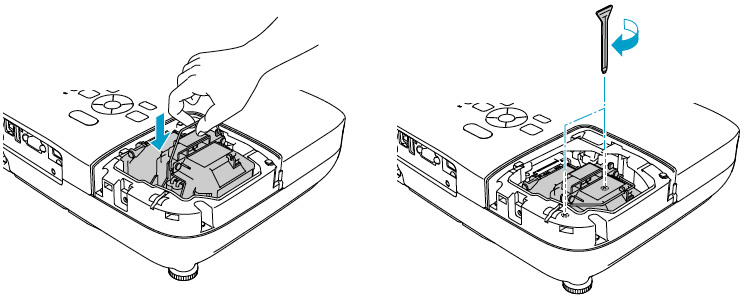 Gently lift out the Epson LPLP58 projector lamp taking care not to bang it against the projector. NOTE: The Epson EPLP58 projector lamp contains mercury and should not be thrown into regular garbage. Recycle this lamp!
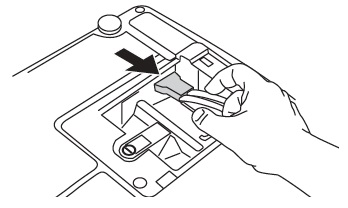
Gently insert the new Epson LPLP58 projector lamp. Make sure it fits into the Epson PowerLite X9 projector properly. (Check that it’s facing the right way.) Tighten the Epson LPLP58 projector lamp.
You can now reset the lamp timer.
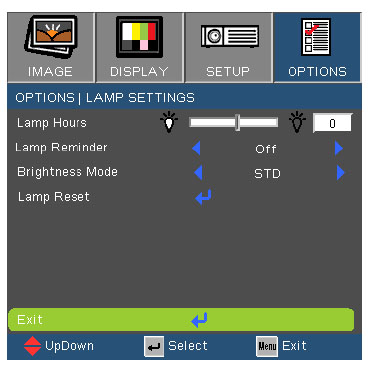
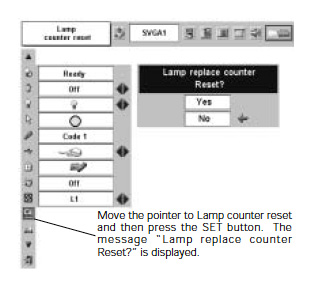
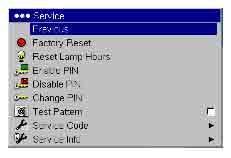
Reset the lamp timer
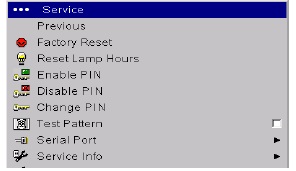
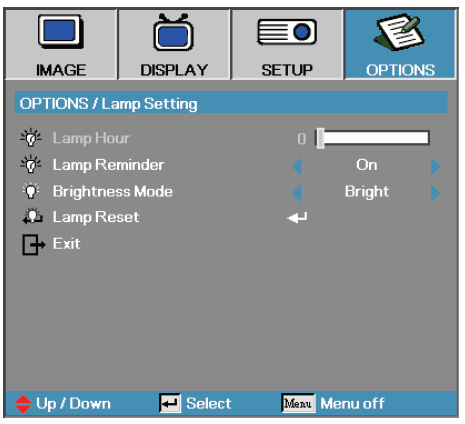
After you replace the lamp, you need to reset the Epson PowerLite X9 projector lamp timer using the projector’s menu system.
- Press the MENU button on the remote control or on the projector’s control panel. You see the main menu.
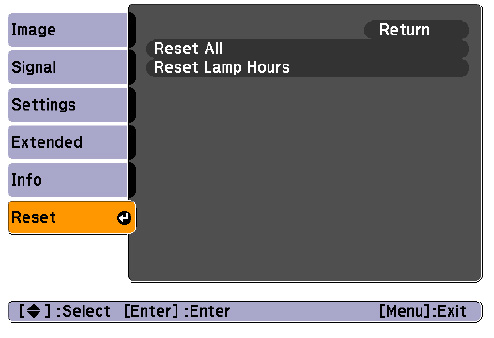
- Select the RESET menu. Press ENTER.
- Scroll down to select RESET LAMP HOURS. Press ENTER.
- A prompt filed appears asking if you want to reset the lamp timer. Select YES. Press ENTER.
- Press MENU to exit.
Longer life for the ELPLP58 projector lamp
Extend the life of the Epson ELPLP58 (V13H010L58) projector lamp with the following tips:
- Set the Power Consumption to ECO option.
- Clean the air filters regularly so the PowerLite X9 projector doesn’t overheat.
- Make sure there is enough airflow around the projector.
- Turn it off when it’s not in use.
- Learn more: Top tips for extending DLP projector lamp life.
Six reasons to avoid generics
- generics have a shorter life
- prone to explosions
- created with toxic substitute parts they pose a significant health hazard
- damage the sensitive optics in your Epson PowerLite X9 projector
- no safeguards to protect your eyesight
- void your warranty when installed into your projector