
Your eyesight at risk with counterfeit projector lamps!
 Don’t put your eyesight at risk
No one wants to risk their eyesight to save a buck. You may be putting your eyesight at risk by installing a counterfeit generic lamp into your 1080p projector.
Original equipment manufactured (OEM) projector lamps are a patented technology by PHILIPS. These projector lamps are created with non-toxic materials and installed with proper UV reflectors to protect your eyesight. Knock-off counterfeit projector lamps don’t have these safeguards and don’t offer any kind of protection.
Protect your eyesight
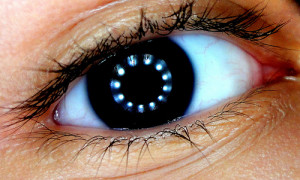
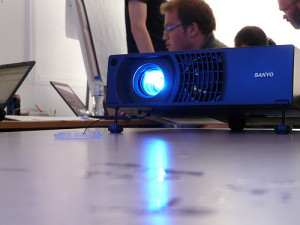
PHILIPS lamps use a UV coated reflectors allowing for a brighter and more vibrant picture. These reflectors reduce the harmful rays so you don’t damage your eyes looking into the projector. Counterfeit lamps have a non-coated reflector and without this coating looking into the lamps is similar to looking directly into the sun.
Prolonged UV exposure eventually damages the retina causing macular degeneration, eventually resulting in permanent blindness. Operating your projector with a generic lamp means putting your eyesight at risk.
Toxic bargain
Not only can you damage your eyesight using knock-off projector lamps in your 1080p projector, you are also at risk for exposure to Krypton-85, a radioactive gas linked to cancer.
After years of research, PHILIPS developed a revolutionary arc tube filled with a mercury-argon mixture creating intense light but less heat. This new technology allowed both the lamp and projector to become smaller and the new 1080p projector was born.
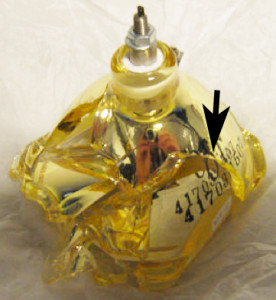
This is a patented technology not available to non-OEM counterfeit manufacturers. Without the proper materials and equipment, copycat manufacturers resort to using Krypton-85 for the same effect.
This radioactive gas is created by nuclear reactors during the fission between uranium and plutonium and while it’s safe used in a controlled environment, it’s dangerous in a business or school setting.
Durability issues
What’s particularly disturbing is that compatible generic lamps are actually more fragile. Counterfeit manufacturers usually replace the arc tube or refit old projector lamps with counterfeit parts; others replace the complete module.
This makes these lamps susceptible to overheating and explosions. And once the lamp breaks, all that Krypton-85 goes flooding into the air to be inhaled by you and your audience.
Disturbing side effects
Short-term effects of Krypton-85 exposure are:
- dizziness
- nausea
- vomiting
- loss of consciousness
Long-term effects are more serious. According to the Department of Energy (DOE) exposure to Krypton-85 can increase the likelihood of cancer.
Shop smart and stay safe
Be a smart consumer and purchase your lamp from guaranteed OEM merchant. with a partnership with PHILIPS. You’ll be getting a lamp produced with the proper materials and a guarantee replacement should there be any problems. Those few extra dollars are worth peace of mind and your health.
You get what you pay. Spend the extra $25 – $30 for a genuine OEM projector lamp. Your eyes will thank you.
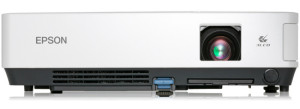 Install a replacement Epson PowerLite 1717c projector lamp
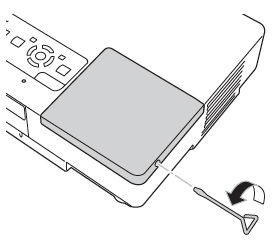

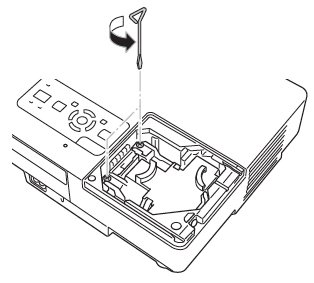
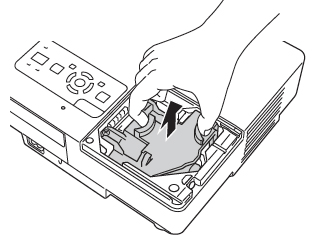


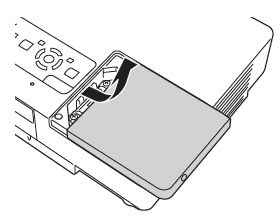
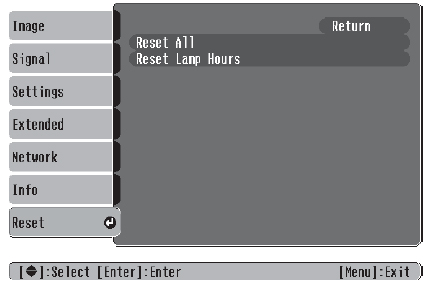
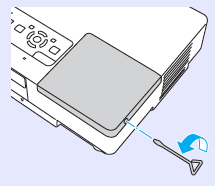
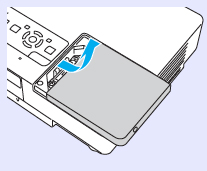
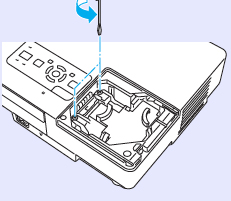
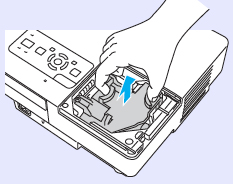
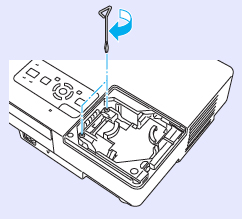
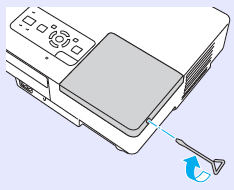
 Replace the Epson EMP-1715cin 3 easy steps. Follow our helpful guide.
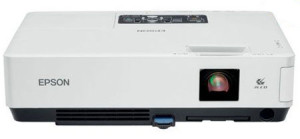 Follow this guide to replace the Epson PowerLite 1705c projector lamp.
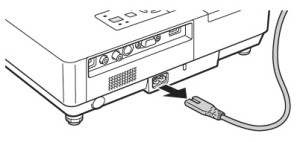


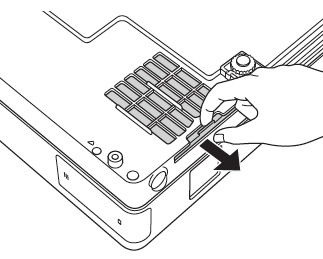
 Replace the Epson EMP-1710 projector lamp
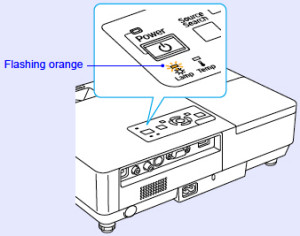

 Replace the Epson PowerLite 1710c projector lamp


