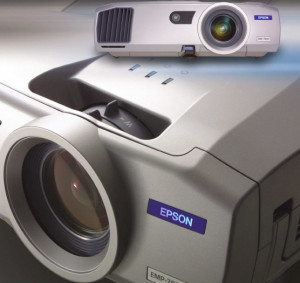
 Follow this 3-step guide for installing a new Epson EMP-7850p projector lamp.
Be sure to buy an authentic Epson EMP-7850p projector lamp from a recognized dealer.
Step 1: Know when to replace
You can expect between 2000 to 3000 hours of lamp life before you must install a replacement. Set the brightness to low to get the maximum hours and be sure to keep your filters cleaned.
Warning signs that the Epson EMP-7850p projector lampis reaching end of life include:
- image getting darker or starting to deteriorates.
- colours look off.
- LAMP REPLACE messages appears on screen.
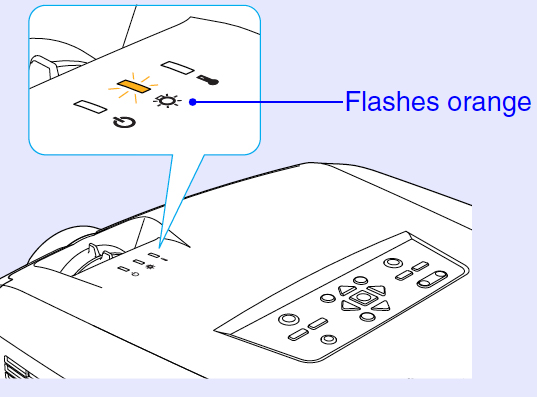
- warning light flashing orange. When the lamp light is flashing RED, the Epson EMP-7850p projector lamp is burnt out and must be replaced immediately.
Step 2: Buying the right lamp
There are many copy cat manufacturers selling knock-off Epson EMP-7850p projector lamp Despite their bargain prices, these generic lamps end up costing you more because of their inferior workmanship. They can seriously damaged the optics in your Epson EMP-7850p since they have not been calibrated properly. Generic, compatible lamps also don’t last the full 2000 hours. Even more troublesome is the health hazard they pose due to the toxic materials.
Avoid all these problems and keep the warranty on your Epson EMP-7850p projector valid (using generic automatically voids your warranty). Don’t be fooled by the generic manufacturers. Learn the 7 Ways to Spot a Counterfeit Lamp and look for the seal of approval.
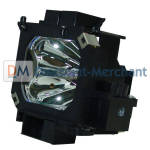
Step 3: Replacing the Epson ELPLP22 lamp
Follow these important steps before installing a new Epson EMP-7850p projector projector lamp. Be sure to buy the Epson ELPLP22 lamp model:
- Turn off the projector power.
- When the power light stops flashing unplug the power cord.
- Wait at least 60 minutes for the Epson EMP-7850p projector to cool internally before opening it up. It should be cool to the touch. These projectors operate under extremely high temperatures so be patient and wait until the projector is cool or you run the risk of burning yourself.
NOTE: Do not operate the projectors while the lamp is removed as this may result in malfunctions, fire hazard and other accidents.
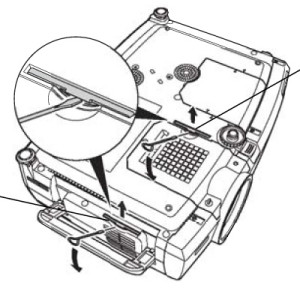
The Epson ELPLP22 lamp comes with a replacement air filter so you should change the filter at the same time. To change filters: turn the Epson EMP-7850p projector over and remove the air filters at the side and bottom of the projector. Replace the new filters — they should pop into place smoothly.
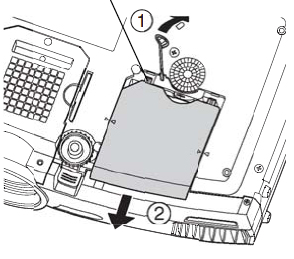
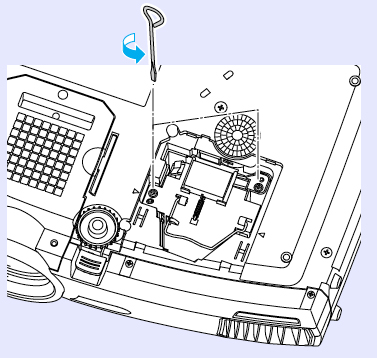
Insert the screwdriver supplied with the new Epson ELPLP22 lamp or use a flat-tipped screwdriver. Place the tip of the screwdriver into the space beside the air vent on the Epson EMP-7850p and gently slide the lamp cover to align the arrow on the cover with the arrow on the projector.
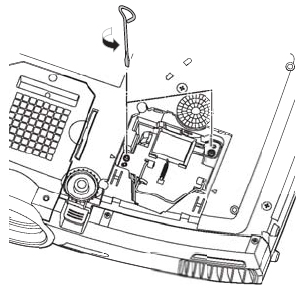
Loosen the two screws holding the Epson ELPLP22 lamp in place (they will not come all the way out).
NOTE: The Epson ELPLP22 lamp contains mercury and should not be thrown into regular garbage. Recycle your used lamps!
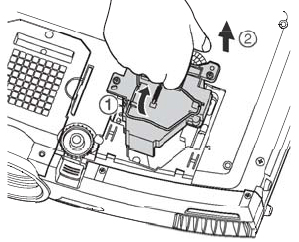
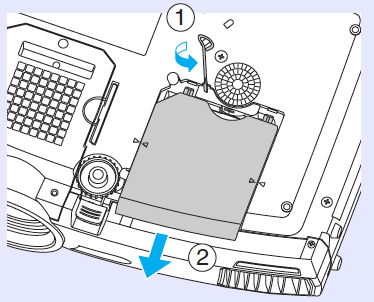
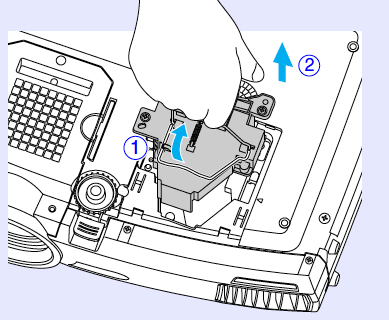
Lift up the wire handle on the Epson ELPLP22 lamp and use it to pull the lamp straight out of the projector. Gently insert the new Epson ELPLP22 lamp. Avoid touching the actual bulb as the oil from your fingers will leave marks that will show up on screen. Also avoid knocking bulb as it may break. Learn what to do should the bulb shatter.
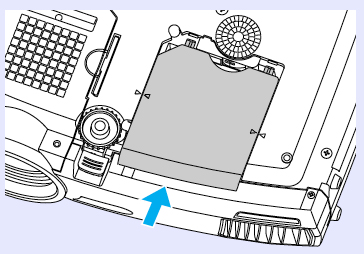
Tighten the screws and replace the lamp cover. NOTE: The projector will not turn on if the lamp cover is loose. You are now ready to reset the lamp timer.
Resetting the Epson EMP-7850p lamp timer
The lamp timer will track the life of the Epson ELPLP22 lamp and trigger the lamp warning messages. Therefore, it’s critical to reset the lamp timer whenever you replace the lamp in the Epson EMP-7850p projector. Do not re-set the Epson ELPLP22 lamp timer with an already used lamp as this may cause it to be used beyond its designated lamp life and cause an explosion.

- Plug the projector in and turn it on.
- Press the MENU button on the remote or on the projector’s control panel to display the Main menu,
- Use the pointer buttons on the remote or the arrow buttons on the Epson PowerLite 7850p to scroll down to the ABOUT menu. Press ENTER to display the ABOUT screen information.
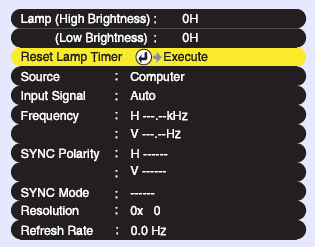
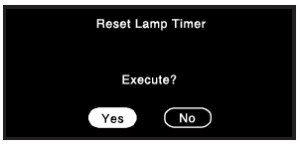
- Scroll down to RESET LAMP TIMER option.
- Press ENTER to open the second prompt screen.
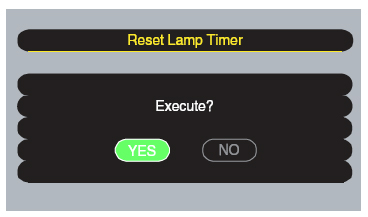
Select YES and press ENTER.
- The lamp hours will be reset to zero.
- NOTE: Lamp usage appears as 0H until you’ve used at least 10 hours of lamp life
- Press ESC or MENU to exit this screen.
How to extend the life of the Epson ELPLP22 lamp:
Extend the life of the newly installed Epson ELPLP22 with the following tips:
- Keep your air filters clean to avoid overheating the projector.
- Turn off the Epson EMP-7850p projector and let it stand for at least one hour ever 24 hours. An average use of four to five hours per day will ensure longer lamp life.
- Make sure there is enough airflow around the projector particularly if it’s been permanently mounted.
- Set the Brightness Mode to low to extend lamp life.
- Learn more with Top tips for extending DLP projector lamp life.

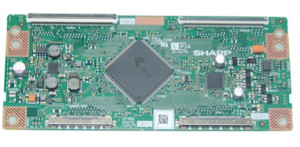
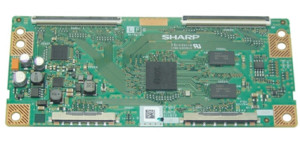
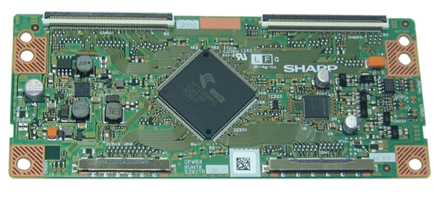 Meet the universal Sharp RUNTK5261TPZG. The solution for scrambled or blacked out LED screens.
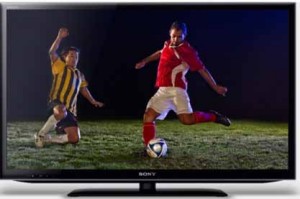

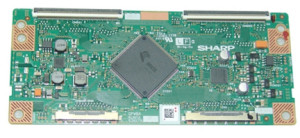
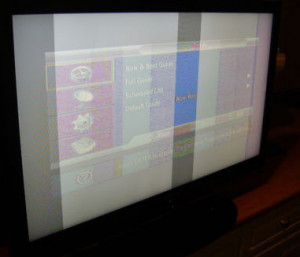
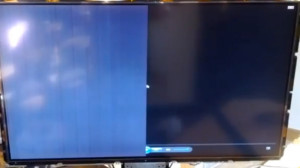 crambled screen with a faded picture or completely black screen can mean the RUNTK5119TP (ZZ) T-Con board in your LG 60LS6750-UB LED TV must be replaced.
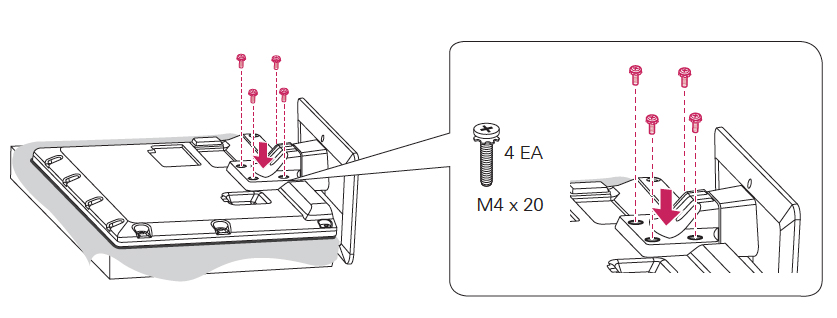
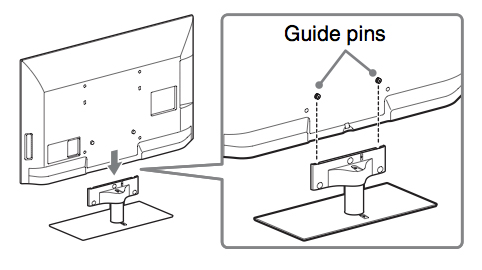
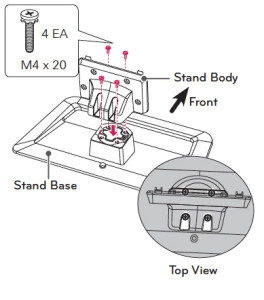 Gently lift up LG 60-LS6750-UB TV from the stand, placing it screen down on a cushioned surface.Loosen the screws on the stand body
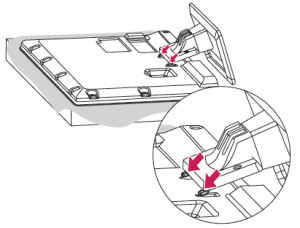
 Follow this troubleshooting guide for the Sony KDL-60EX646 LED TV
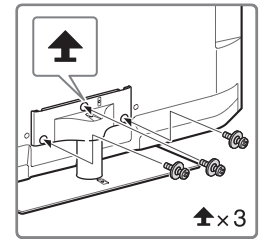
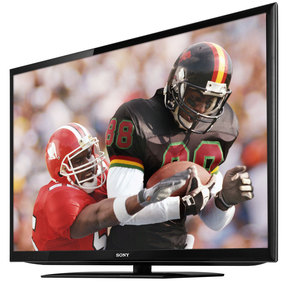
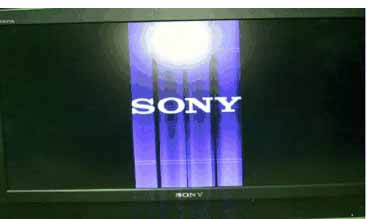 Troubleshooting guide for the Sony KDL-60EX645 LED TV
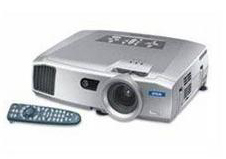
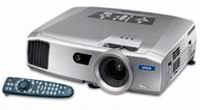
 Here is your guide for a hassle-free installation of a new Epson EMP 7850 projector lamp.