When to replace the BenQ CS.59J0Y.1B1 projector lamp
 You can expect up to 3000 hours of life when you install an authentic BenQ CS.59J0Y.1B1 lamp.

Watch for the warning messages that the BenQ CS.59J0Y.1B1 lamp is approaching end of life:
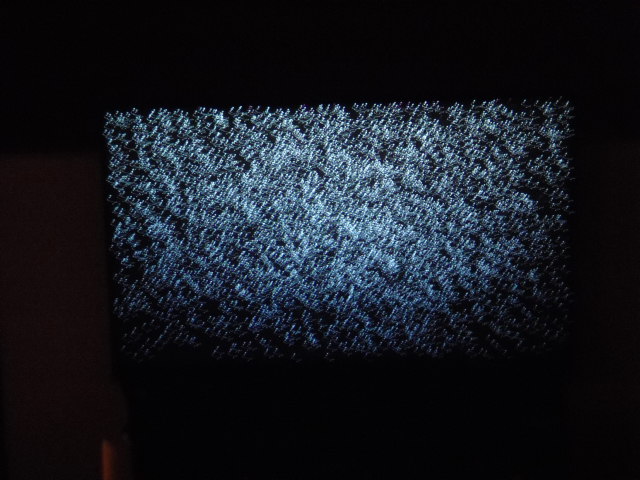
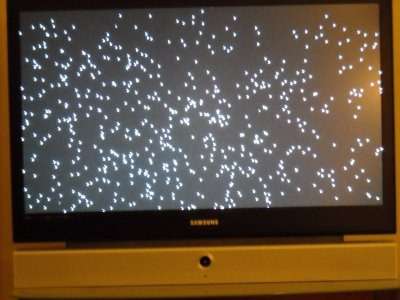
- The picture looks faded on screen.
- The Lamp Indicator blinks red.
- Warning Messages about the lamp appear on screen.
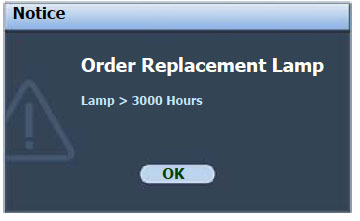
You’ll see a series of warning messages that begin to appear on screen when the BenQ CS.59J0Y.1B1 lamp is approaching end of life.
Warning Messages
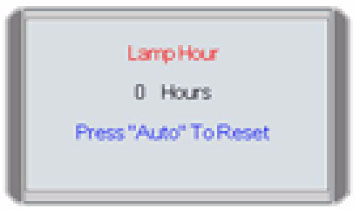
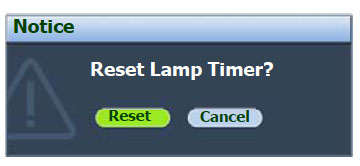
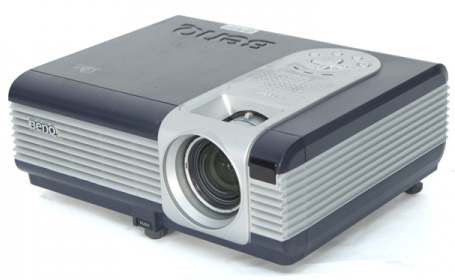
Your BenQ PB6240 projector will give you plenty of warnings when the BenQ CS.59J0Y.1B1 lamp is approaching its end of life. You can find out the number of hours left by accessing the Information/Lamp Hour menu.
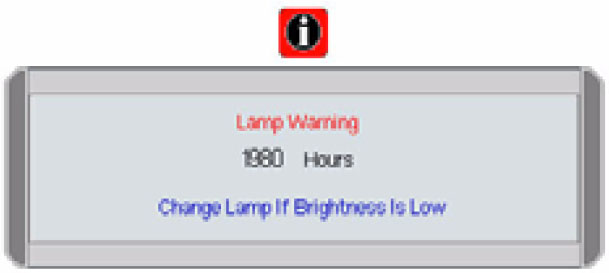
Your first warning to replace the BenQ CS.59J0Y.1B1 lamp will show up when the lamp has been in operation for 1980 hours. If the projector is being run in Economic Mode you may continue until the second warning at 2980 hours.

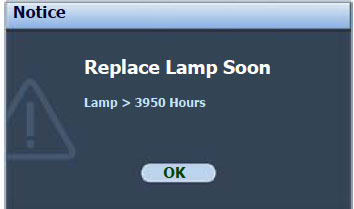
The second warning appears at 2980 hours–the BenQ CS.59J0Y.1B1 is approaching end of life and the BenQ PB6240 projector will shutdown in 20 hours time. Replace the BenQ CS.59J0Y.1B1 lamp immediately.
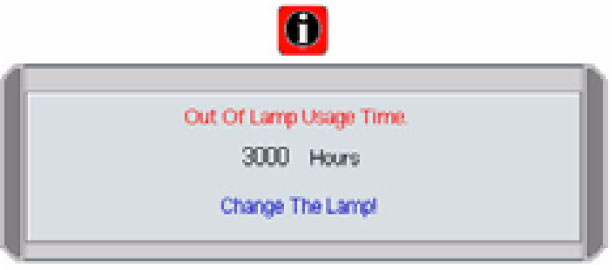
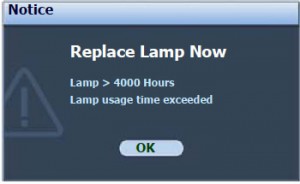
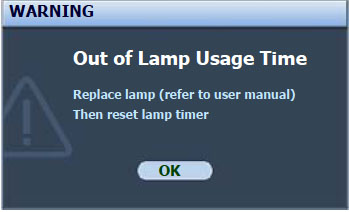
Time is up! At 3000 hours the BenQ CS.59J0Y.1B1 is out of life. Time is up. The final warning will flash in the center of the BenQ PB6240 projector for 40 seconds and then shut down for good. The projector will not turn on until the BenQ CS.59J0Y.1B1 lamp has been replaced.
Finding the correct lamp
It can be confusing finding the correct BenQ CS.59J0Y.1B1 lamp for your BenQ MP6240 projector. There are hundreds of website selling projector lamps but most of there lamps are knock-off generic lamps that you should avoid at all costs.
Generic “compatible” lamps may appear to be a bargain–however generic knock-off lamps are actually not that great a bargain.
6 good reasons to avoid generics
- generics have a shorter lamp life than original lamps
- compatible are created with toxic materials and carcinogenic parts including Krypton-85
- knock off lamps are prone to explosions
- generic lamps damage the sensitive electronics in your projectors
- when you buy copy-cat lamps you get no guarantee or refunds
- installing a generic lamp voids your projector’s warranty.
The few dollars you save with generic “compatible” lamps is not worth it in the long run. Save yourself unnecessary headaches — buy a BenQ CS.59J0Y.1B1 lamp from a recognized dealer. You’ll be getting a far superior product with a replacement guarantee and tech support.
Learn the 7 Ways to spot a counterfeit lamp.
Compatible Projectors
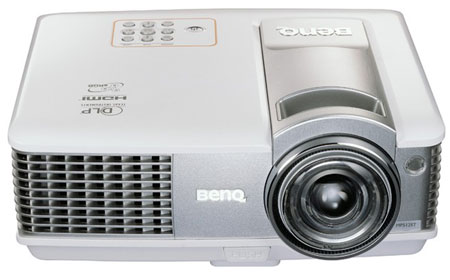
The BenQ CS.59J0Y.1B1 is compatible with the BenQ MP6240.
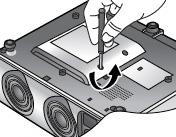
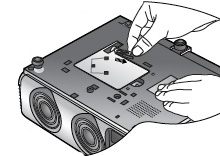
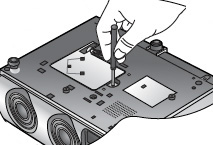
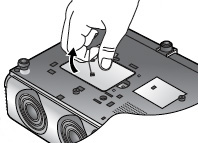
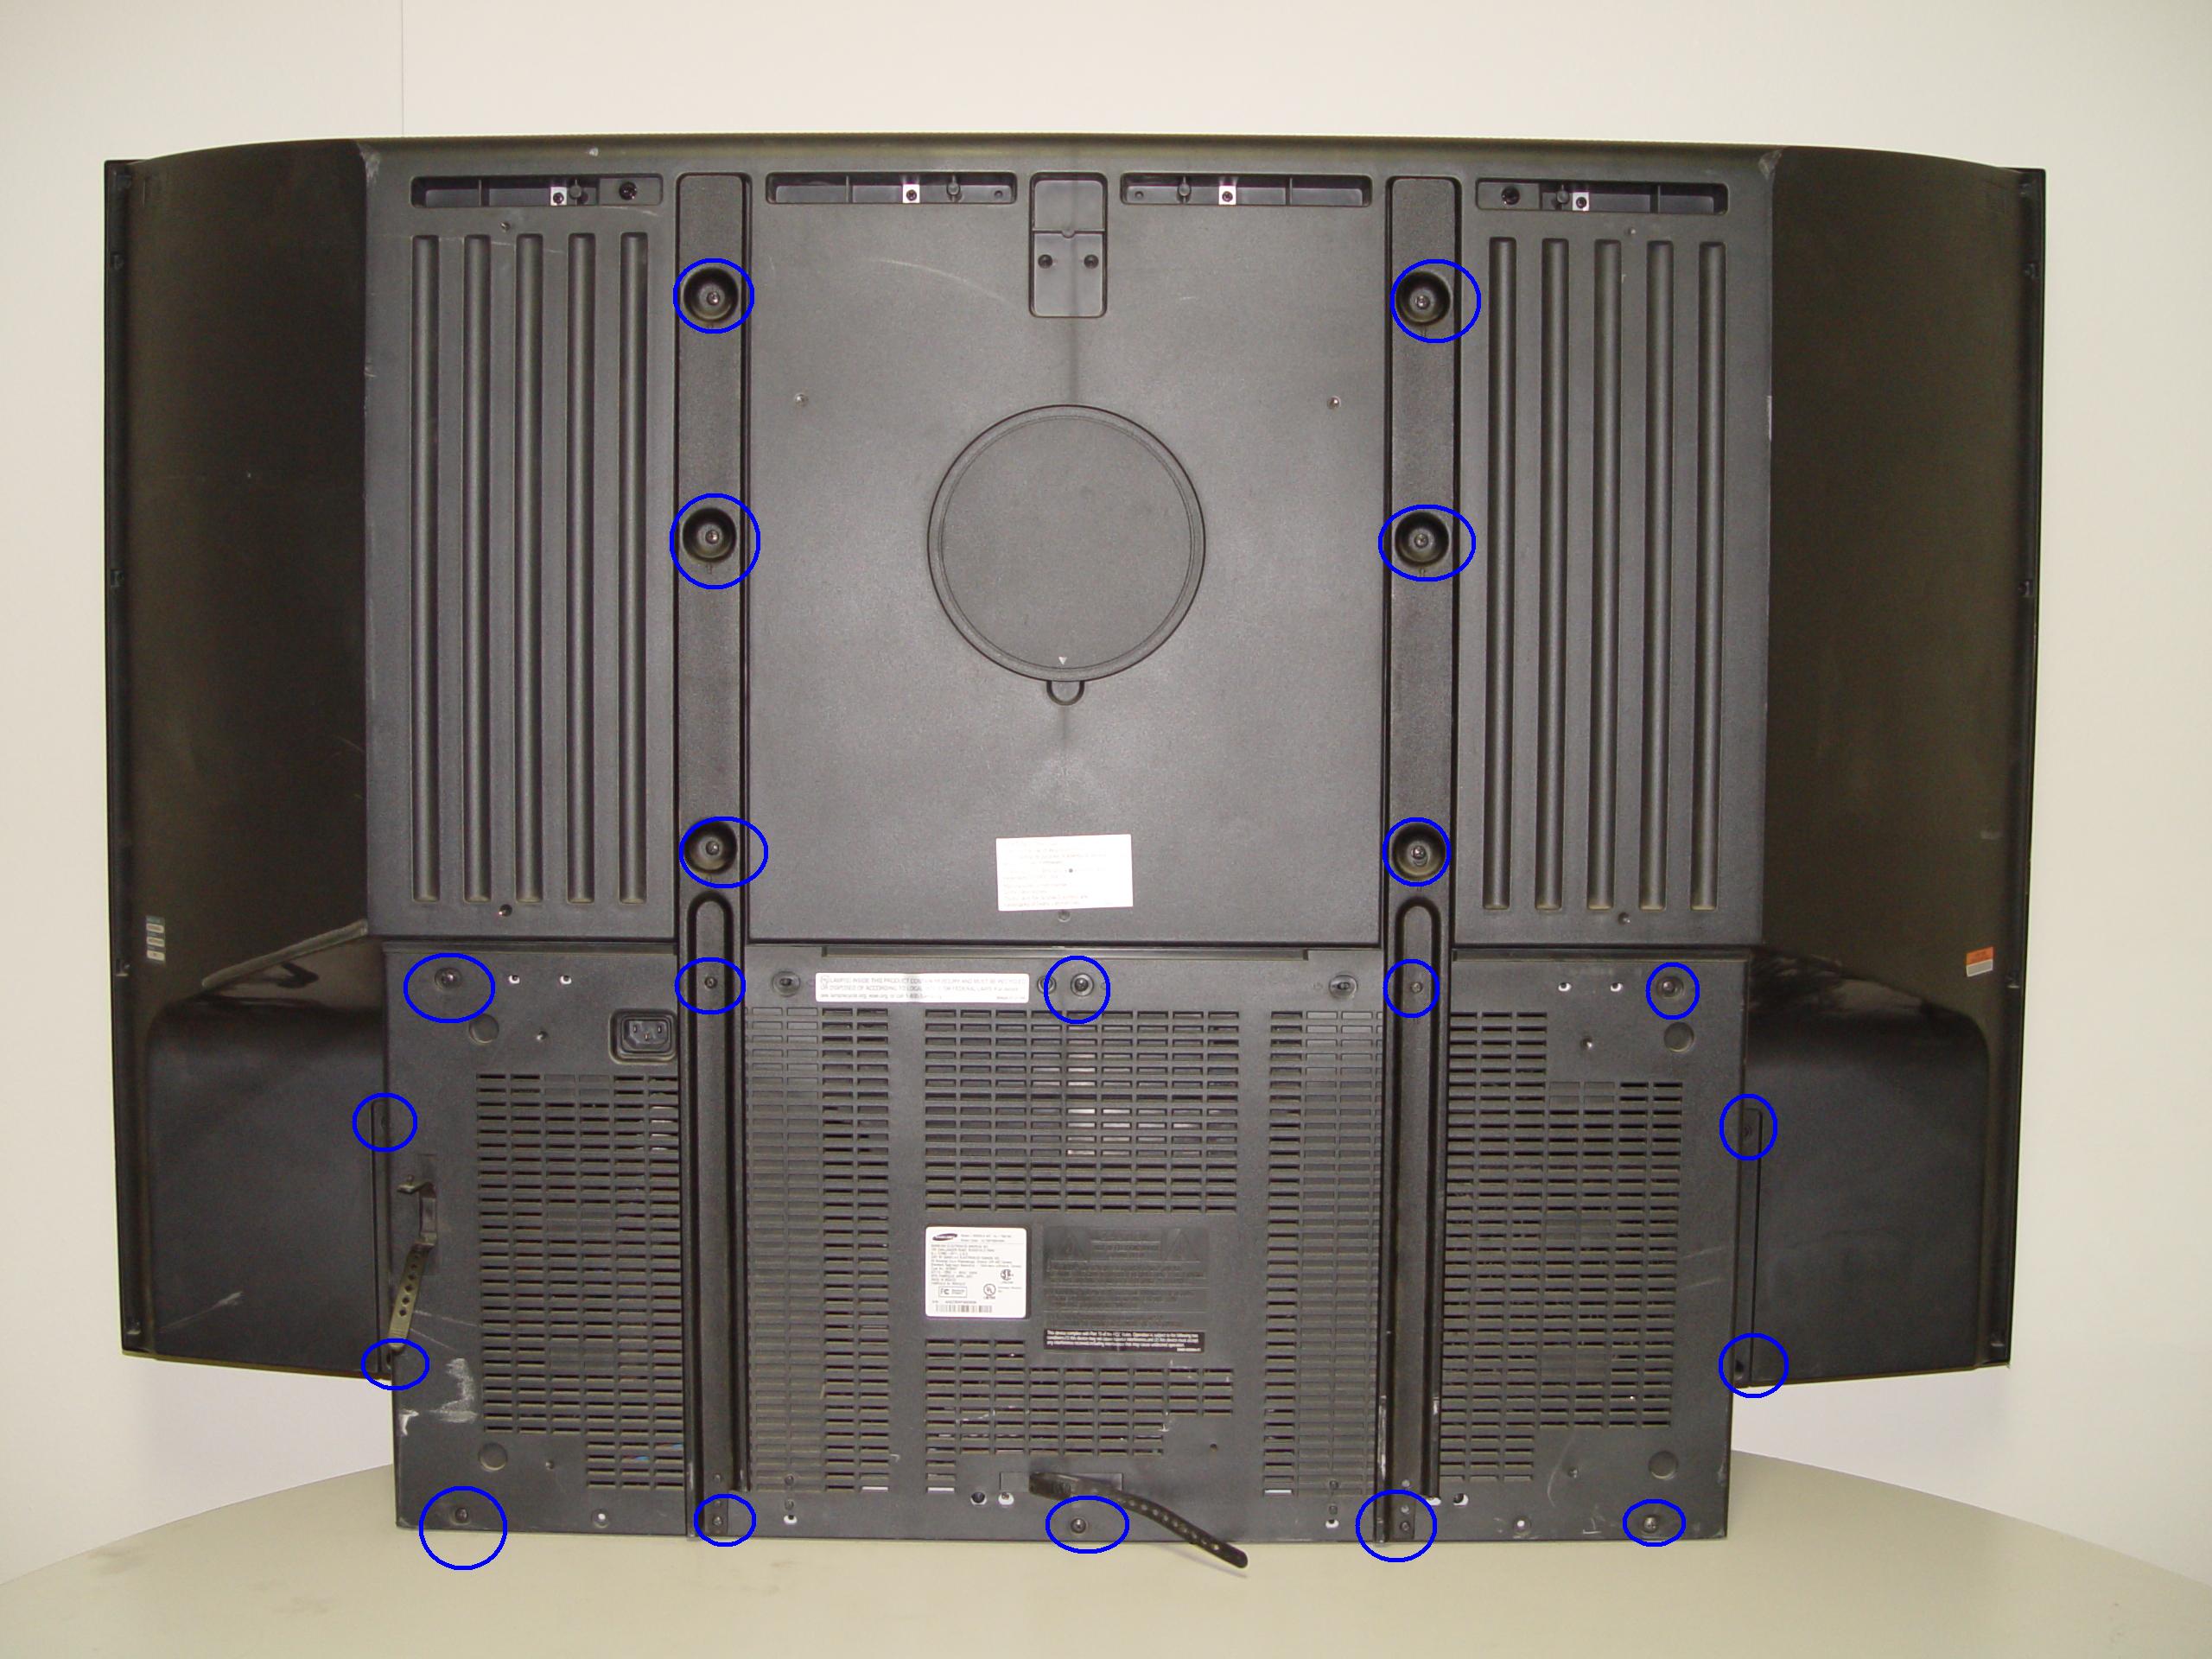
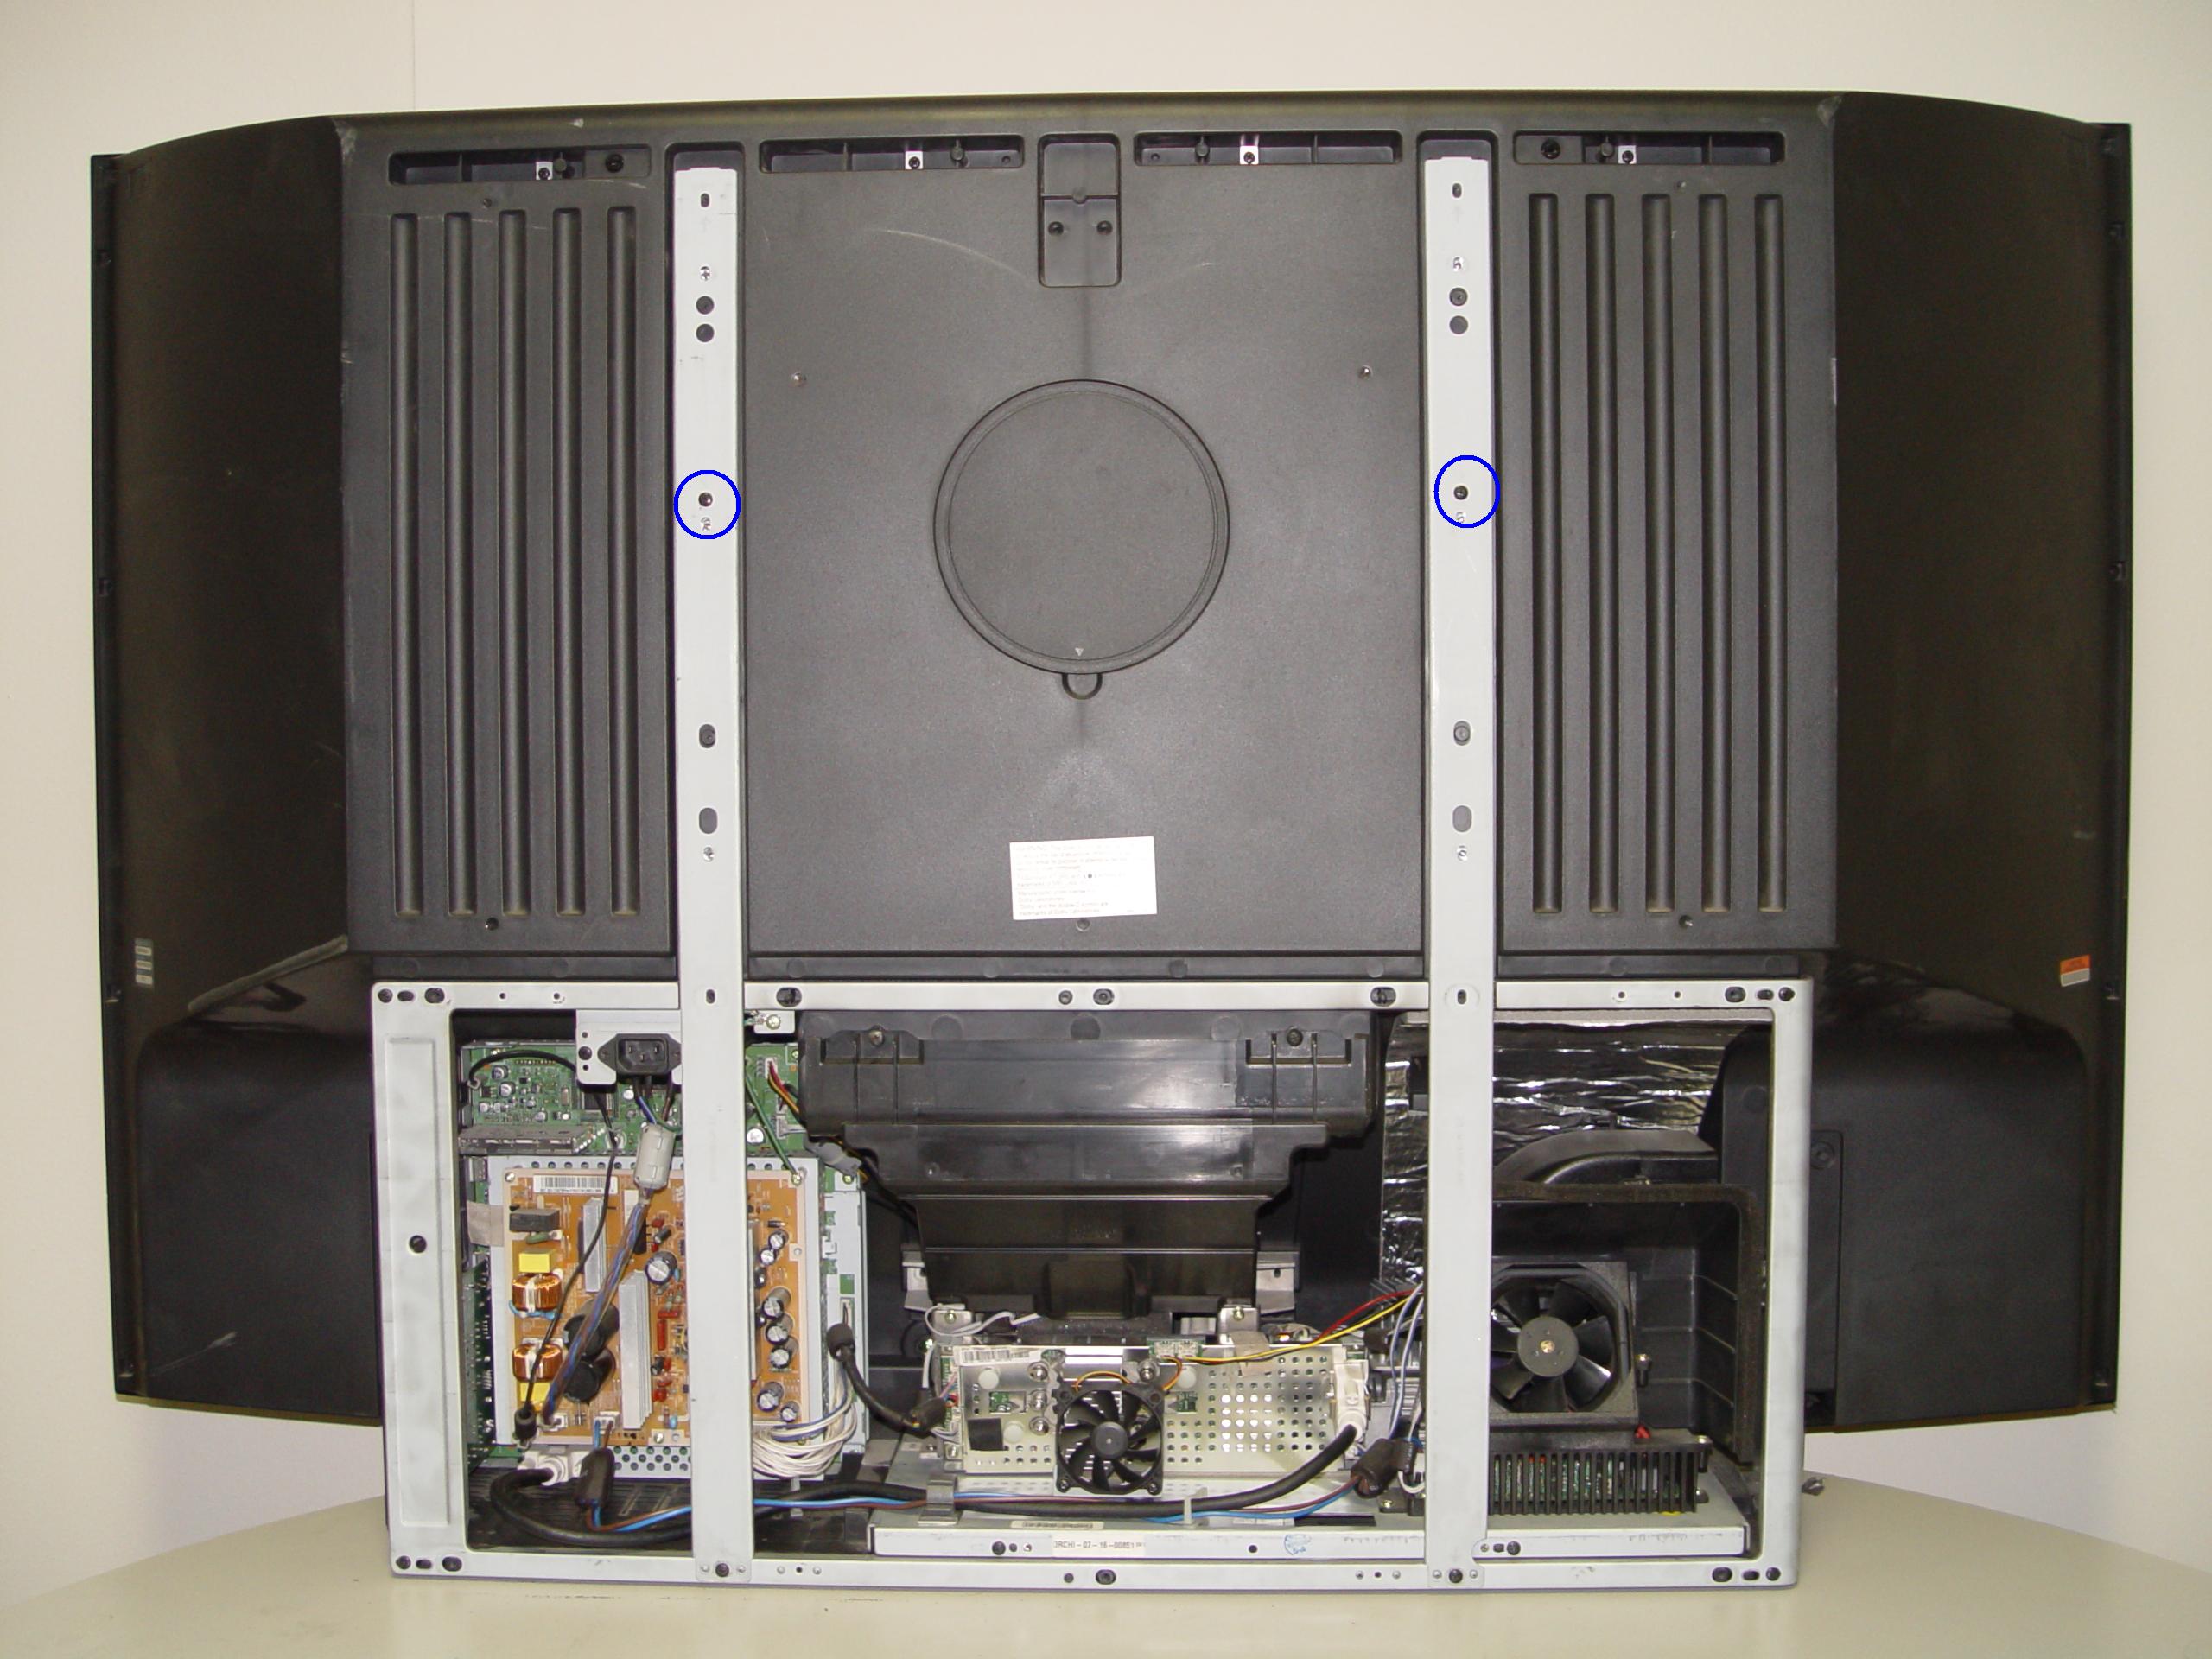
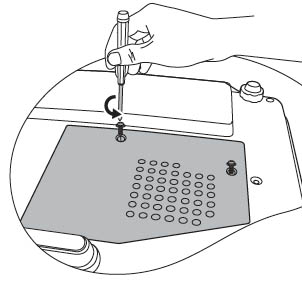
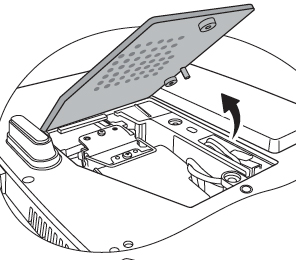
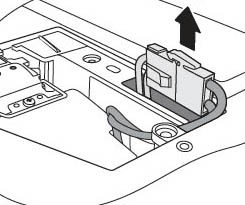
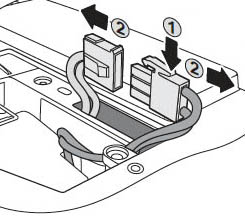
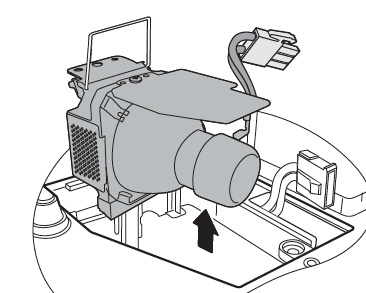
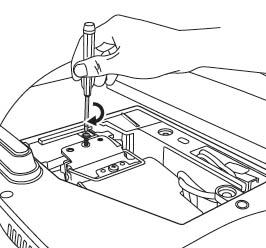
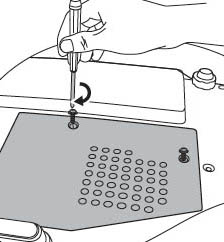
Click here for step-by-step instructions on how to change the BenQ CS.59J0Y.1B1 projector lamp for the BenQ MP6240 projector.